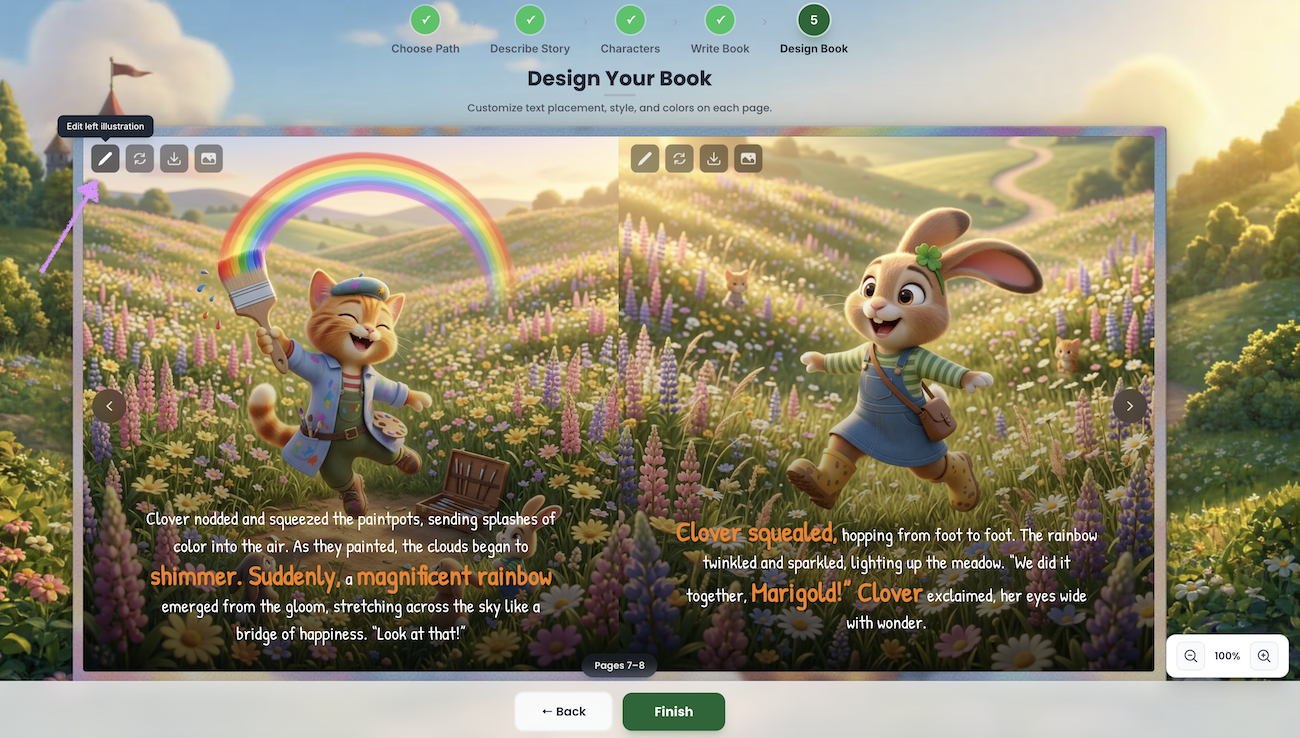
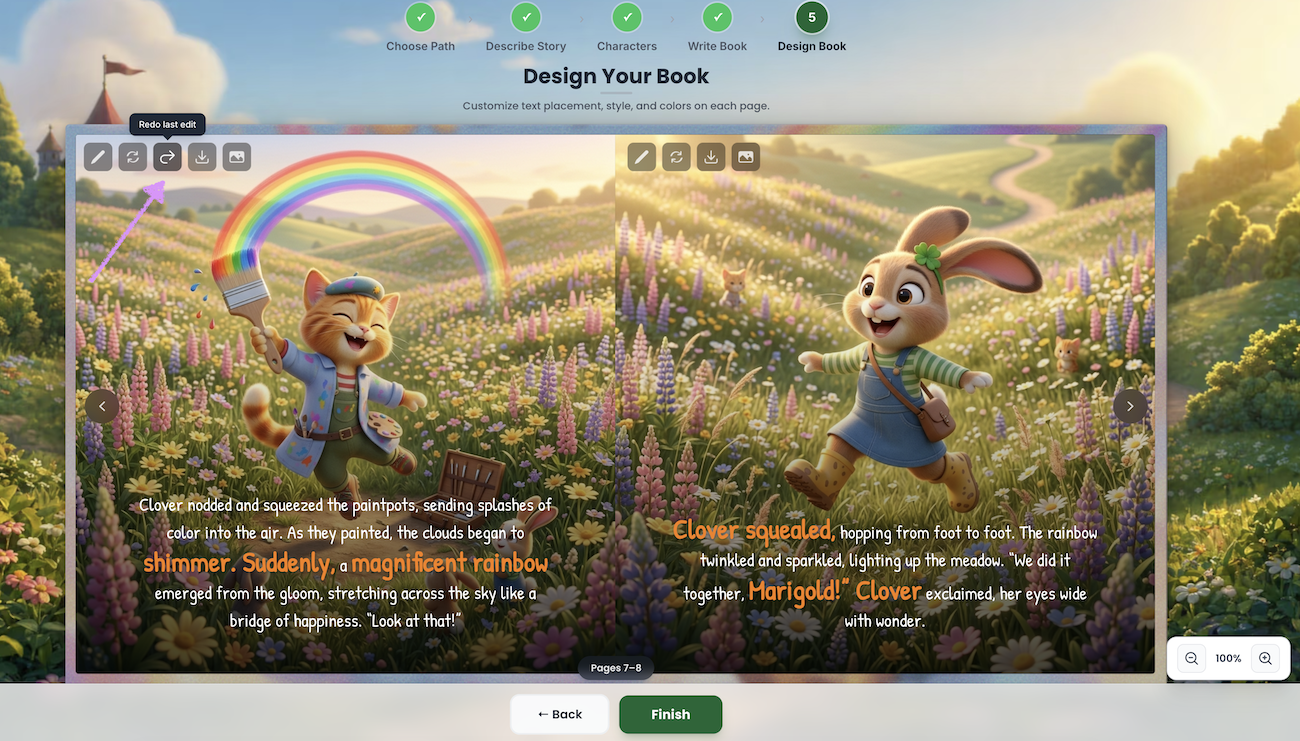
Page images help bring your book to life. In the editor, you can easily make small edits and adjust your images to better fit your layout.
At the top left of the page, you’ll see the option to “Edit left illustration.”
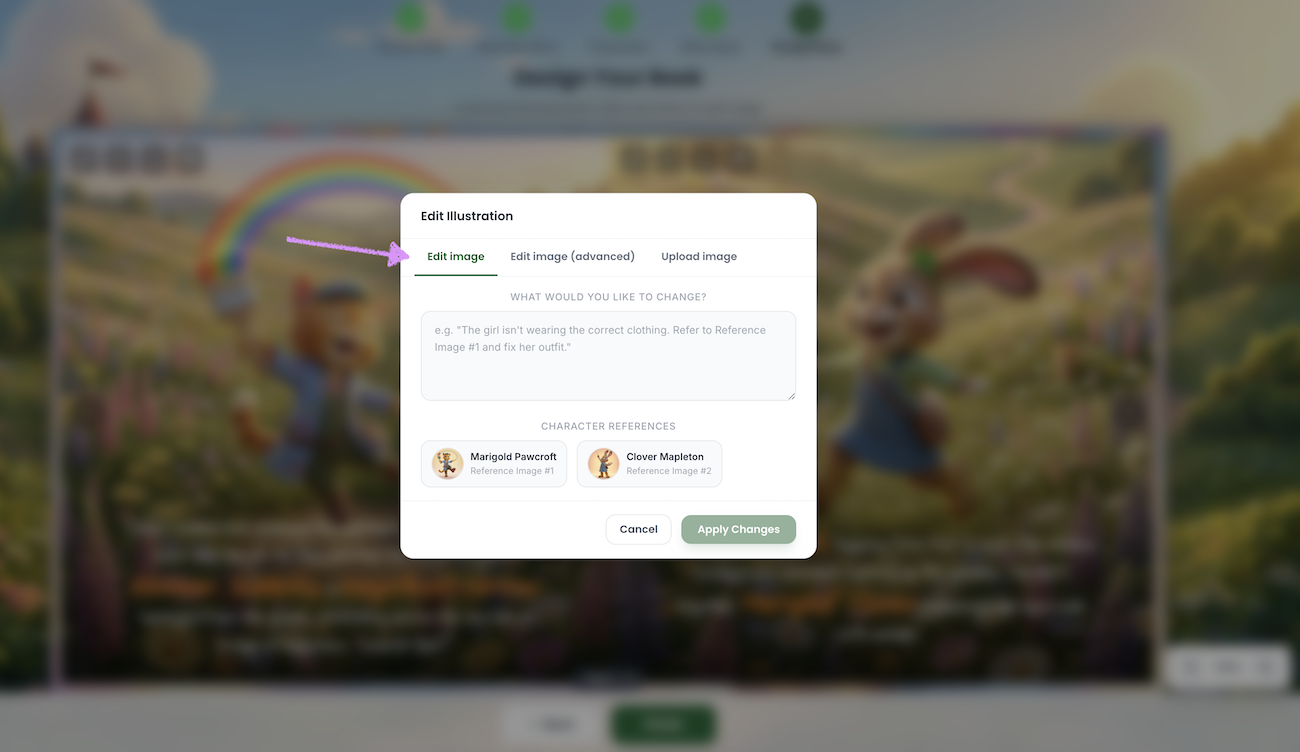
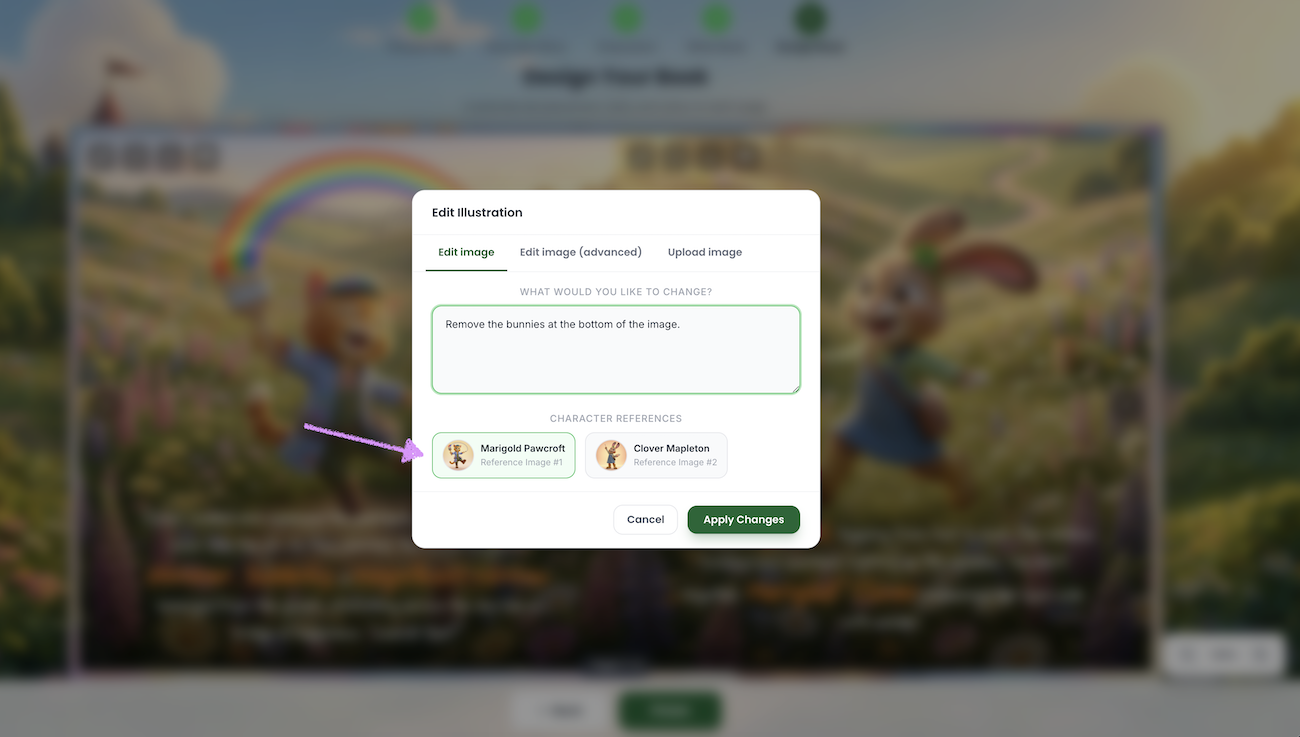
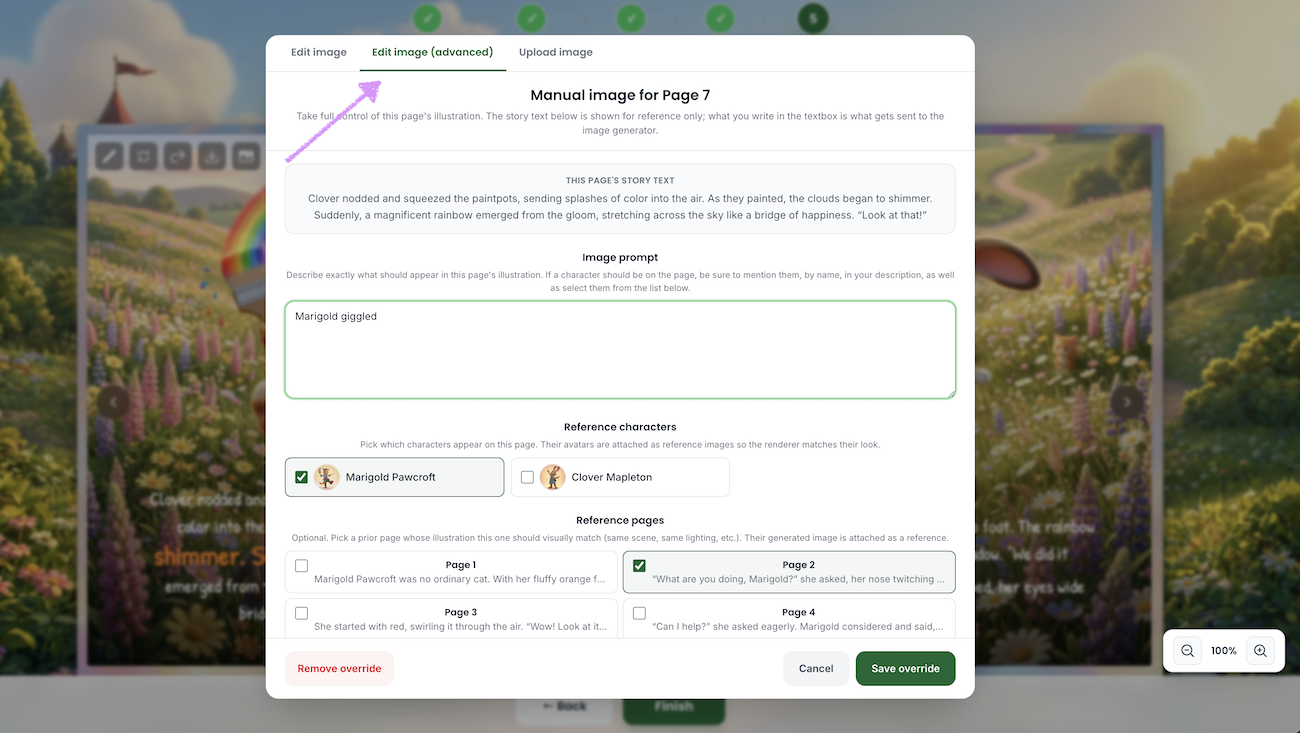
The "Edit Illustration" modal will appear with three options: "Edit Image", "Edit Image (advanced)" and Upload Image.

Use the “Edit Image” option to make small adjustments.
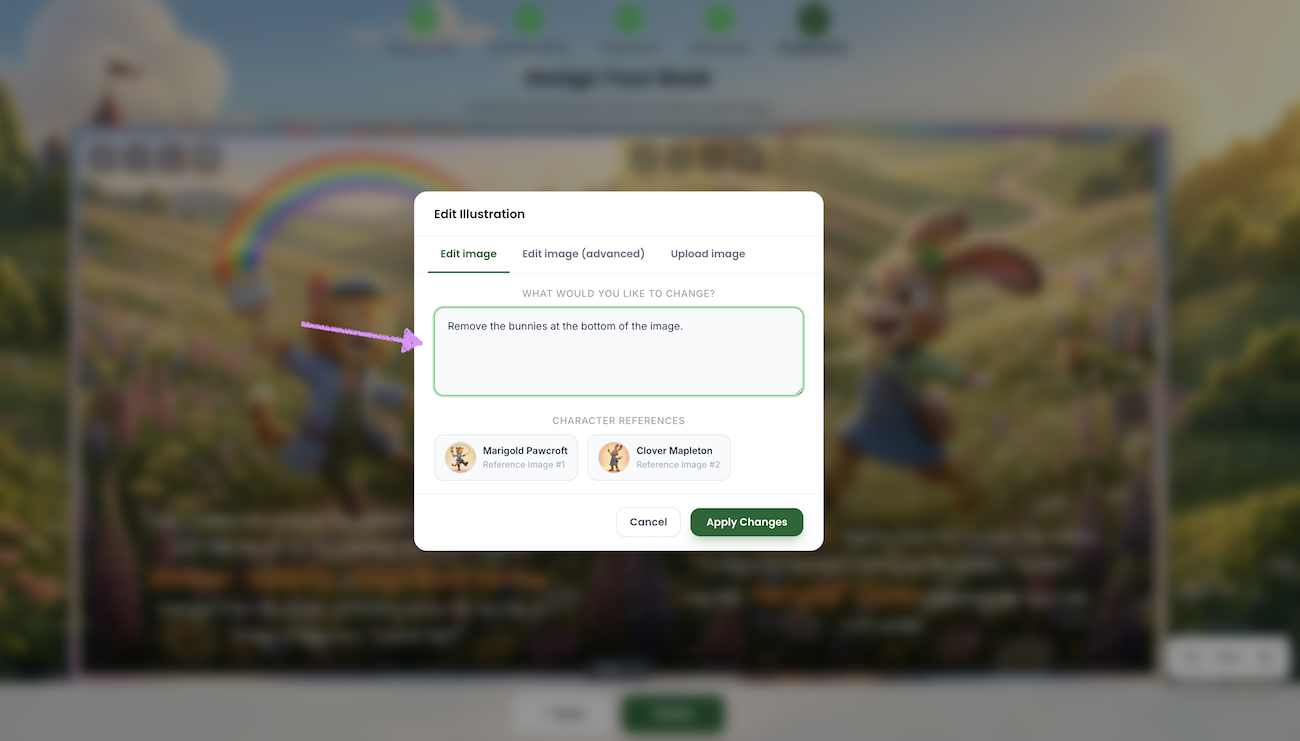
Enter the changes you’d like to apply.
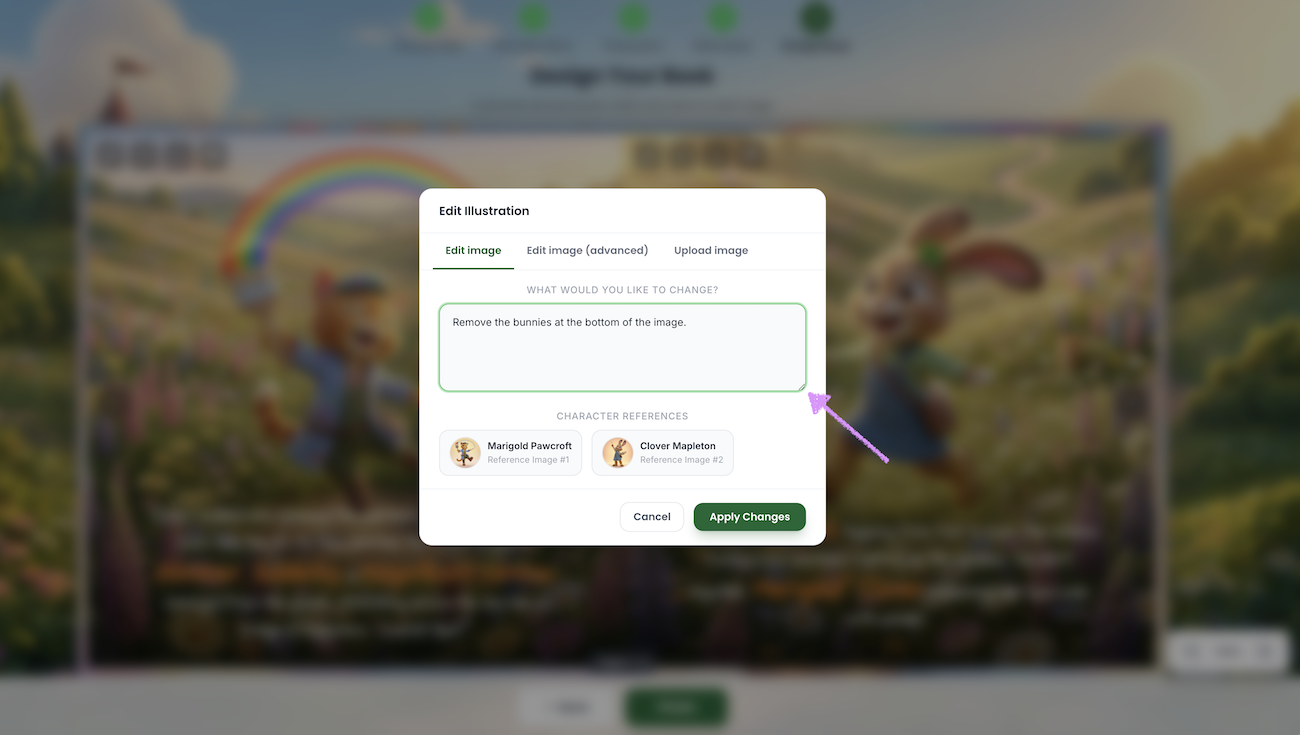
Need more space? Use the expand tool to add more space/view to the text field.
Click to add a character's if you'd like to include their reference images in the change.
Need to go back and look at the page without loosing your text? Click on "Cancel" and when you come back your text will be available.
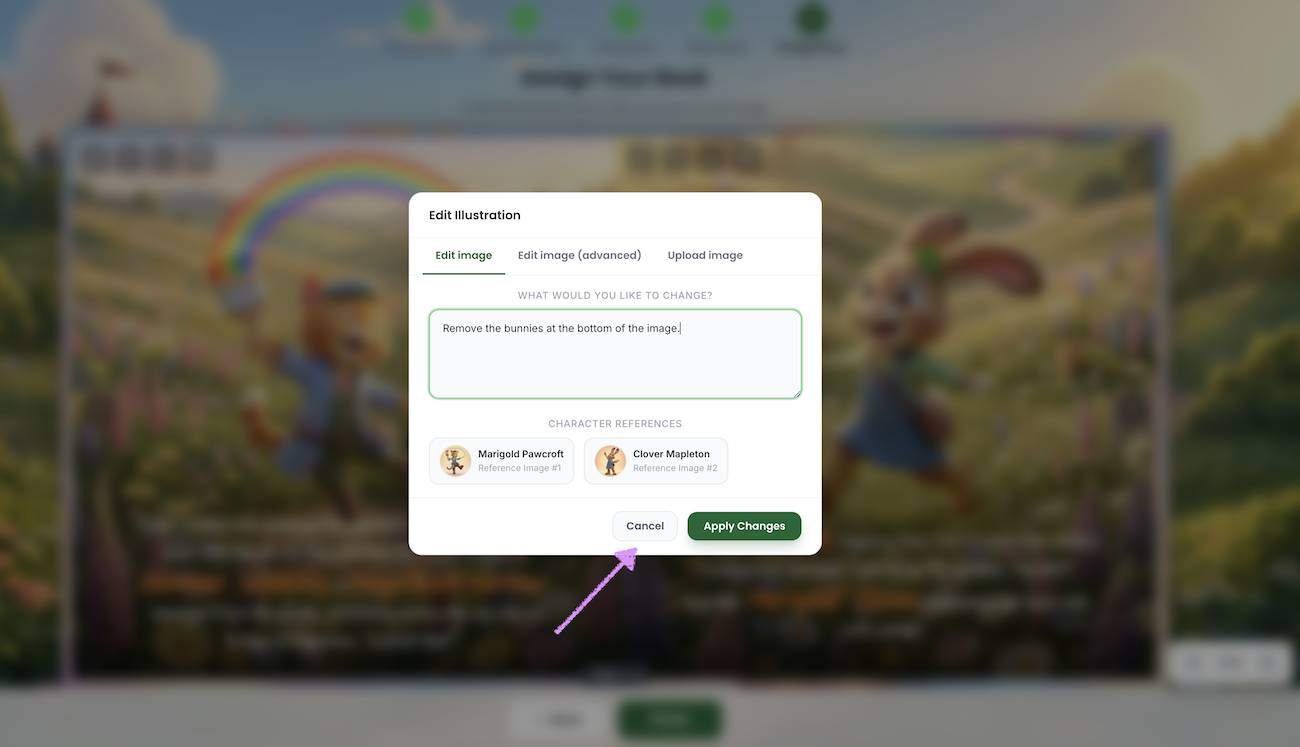
Click on "Apply Changes."

Give Scrively a few moments to think.
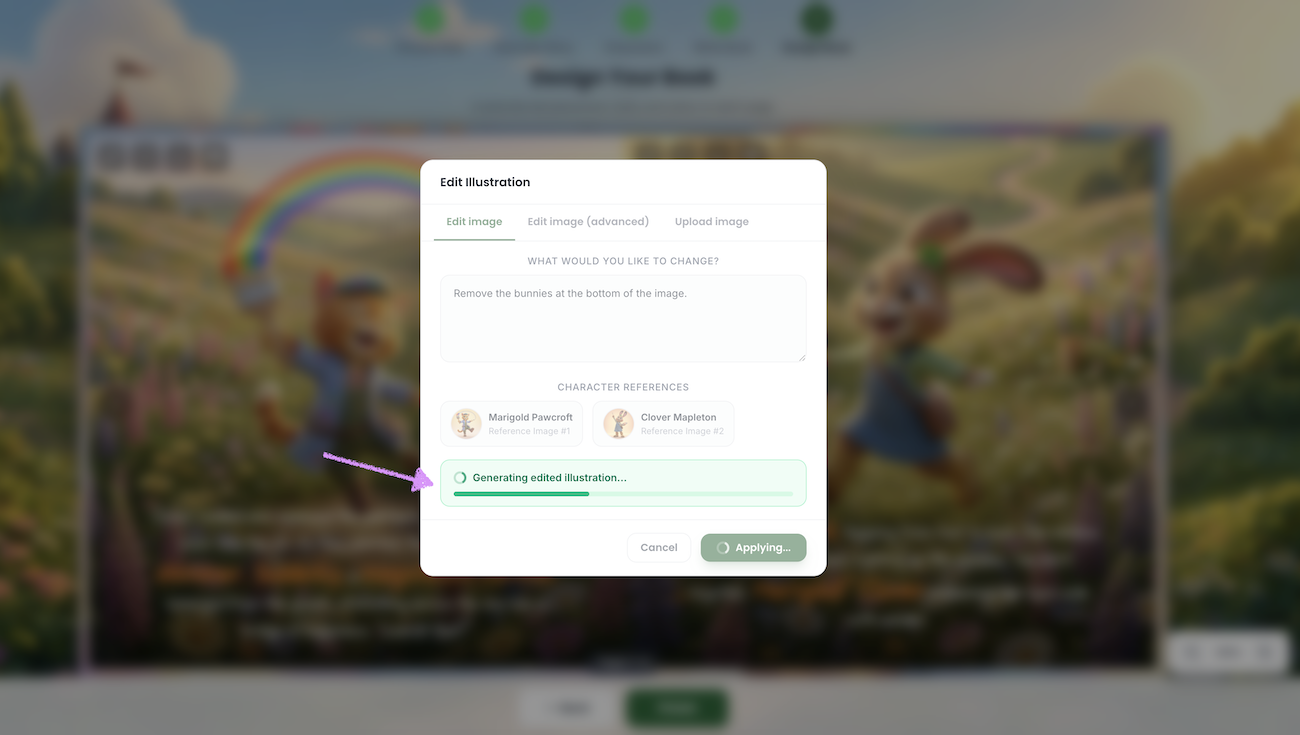
The requested change will be applied.
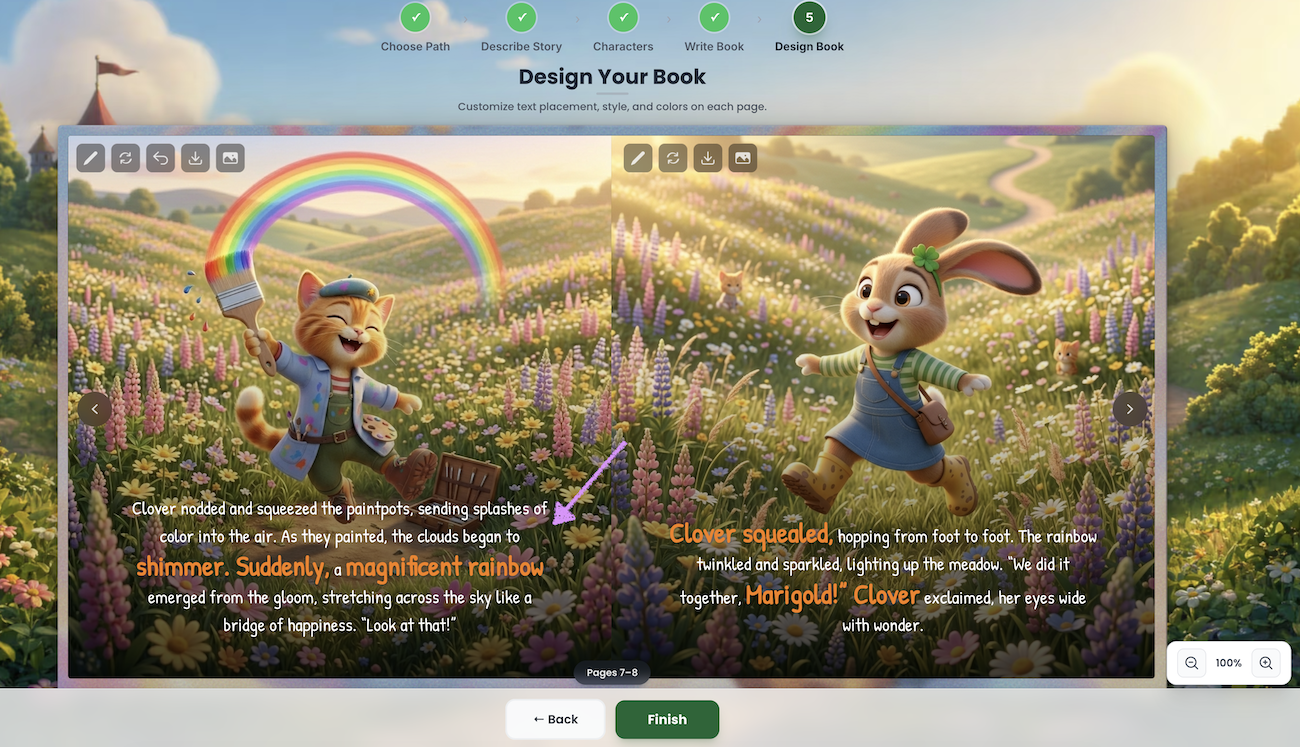
Not happy with the change? Click on "Undo last edit" to reverse it.

When you undo a change you'll also have the option to "Redo last edit" if needed.
In the illustration editor, you can also use the “Edit Image (advanced)” option to generate a new page image based on your prompt for that page. If you used the "Manual Image Overrides" in the Page Break section of Step 4, the full page image prompt details will appear here. Head over to our guide here for a complete breakdown of how to use the “Edit Image (Advanced)” option.
Next, check out our guide here on how to upload or replace a page image.
Was this article helpful?
That’s Great!
Thank you for your feedback
Sorry! We couldn't be helpful
Thank you for your feedback
Feedback sent
We appreciate your effort and will try to fix the article