Bring your story to life with vivid images using Scrively. Whether you’re illustrating characters, settings, or scenes, Scrively gives you the creative tools to visually enhance your book. From choosing art styles to customizing details, designing your book’s visuals has never been easier or more fun.
Scrively offers multiple ways to add images to your book. After clicking “Bring Your Story to Life” in the Story Builder, you’ll be taken to the Designer (book layout view), where Scrively will begin generating illustrations for each page.
If you’re not ready to generate images yet, click “Cancel Generation.”

Once the first five images are generated you will have the option to "Start editing" and the remaining images will generate in the background.

If any errors occur while generating your page images, detailed error logs will be displayed to help identify the pages with errors. In some cases, this may be related to the text or content on your pages. Certain words or phrases can be misinterpreted by the AI and may be flagged during the image generation process.
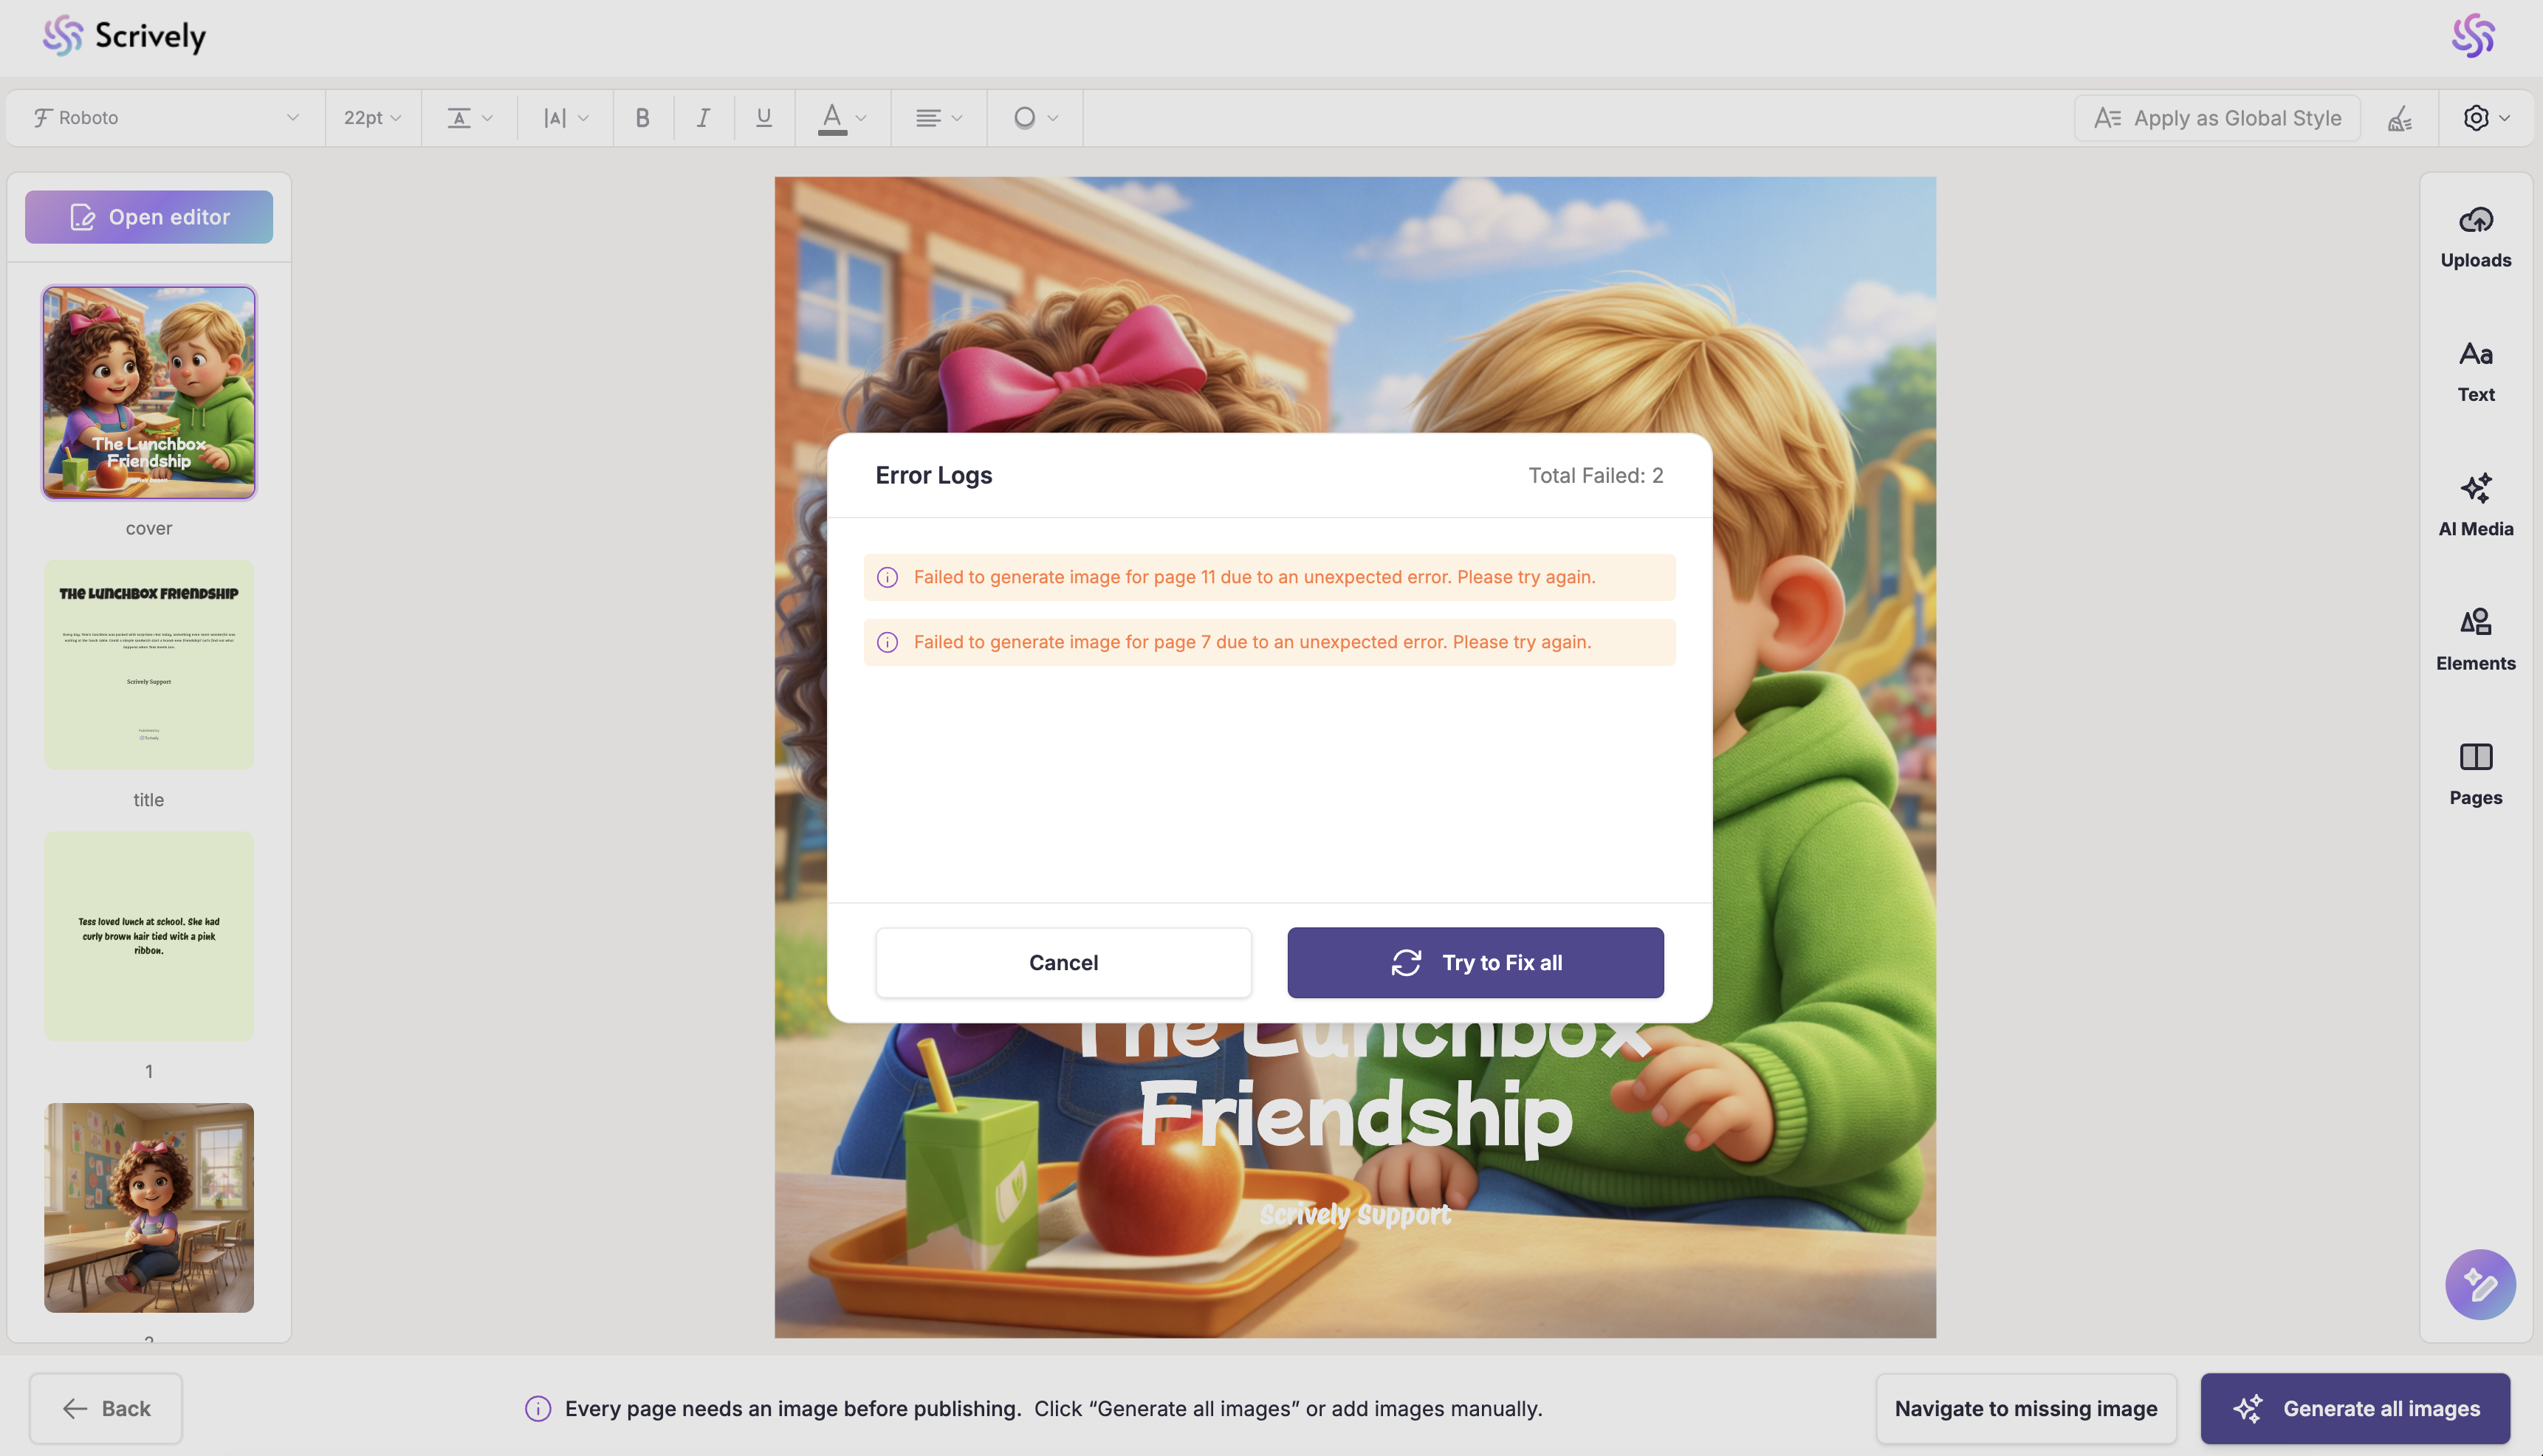
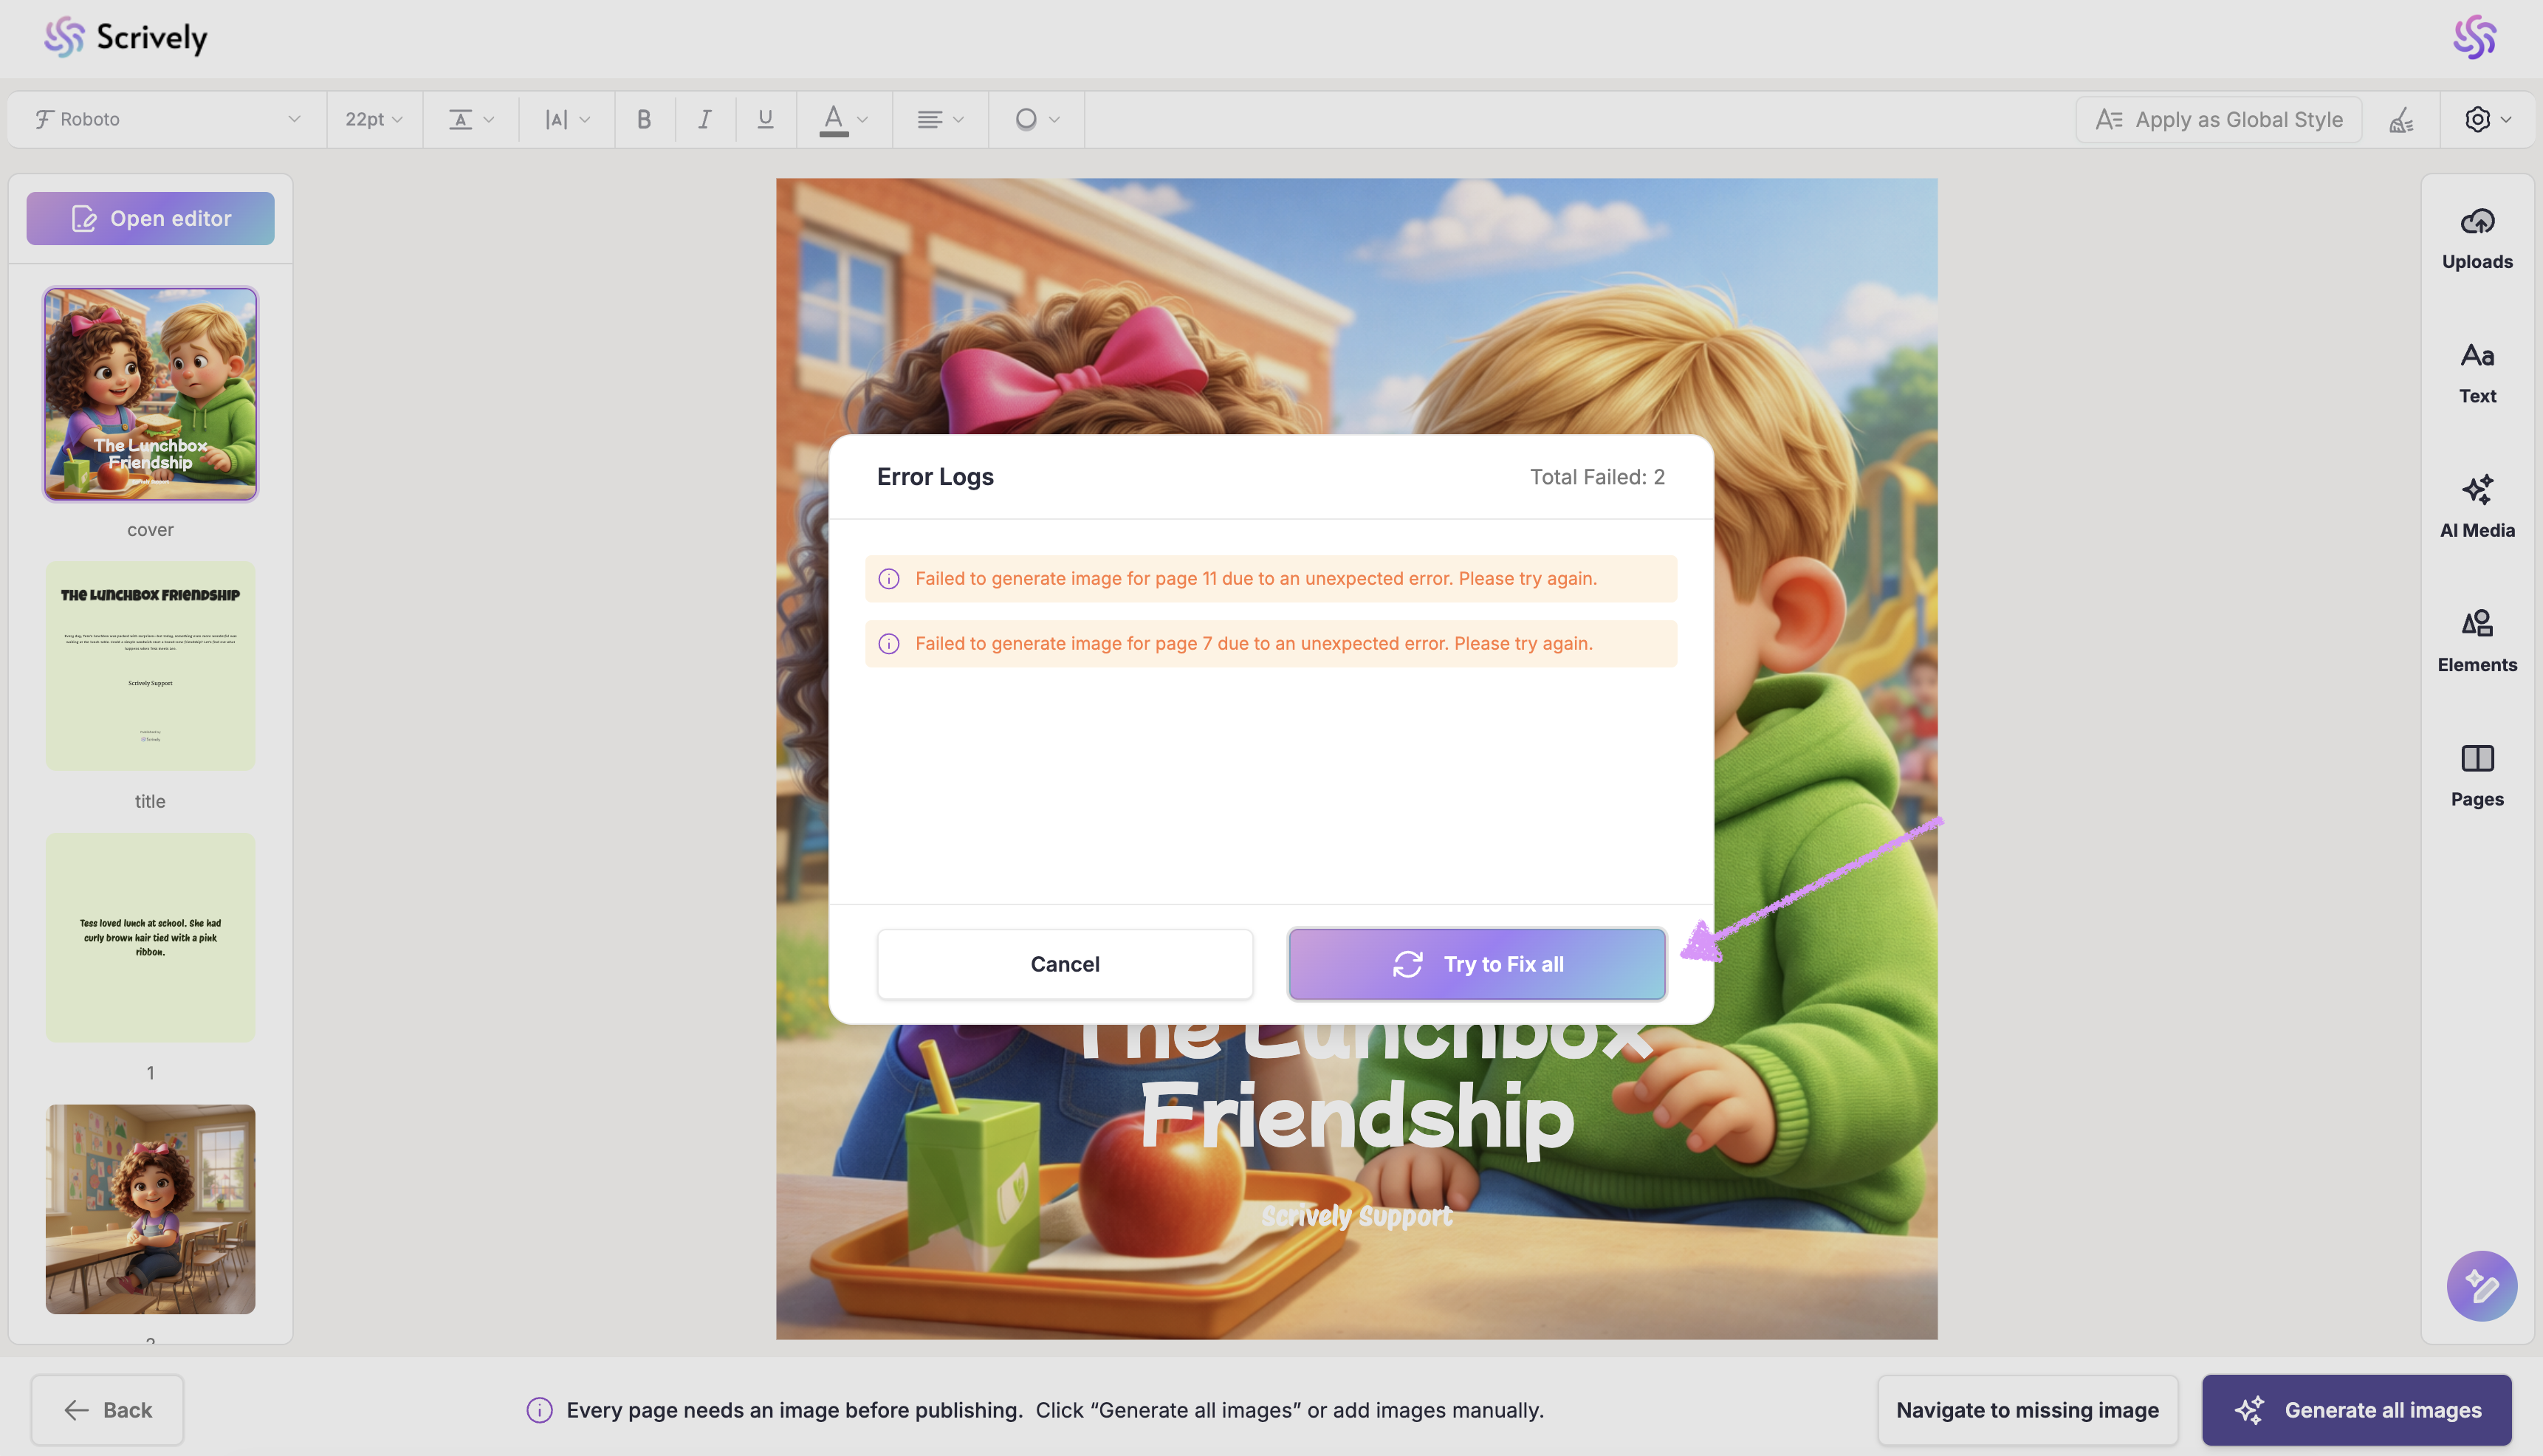
Click “Try to Fix All” to regenerate the page images. If the issue persists, you can navigate to individual pages and regenerate each image separately, we’ll walk you through that process below.
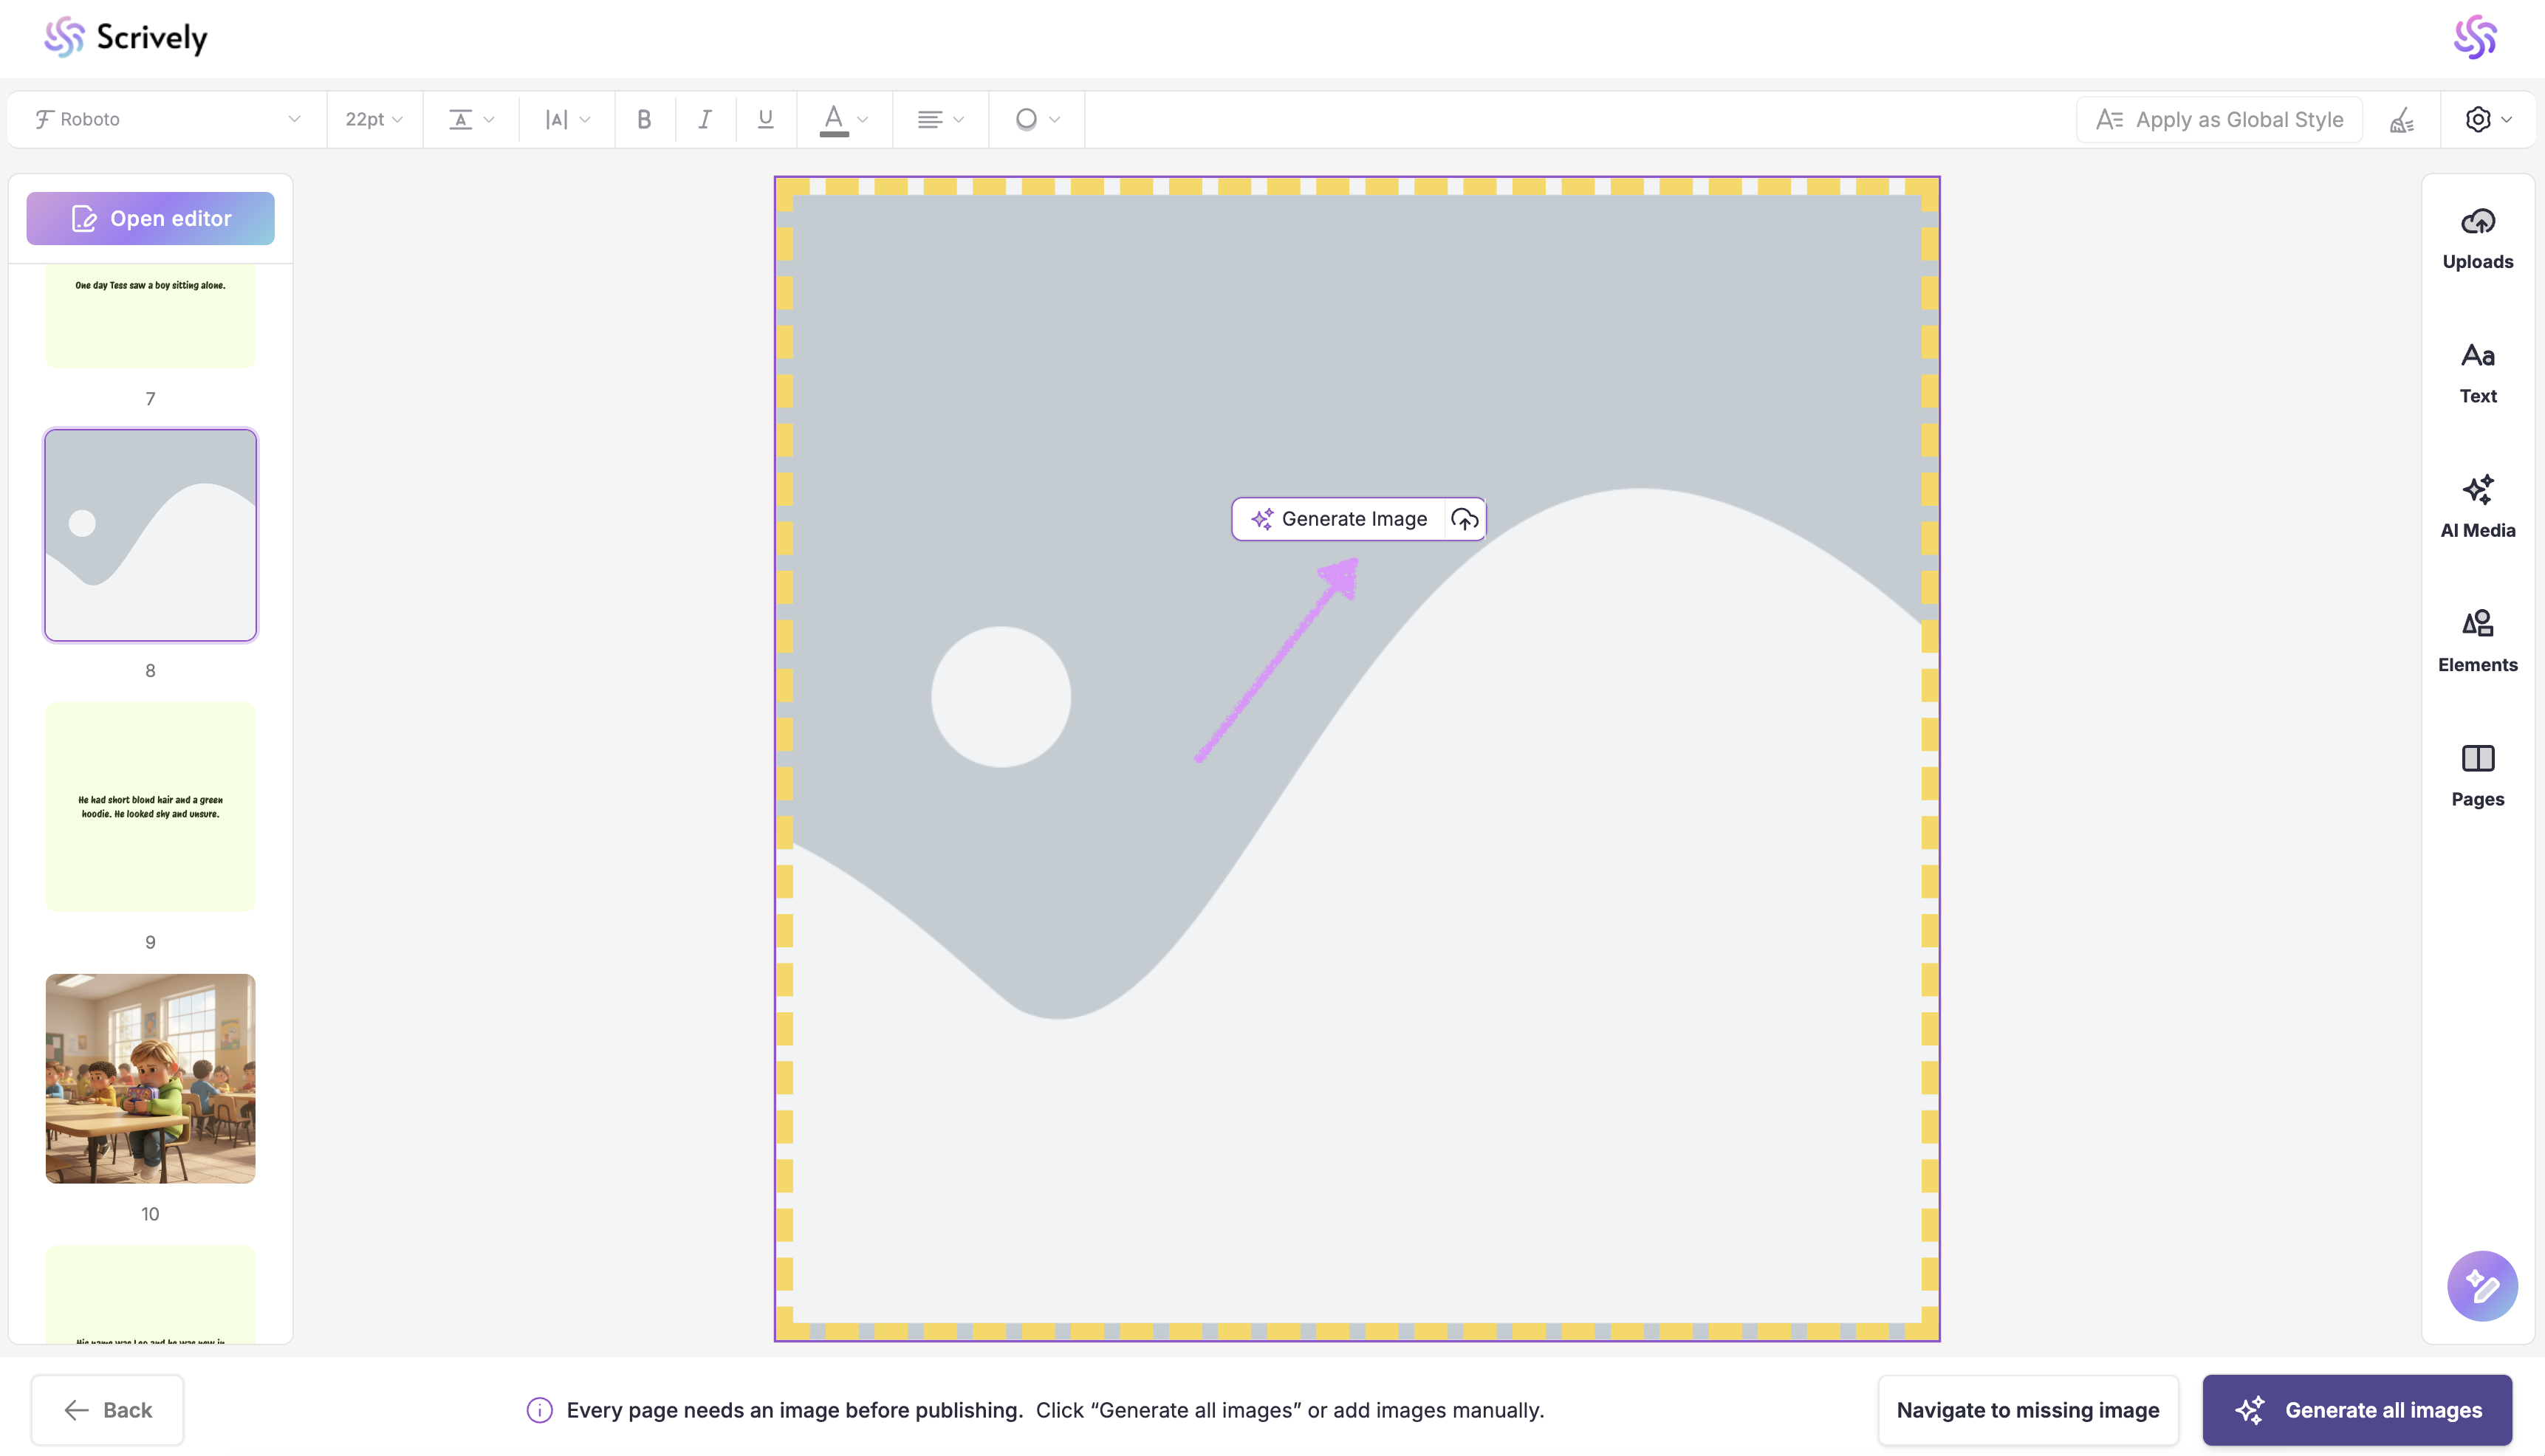
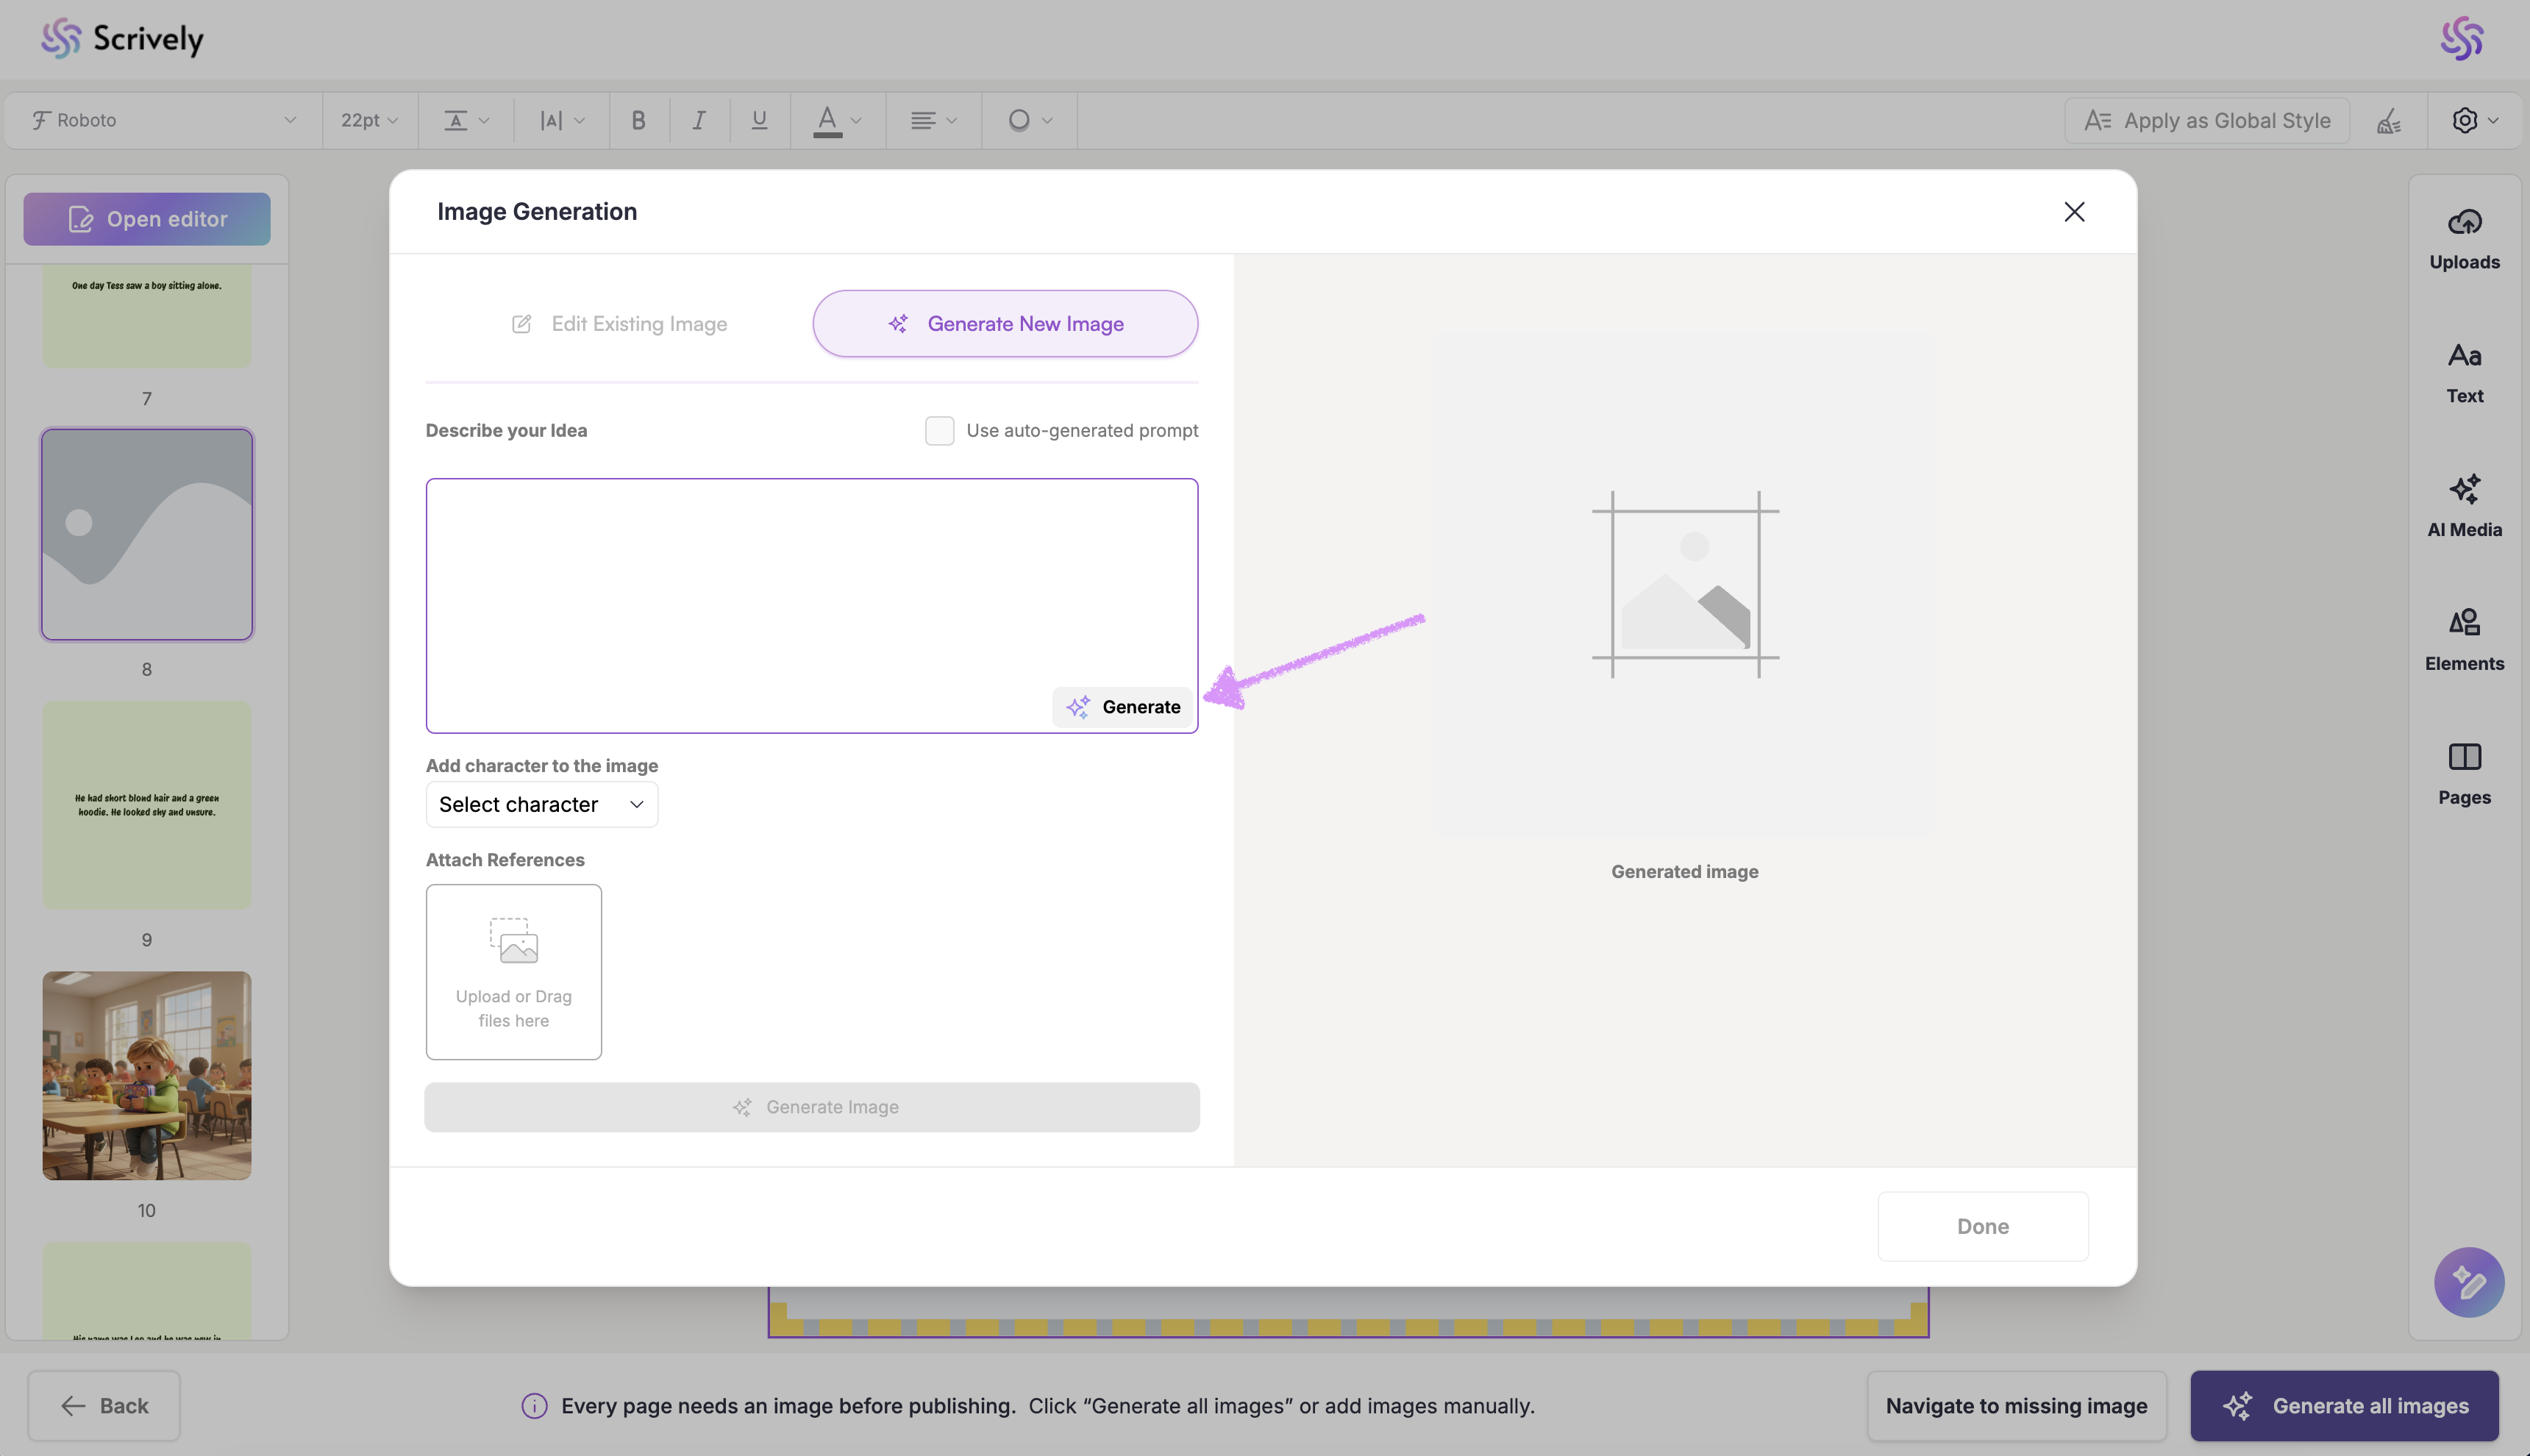
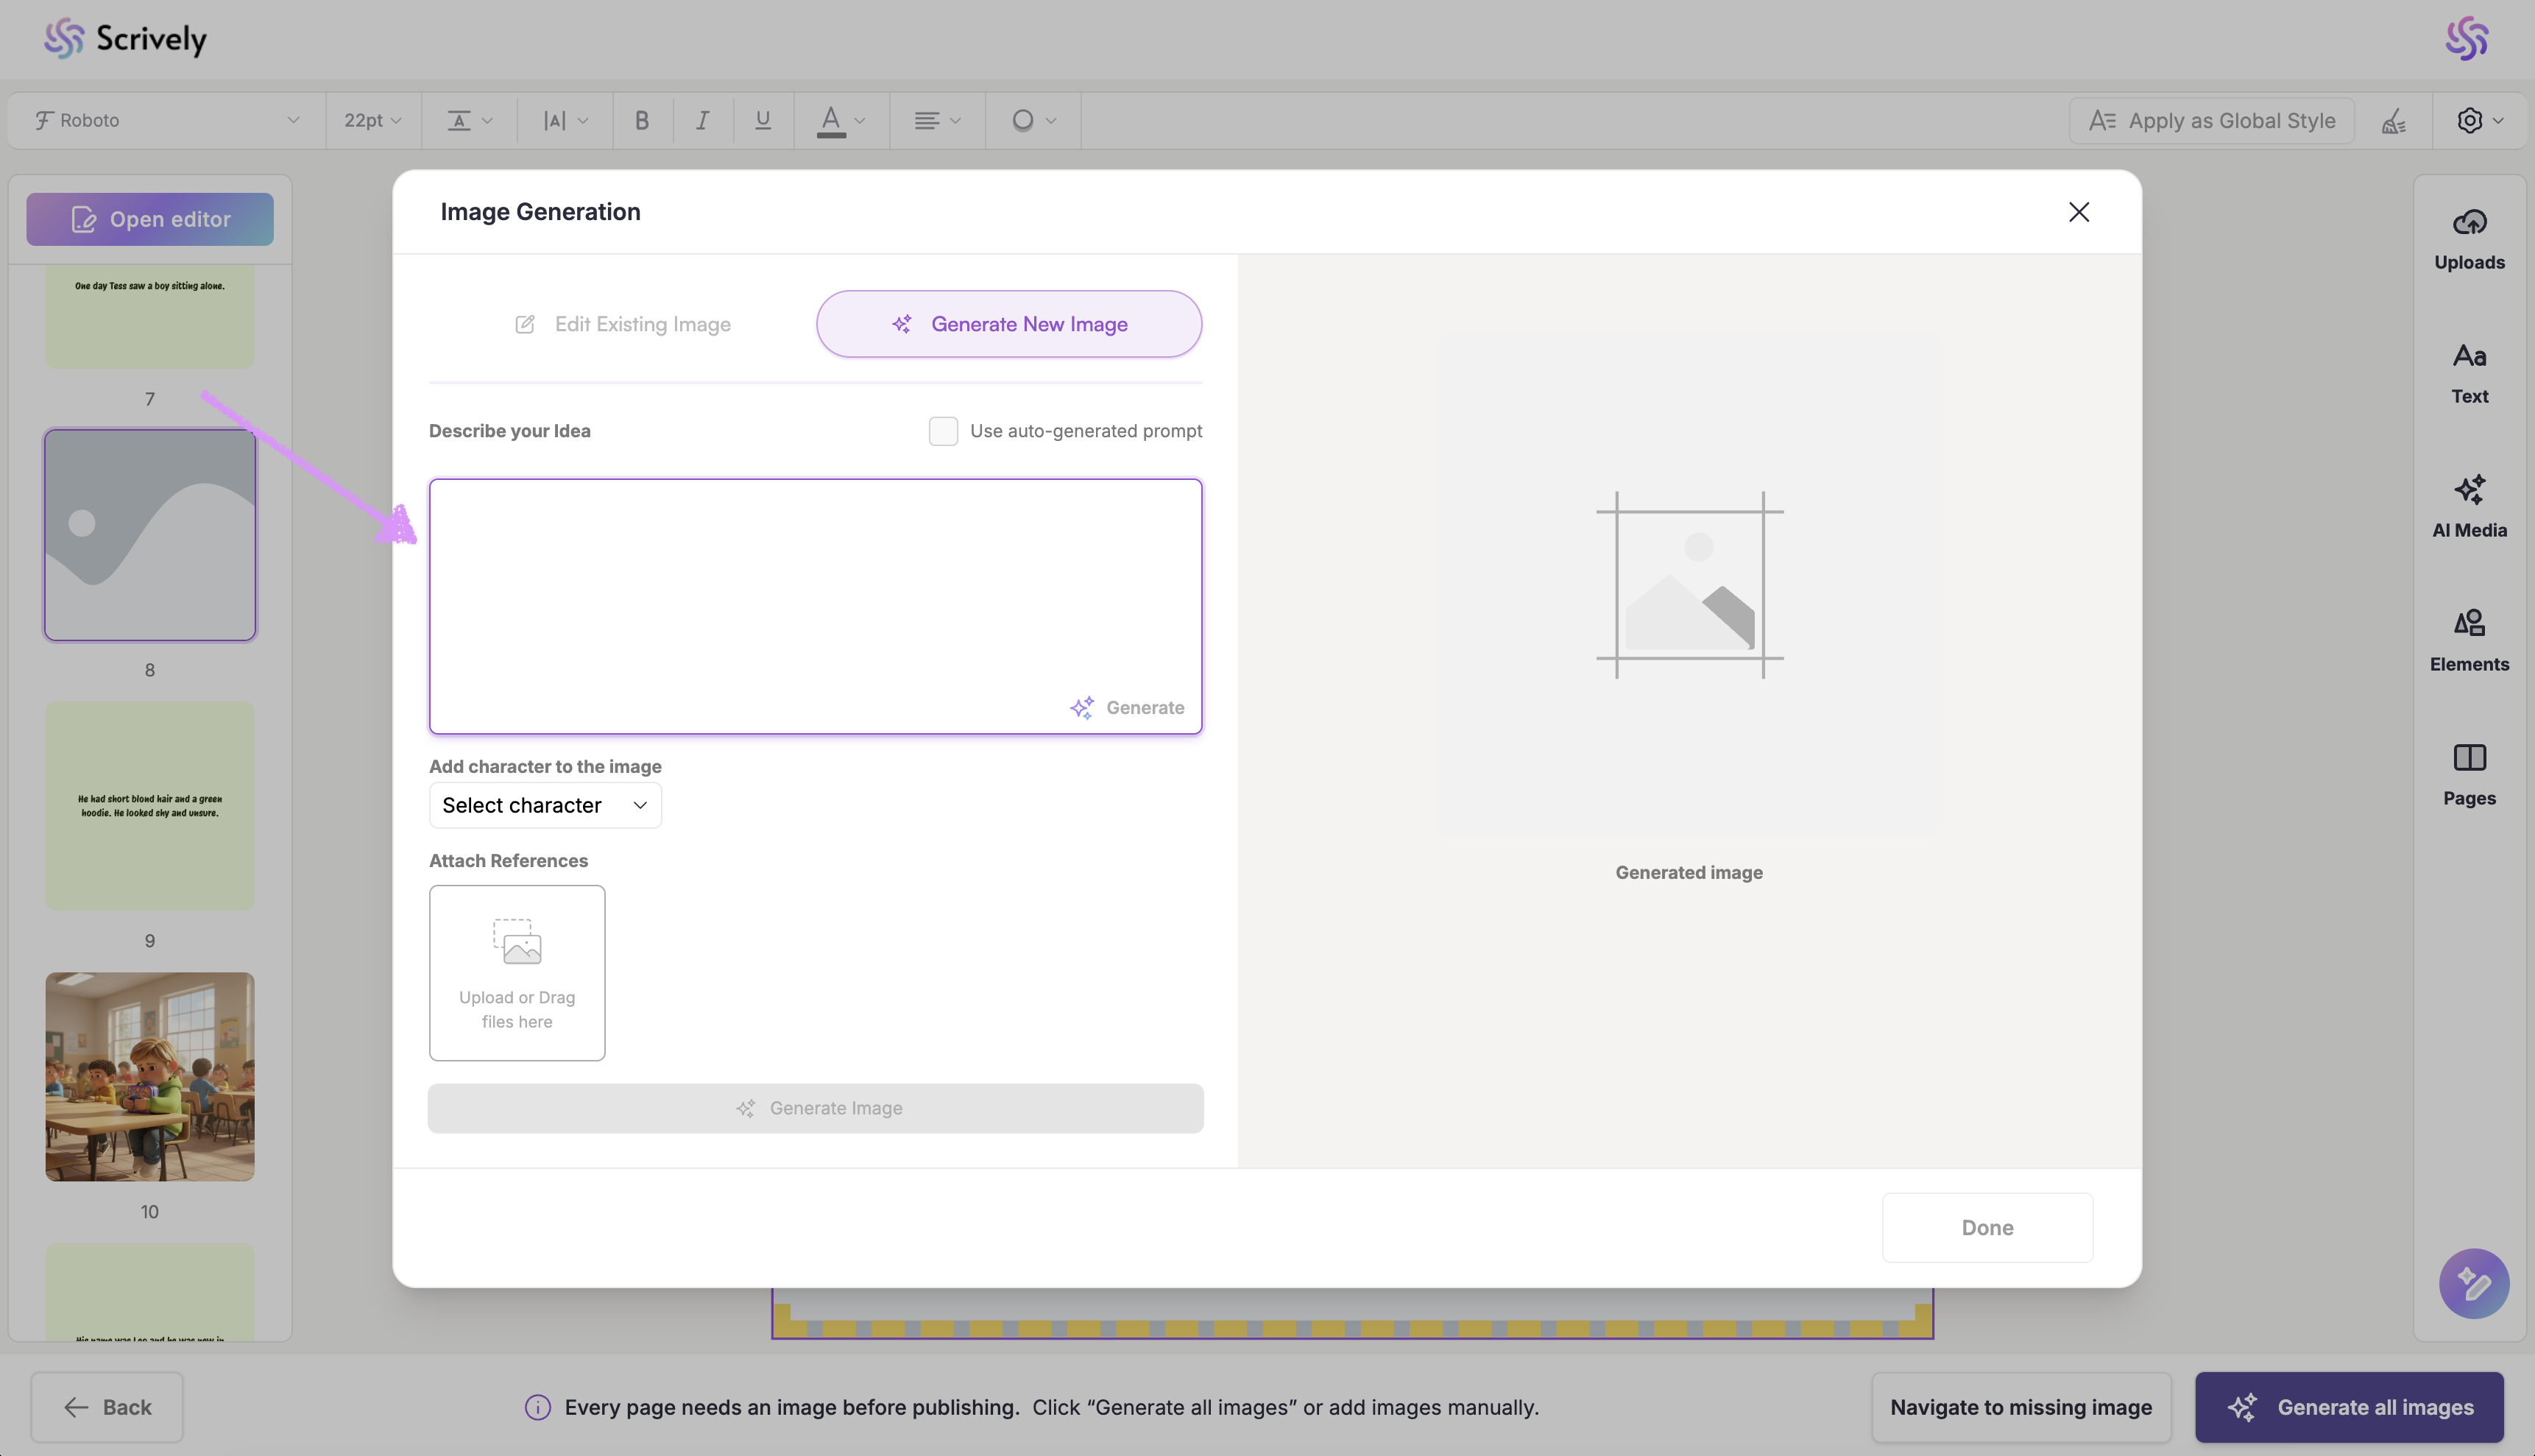
Click into an empty image frame on a page, and you’ll see the option to “Generate Image."
Note: For premade book templates, you can retry image generation on any of the pages where your character appears.
Use the "Generate" option if you want Scrively to write the image prompt for you.
Want to use the original page image generation prompt? Select the option to "Use auto-generated prompt."

Alternatively, you can manually add your image prompt. The more details you provide about the character, scene, or style, the closer the generated image will match your vision. Be as specific as you can!
When using the "Generate" option Scrively will automatically associate characters with the prompt. You can deselect them if needed.
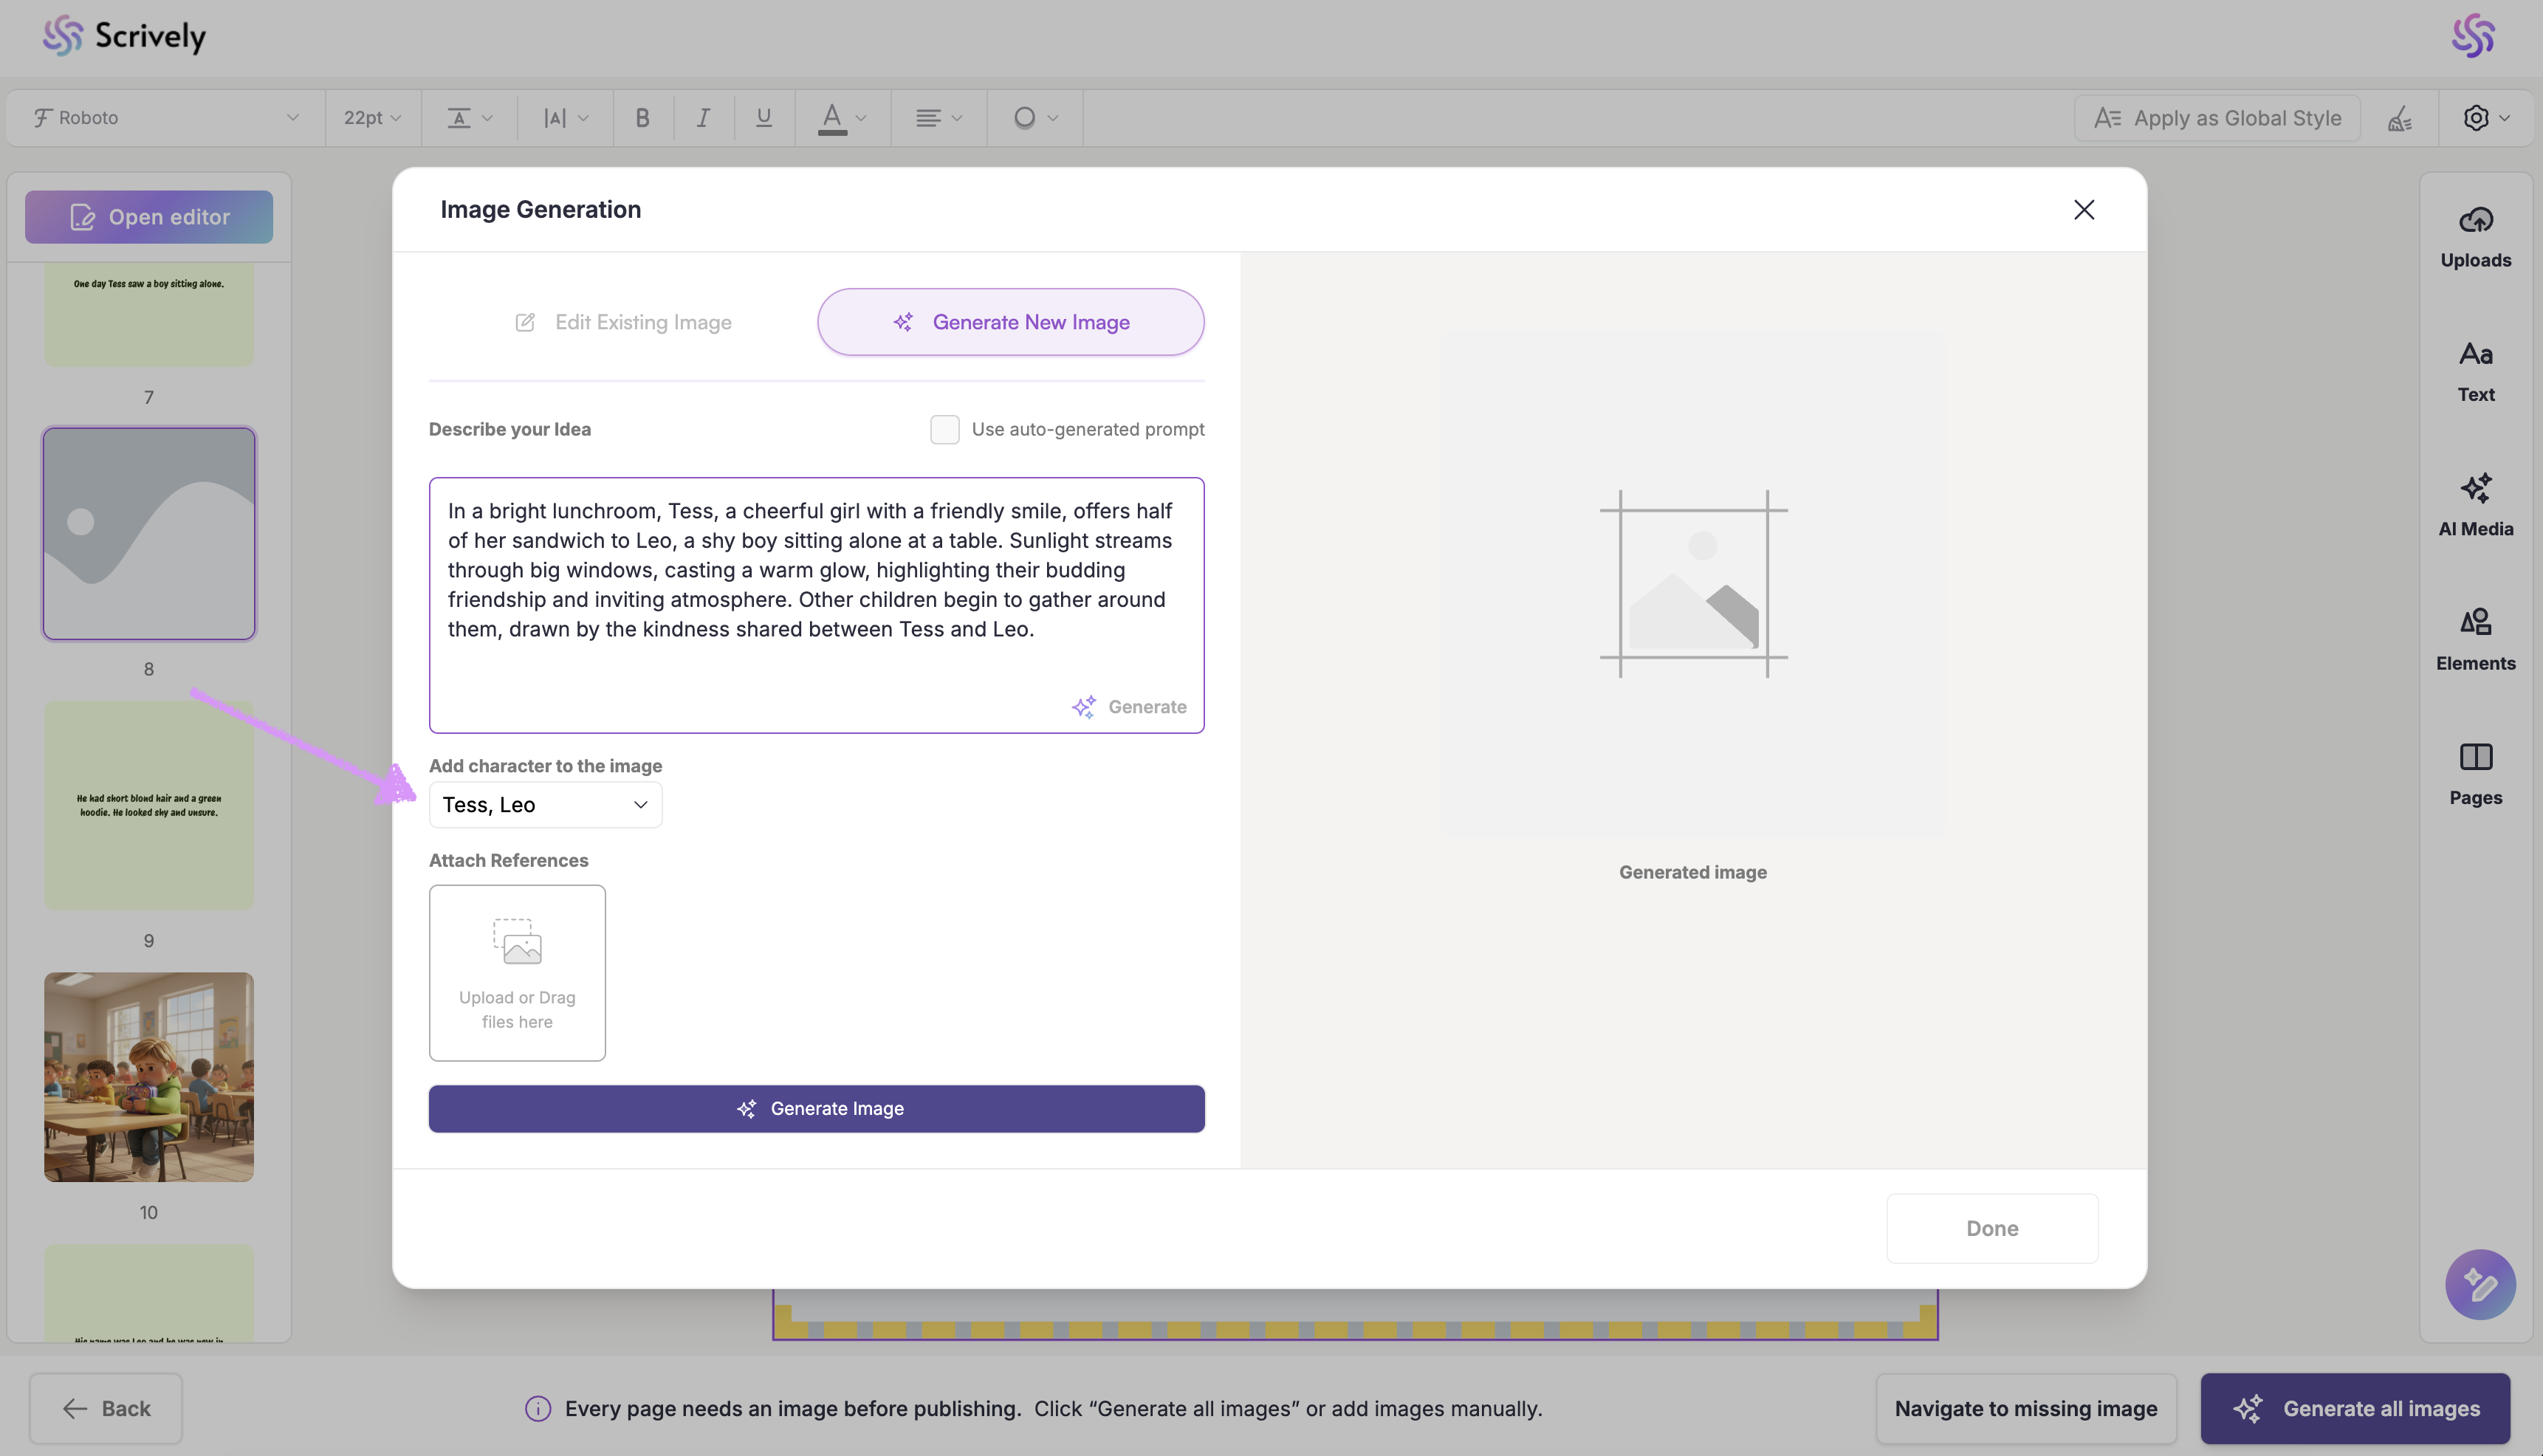
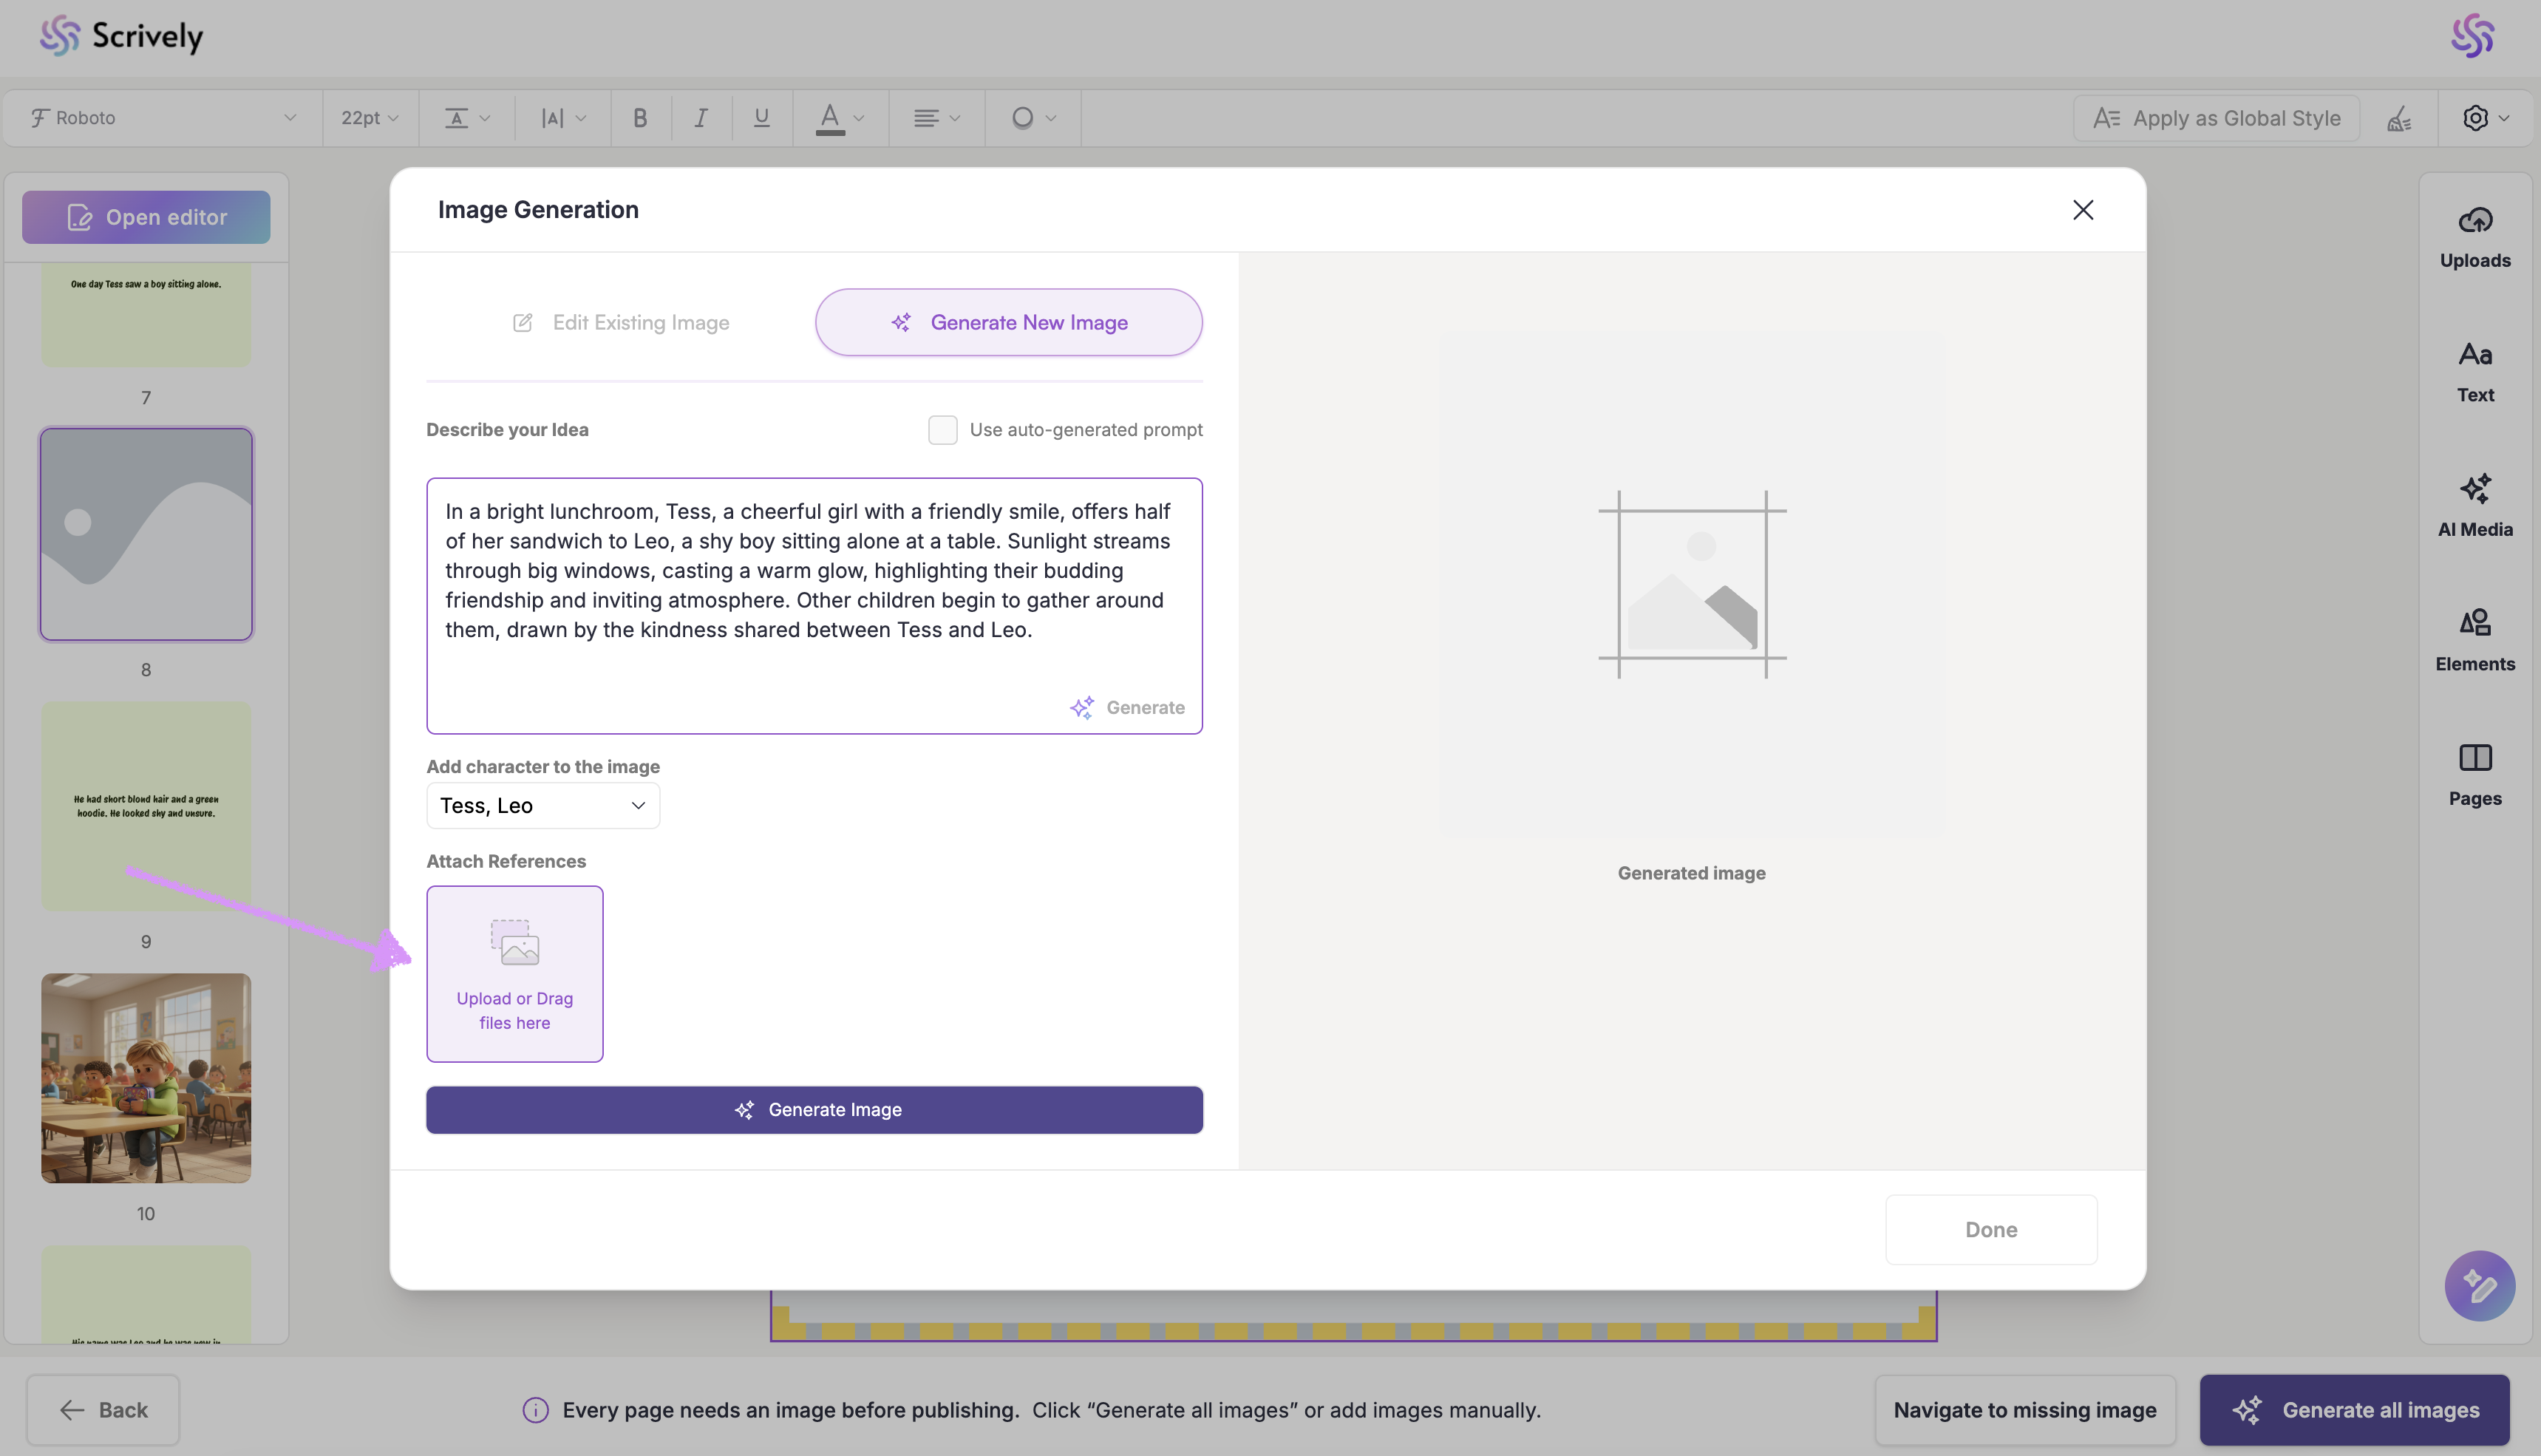
If needed, add a reference image.
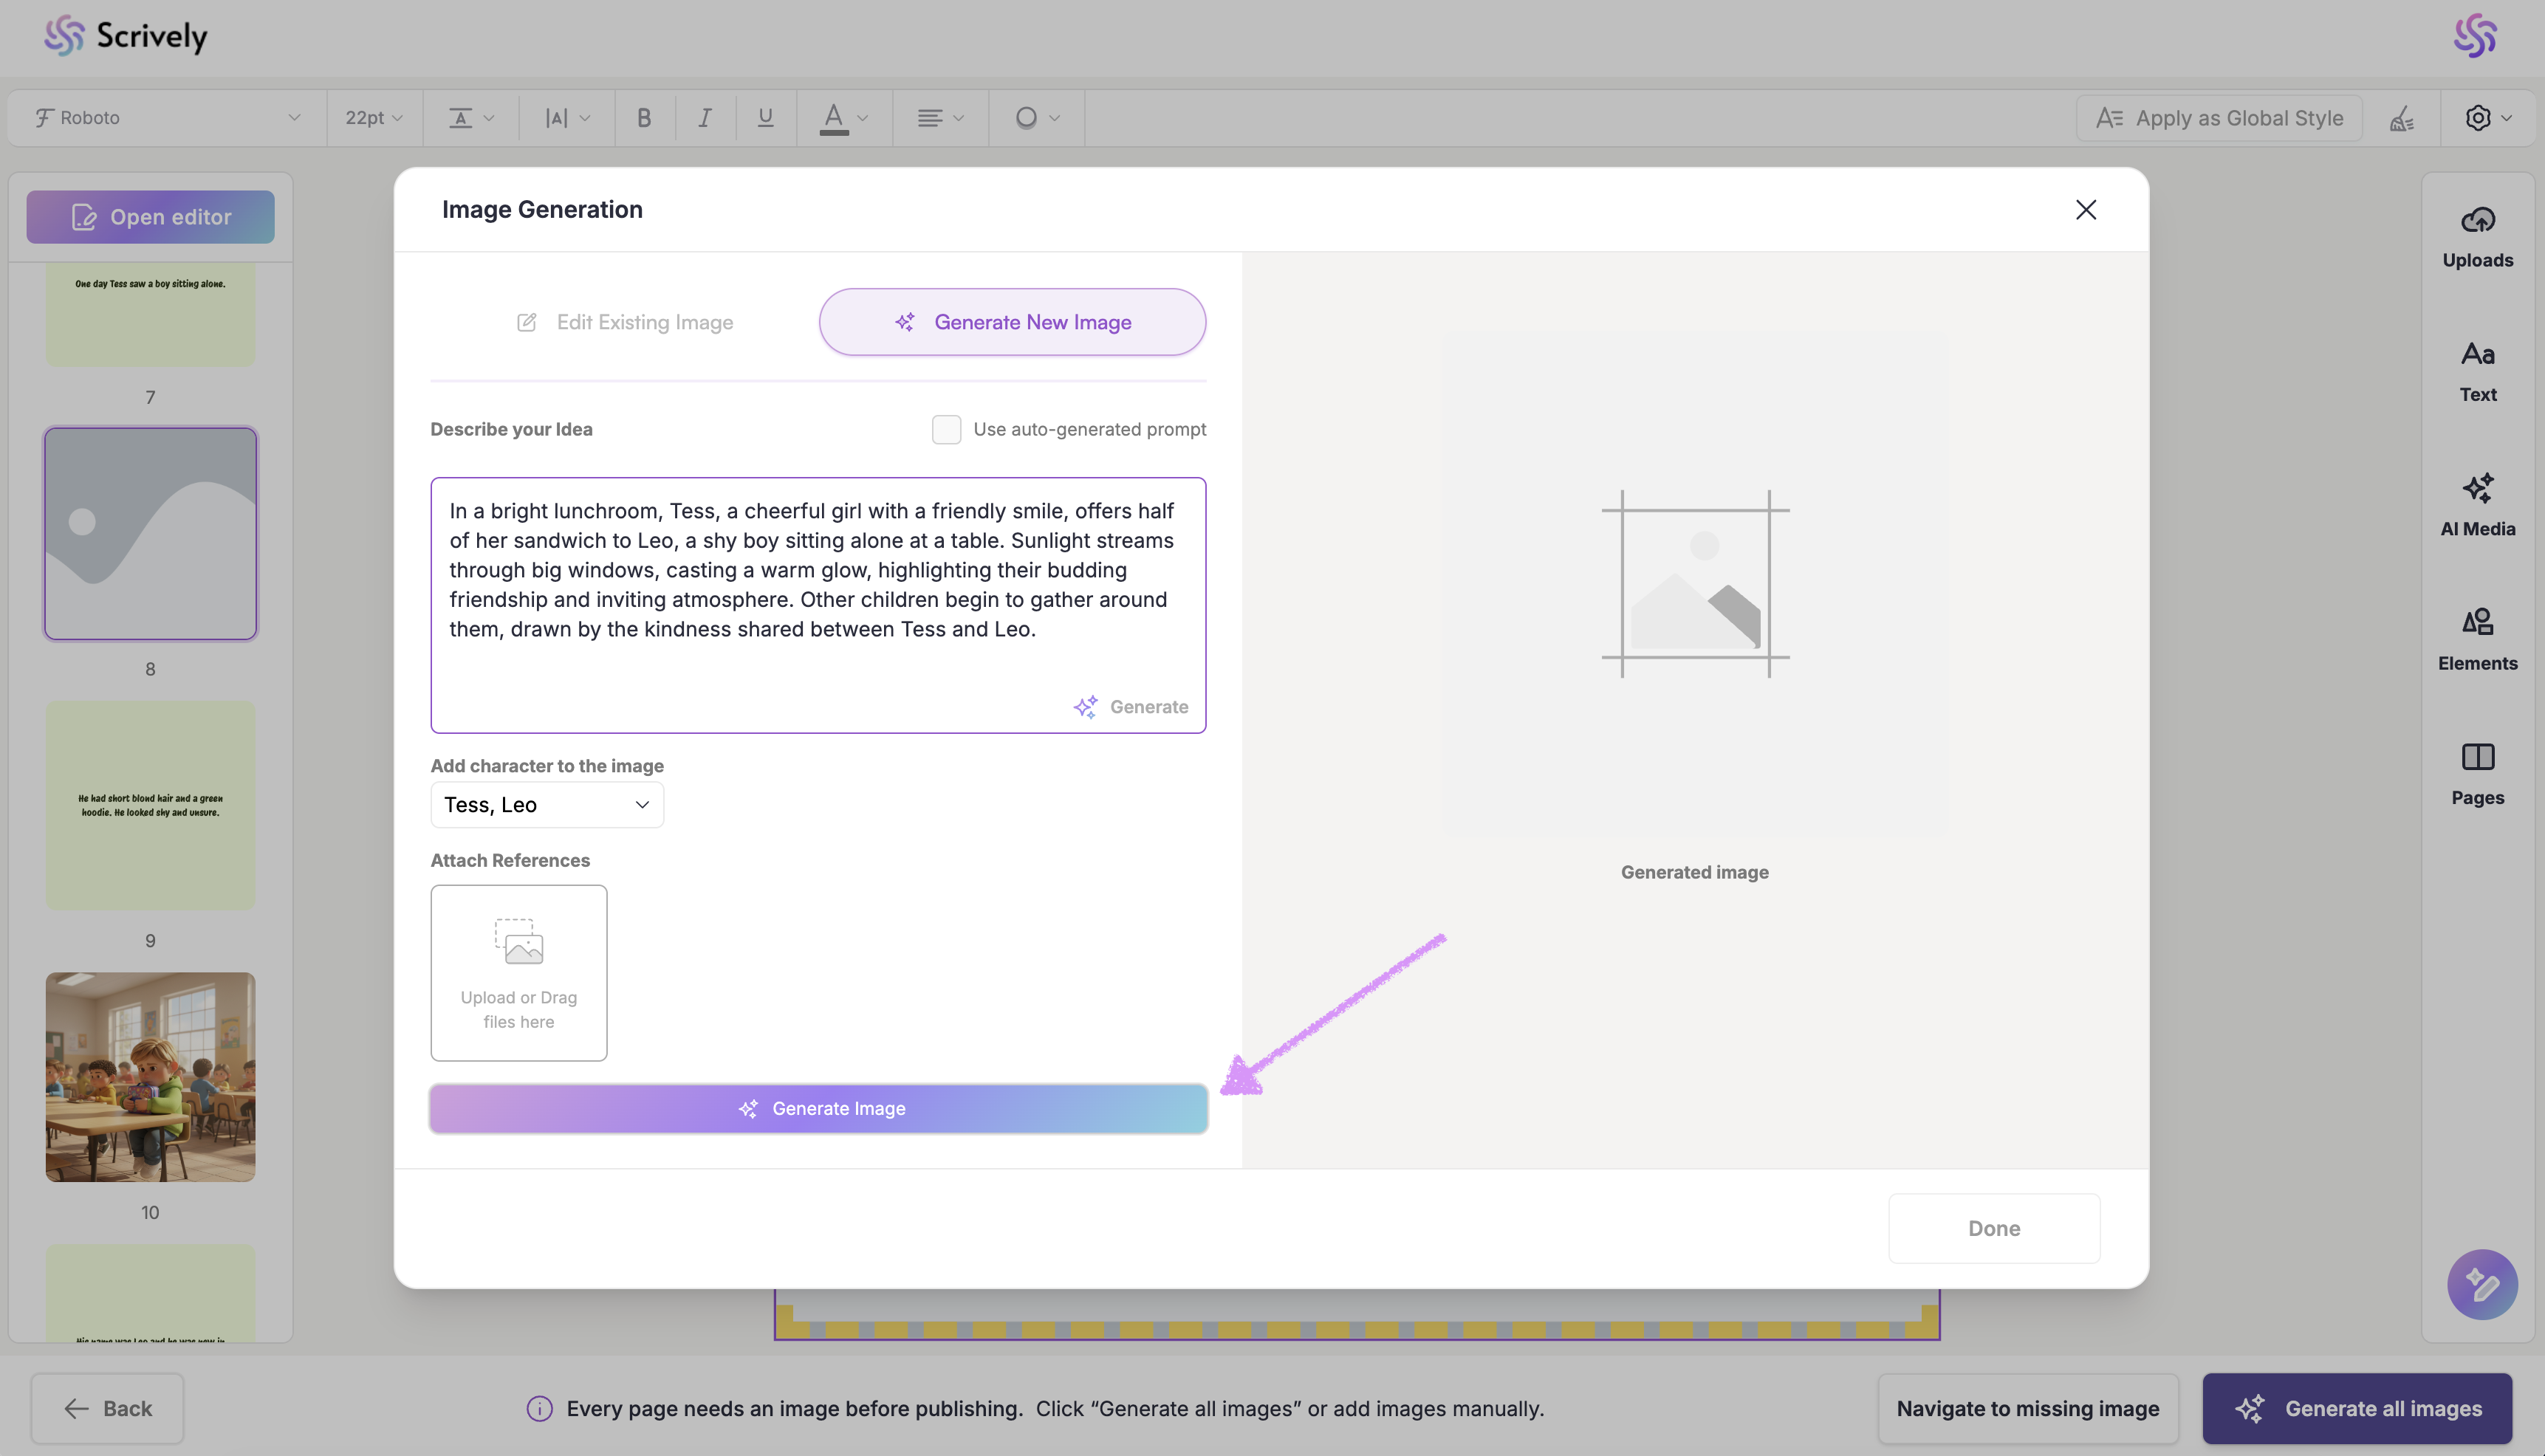
When you're ready click on "Generate Image."
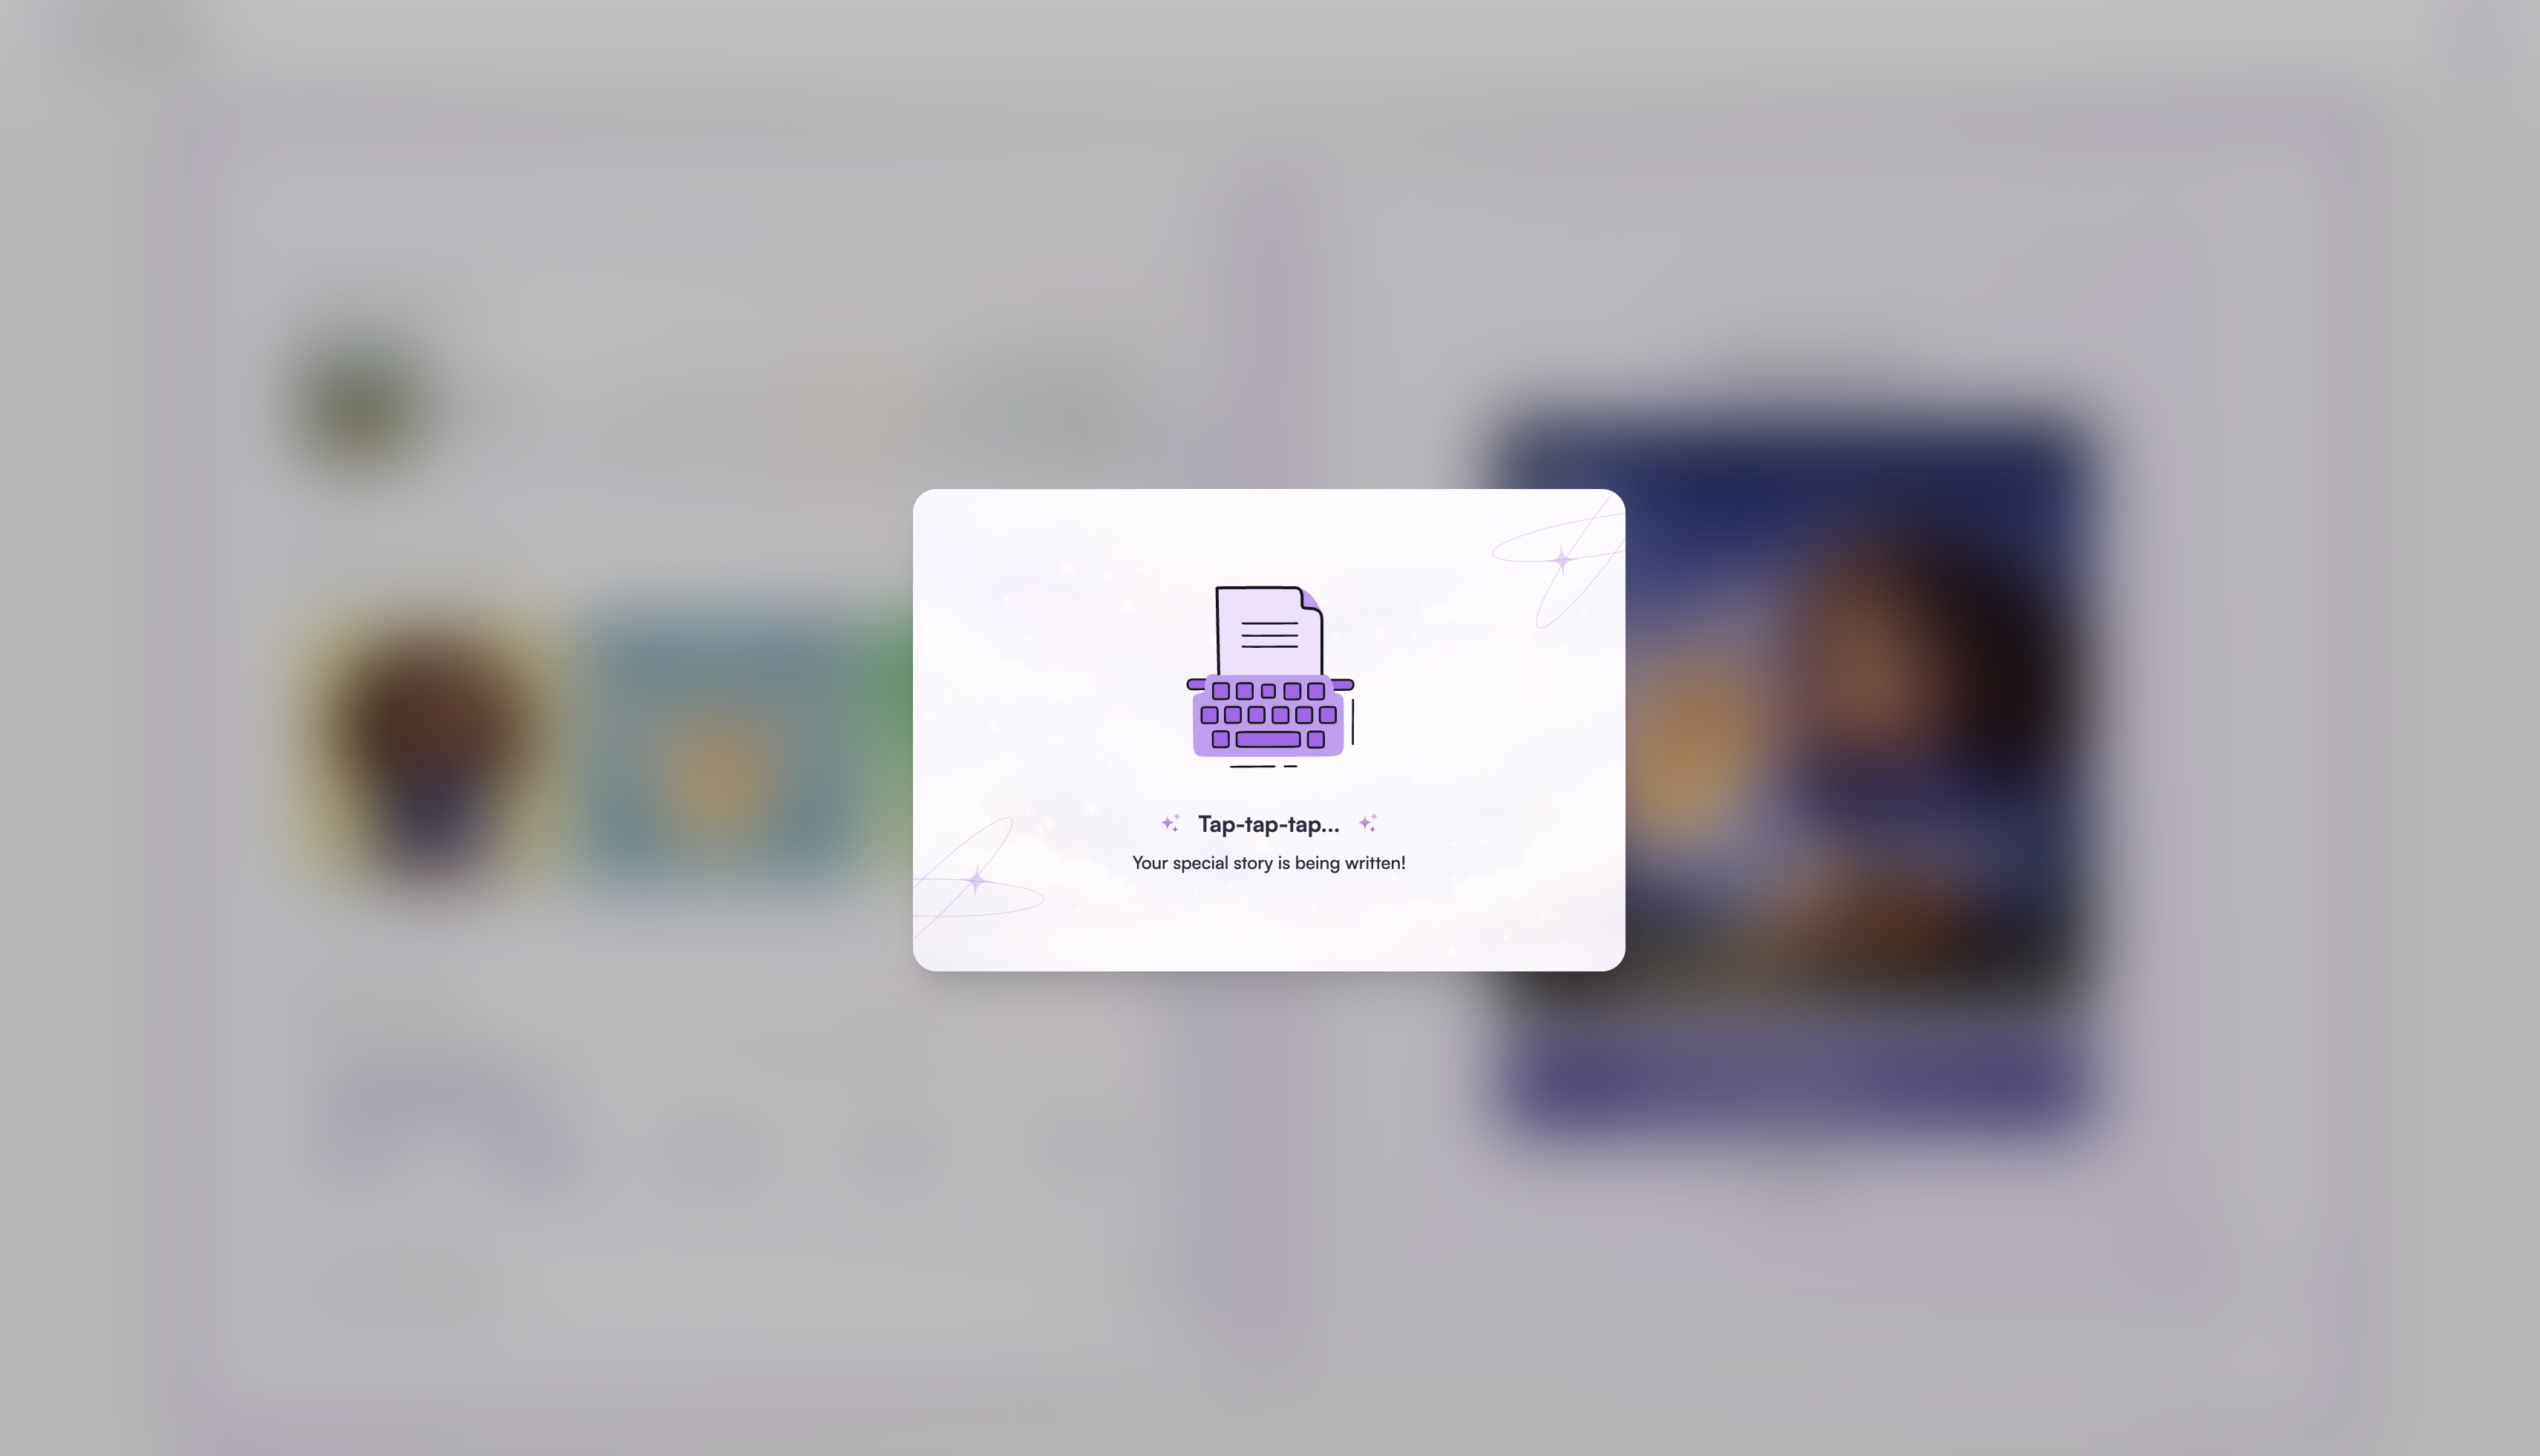
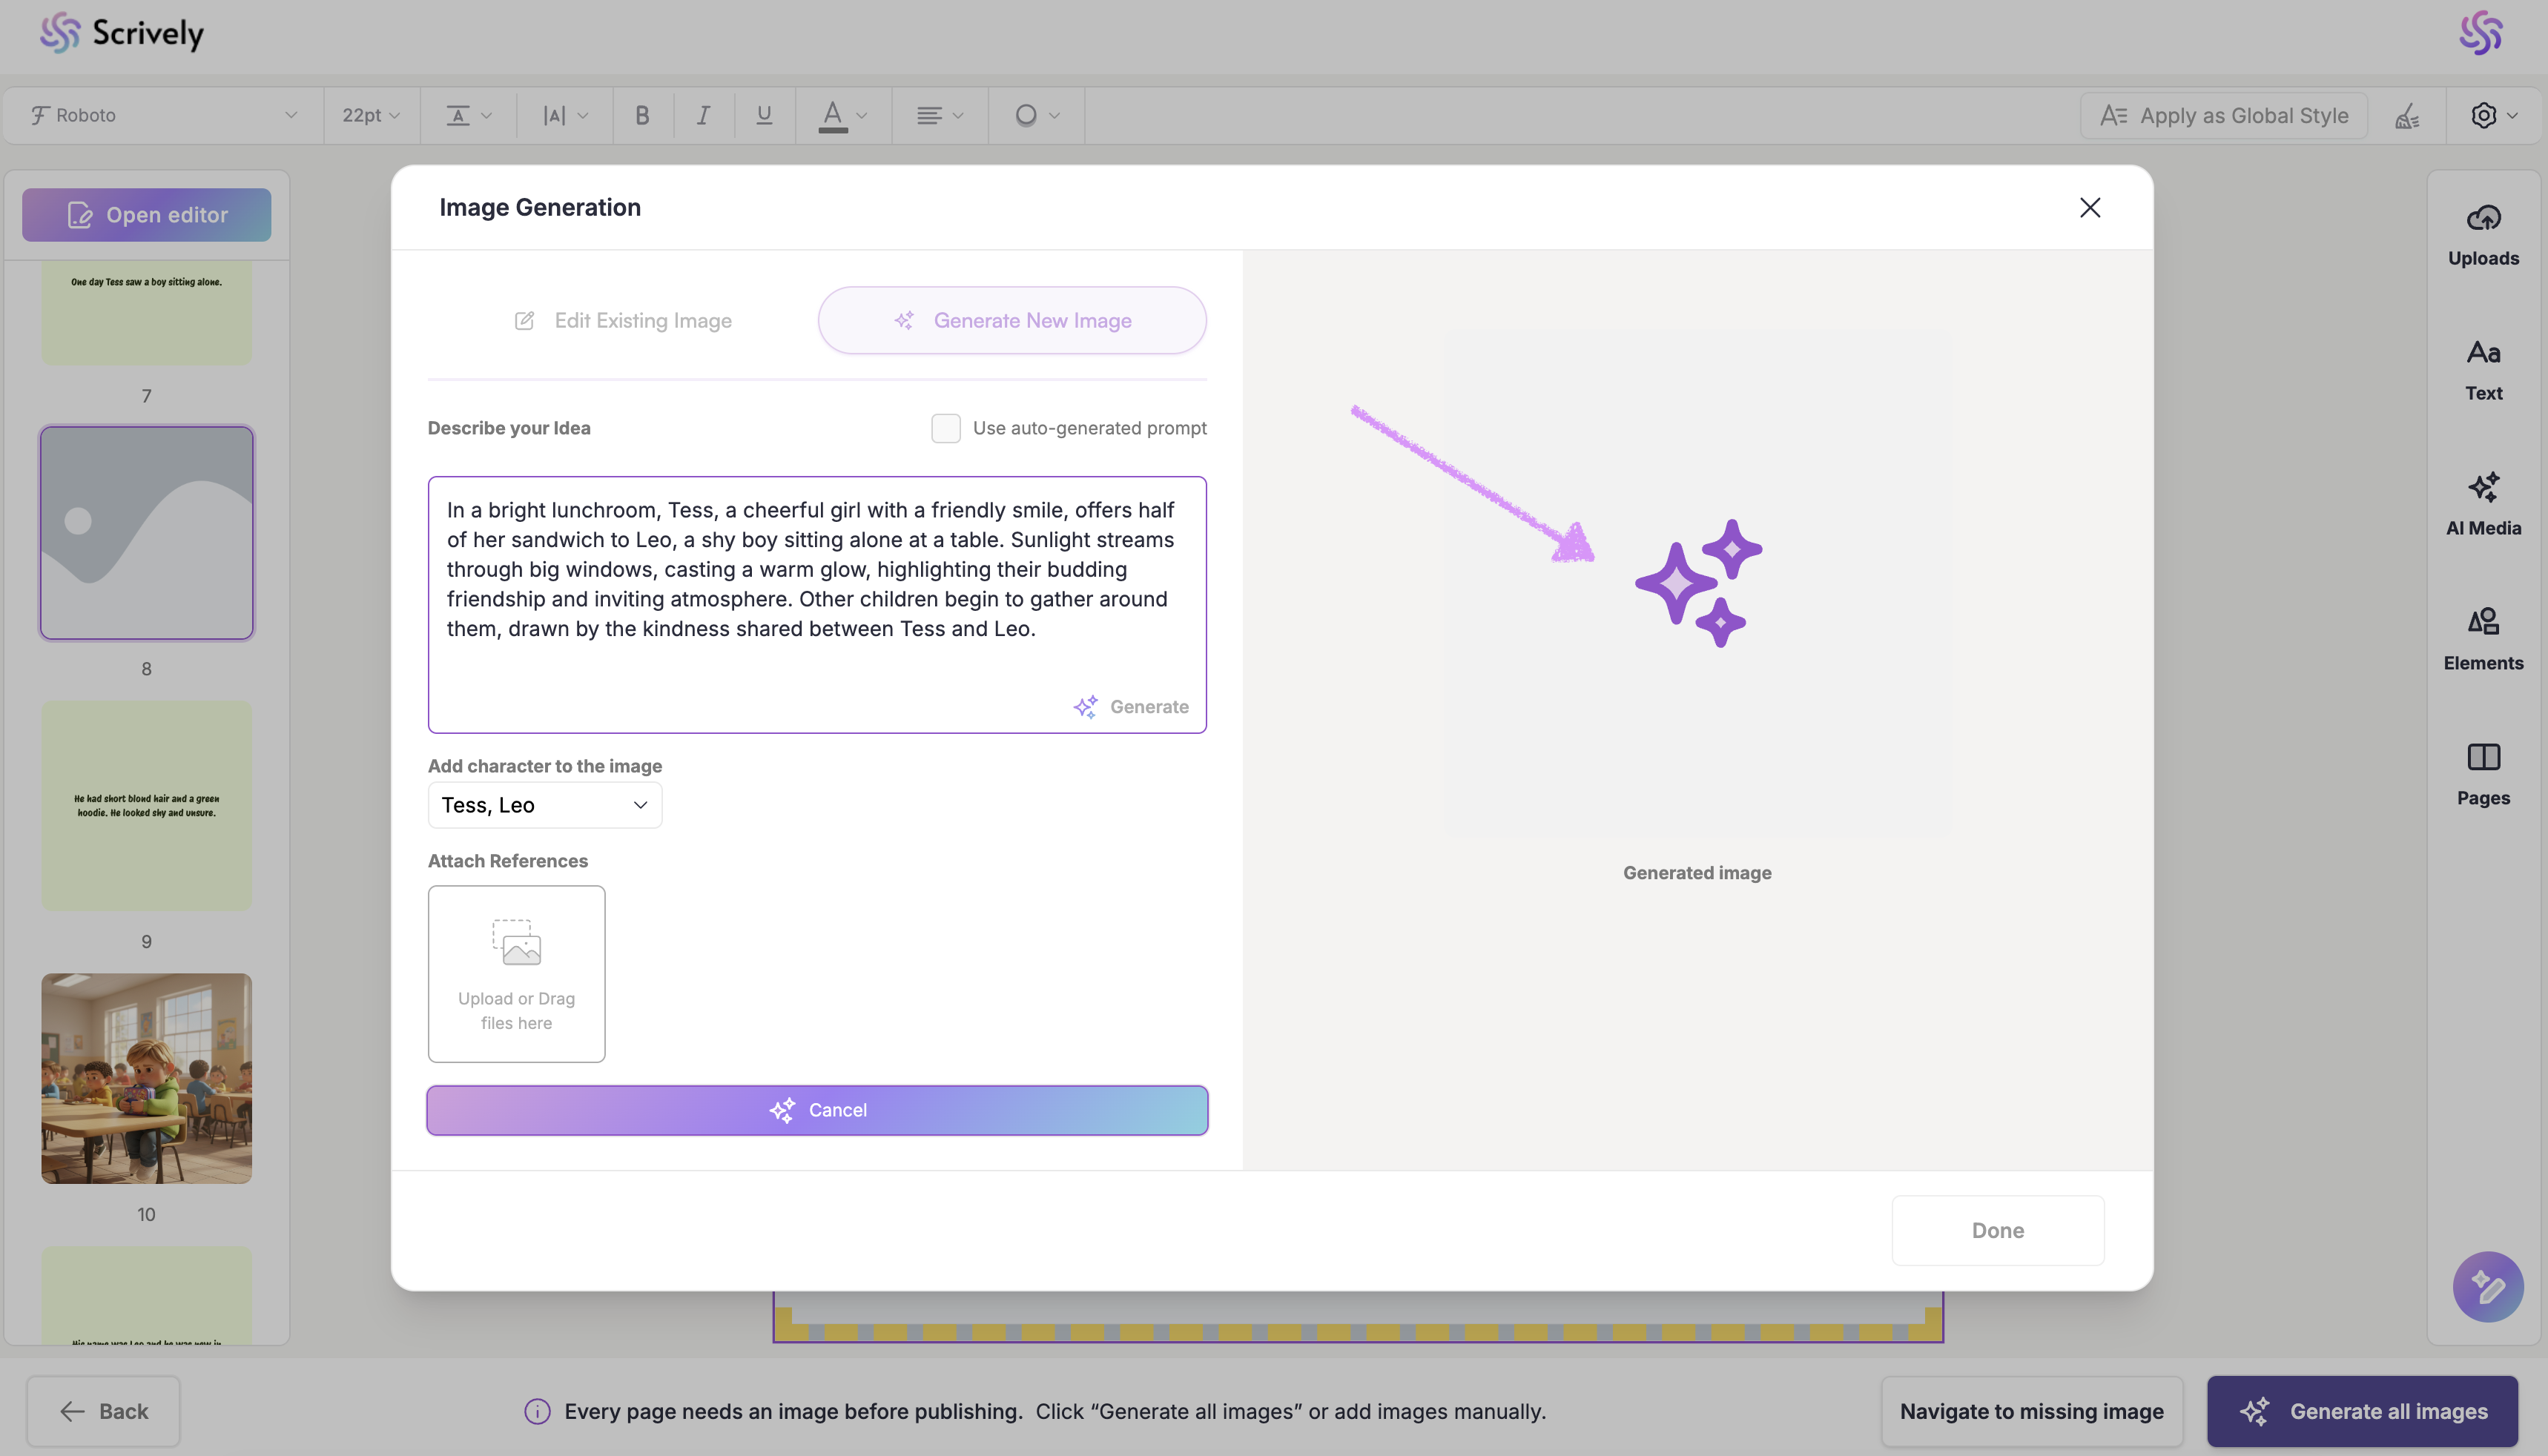
Scrively will take a few moments to think.
The generated image will be displayed. Not satisfied with the generated image? You can edit the image as outlined in our guide here or adjust the description then click on "Generate Image."
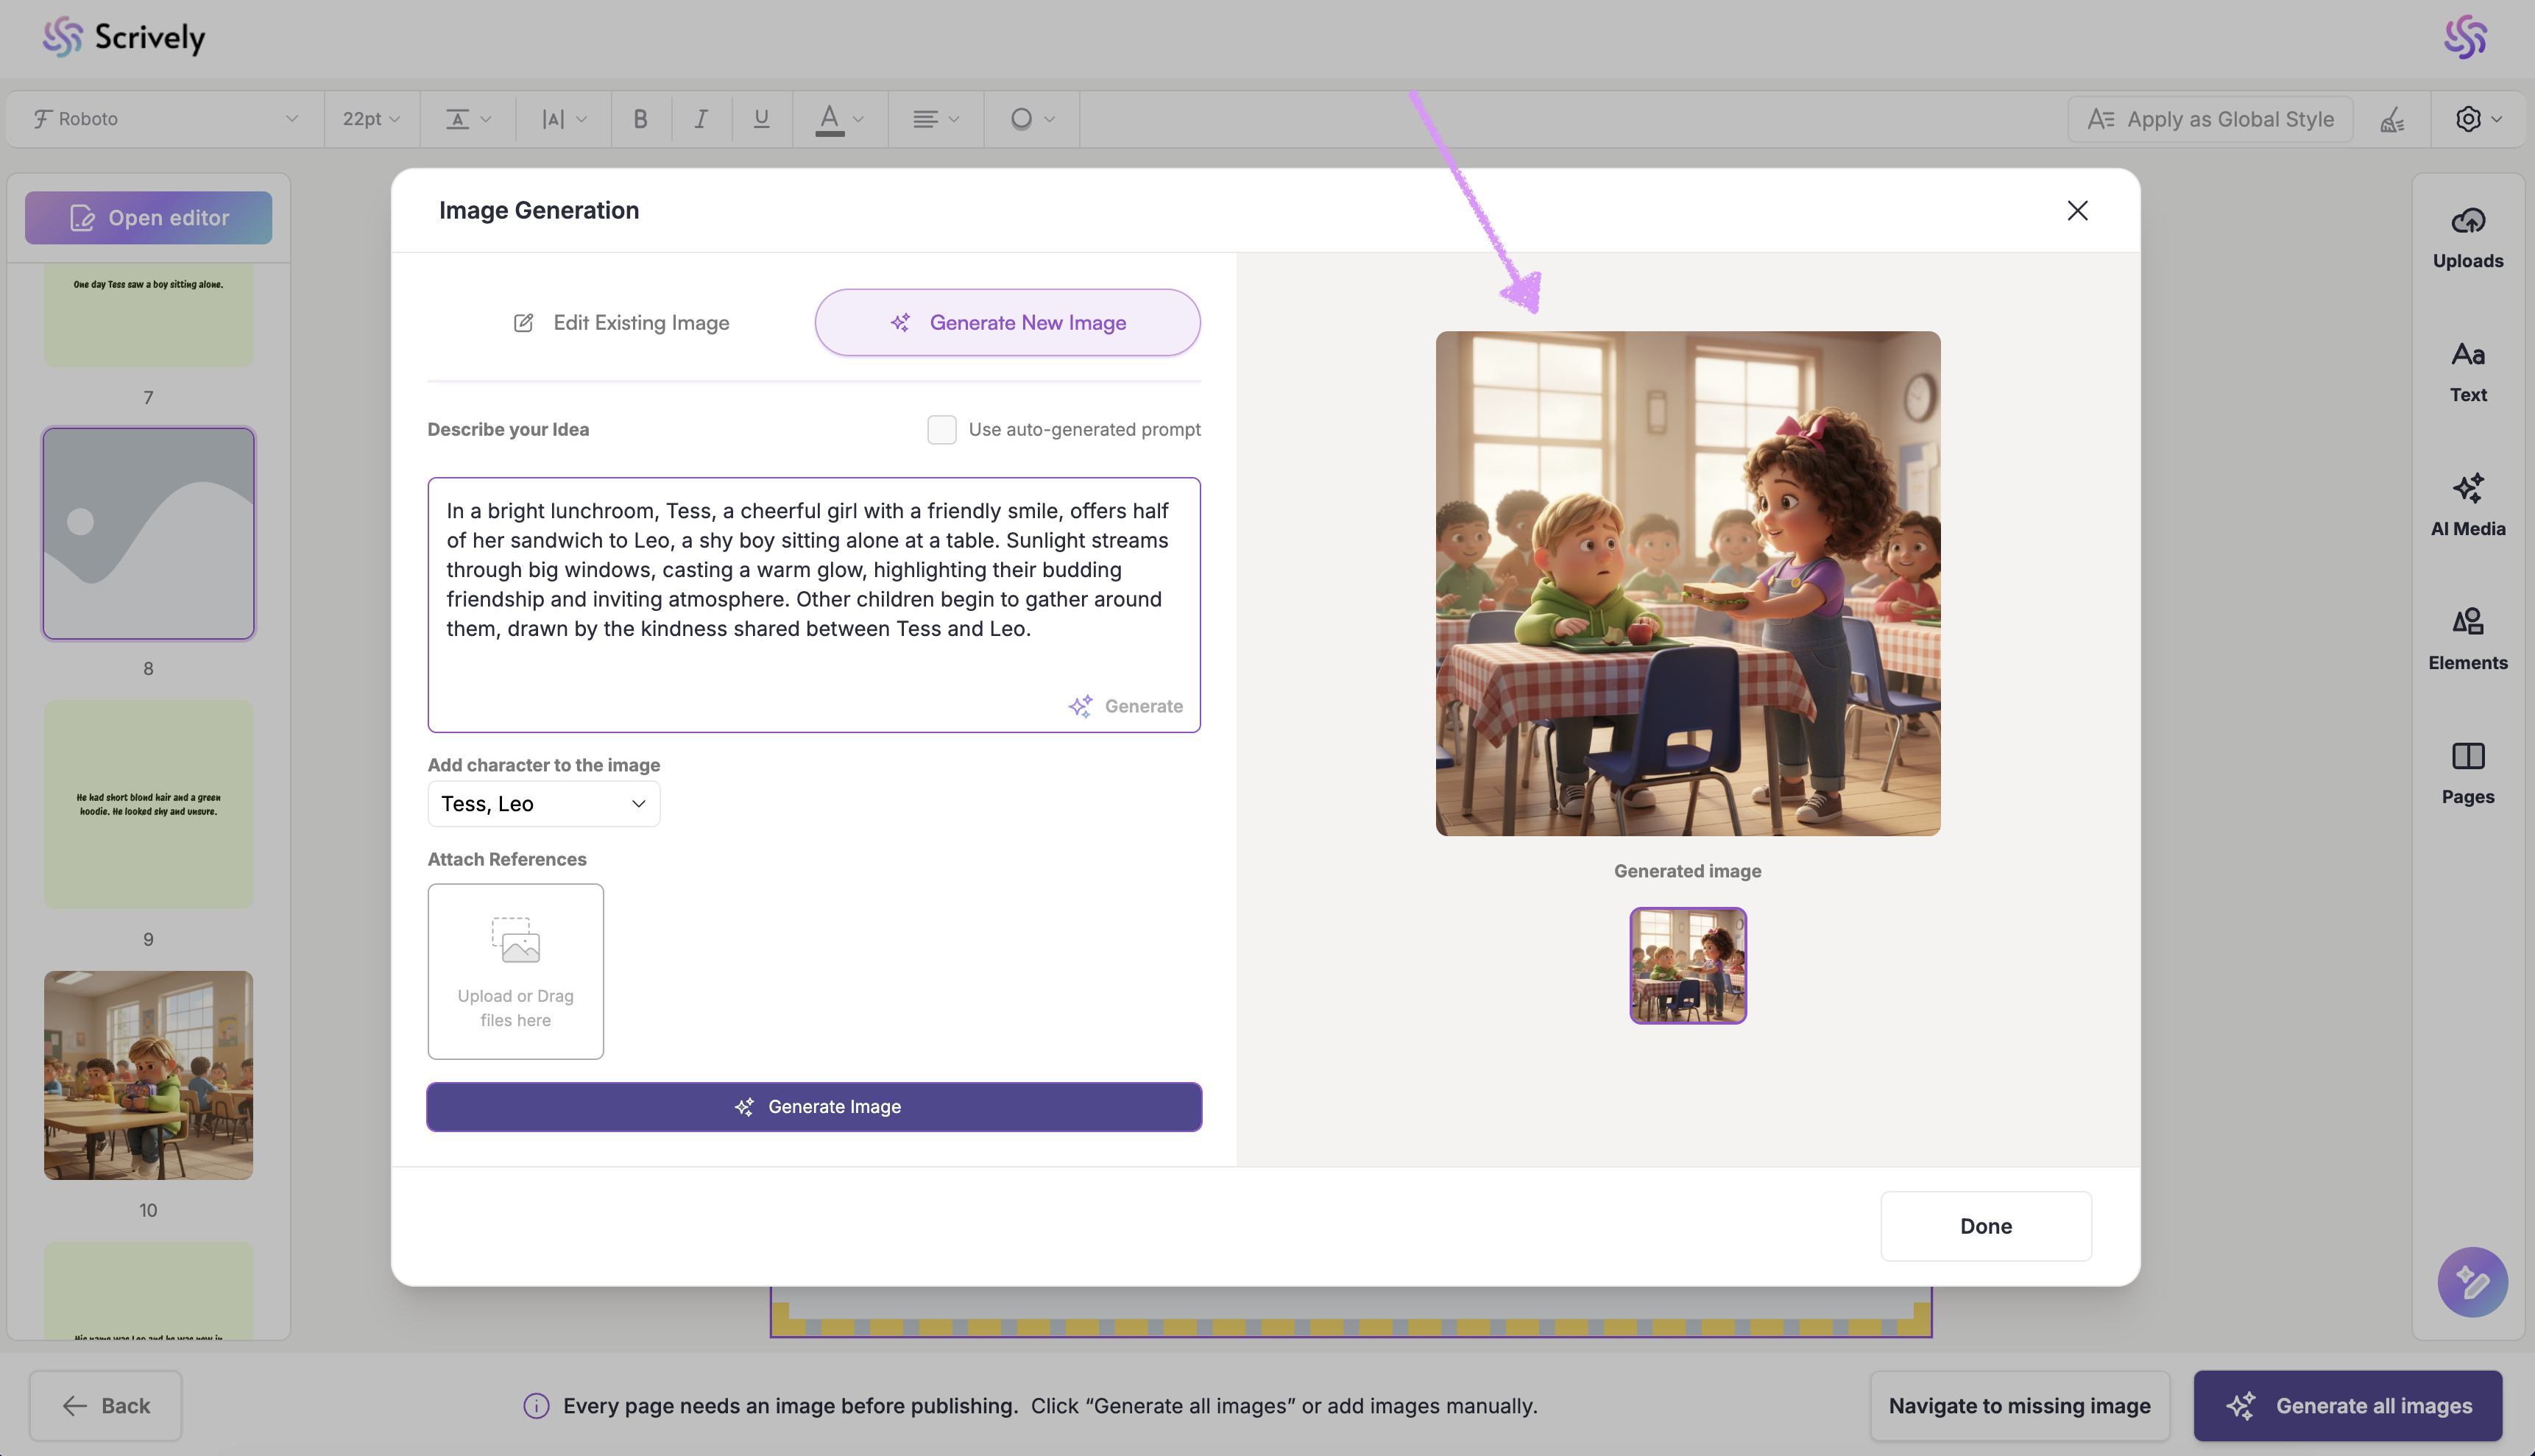
Click on "Done" to add the image to the page.

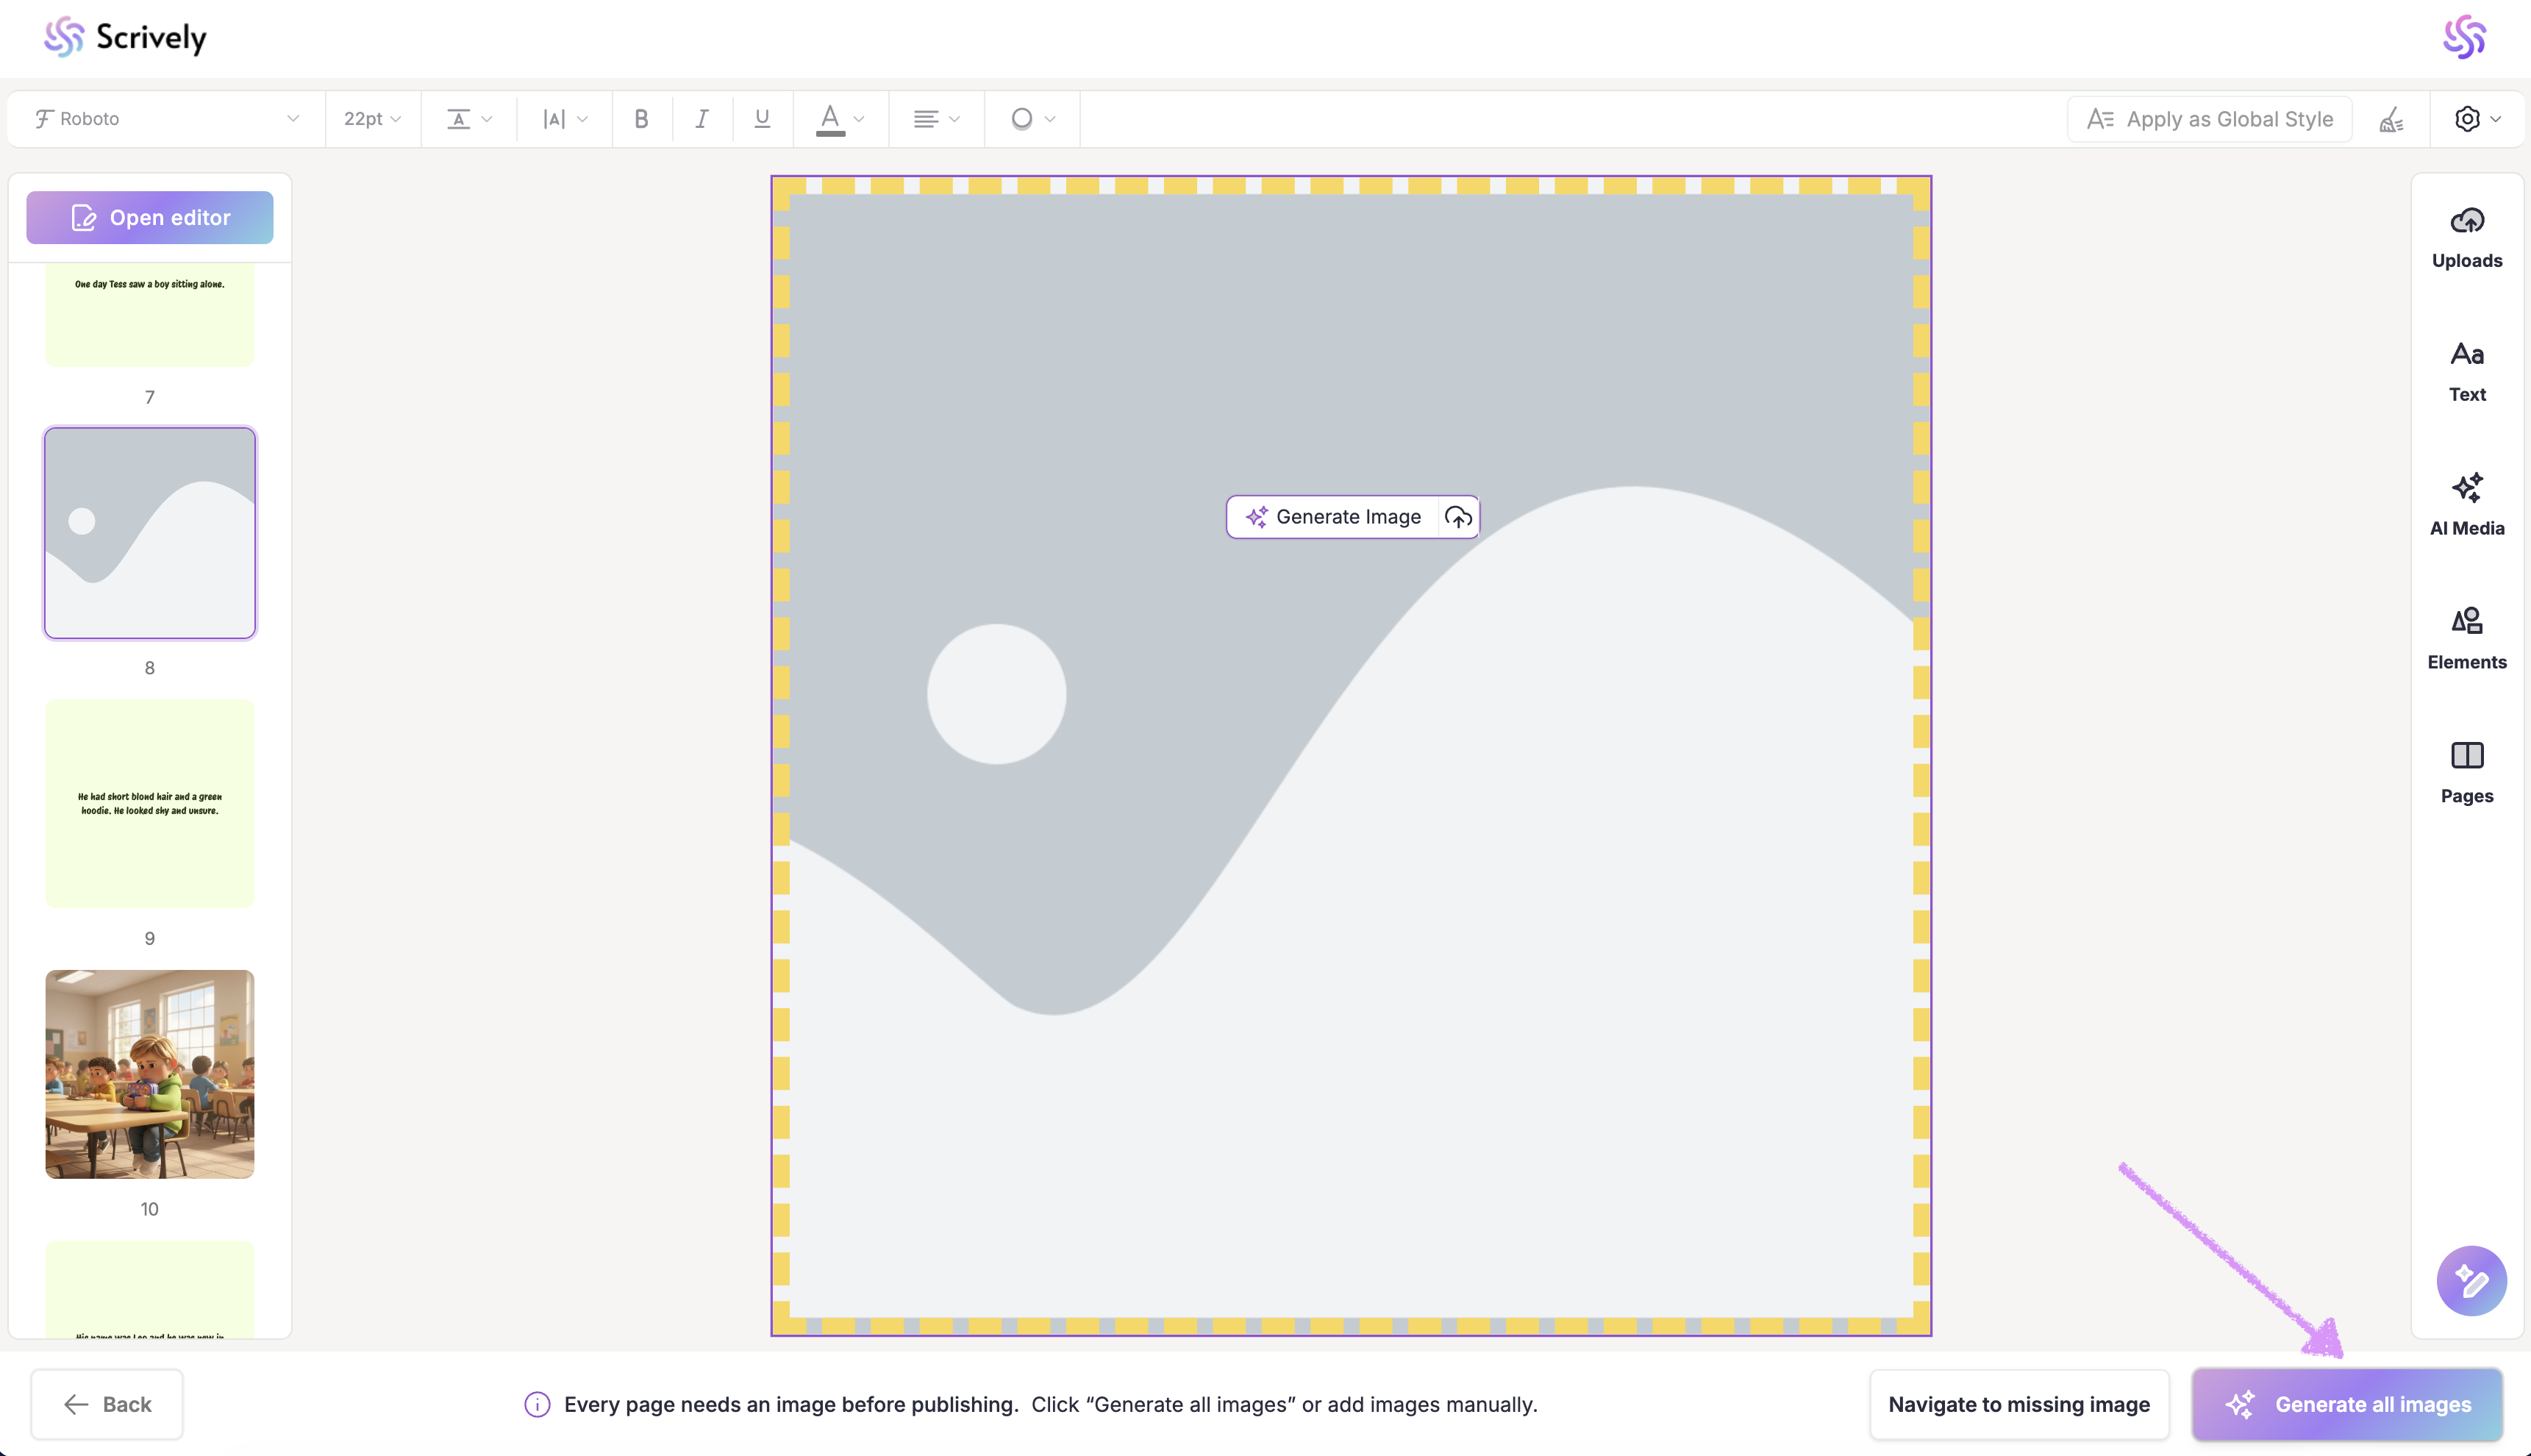
If you’d prefer not to generate images for each page, click on “Generate All Images” in the bottom right corner. Scrively will automatically create images for every page based on your story’s context.
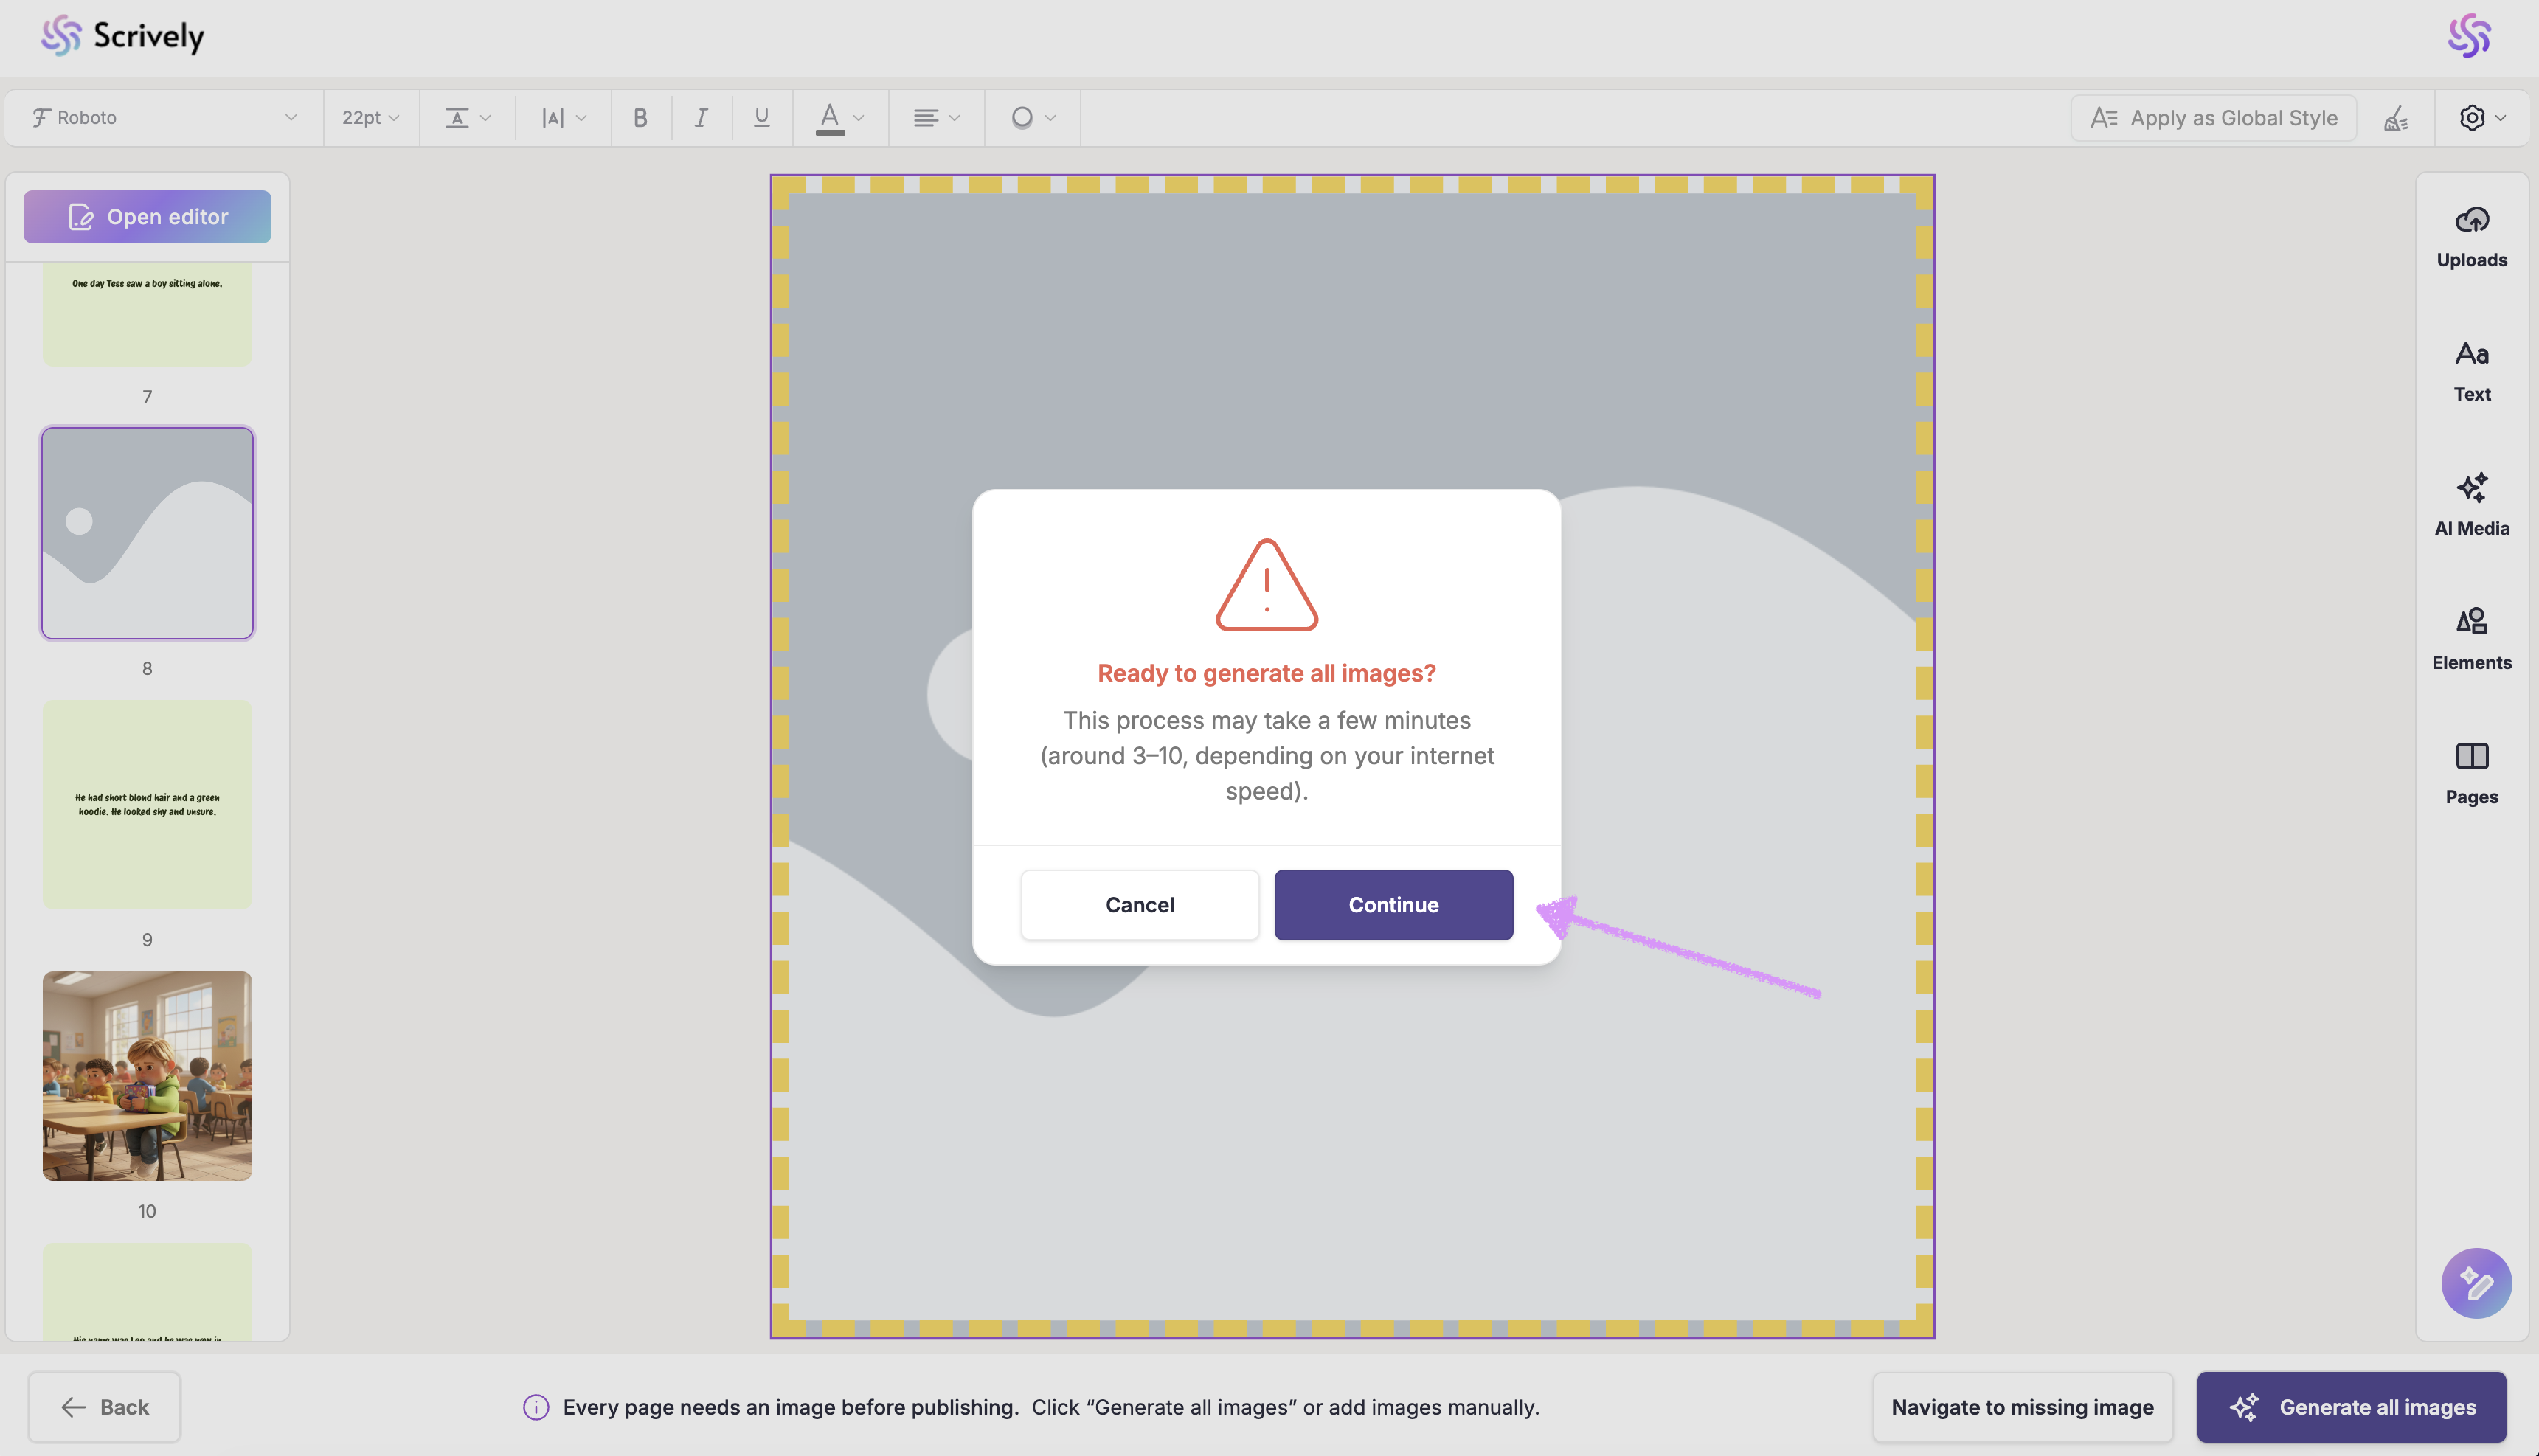
Scrively will let you know how long the image generation process may take. Once you’re ready, click “Continue” to proceed. Give Scrively a few minutes to generate your illustrations. This is a great time to take a short break while the magic happens!
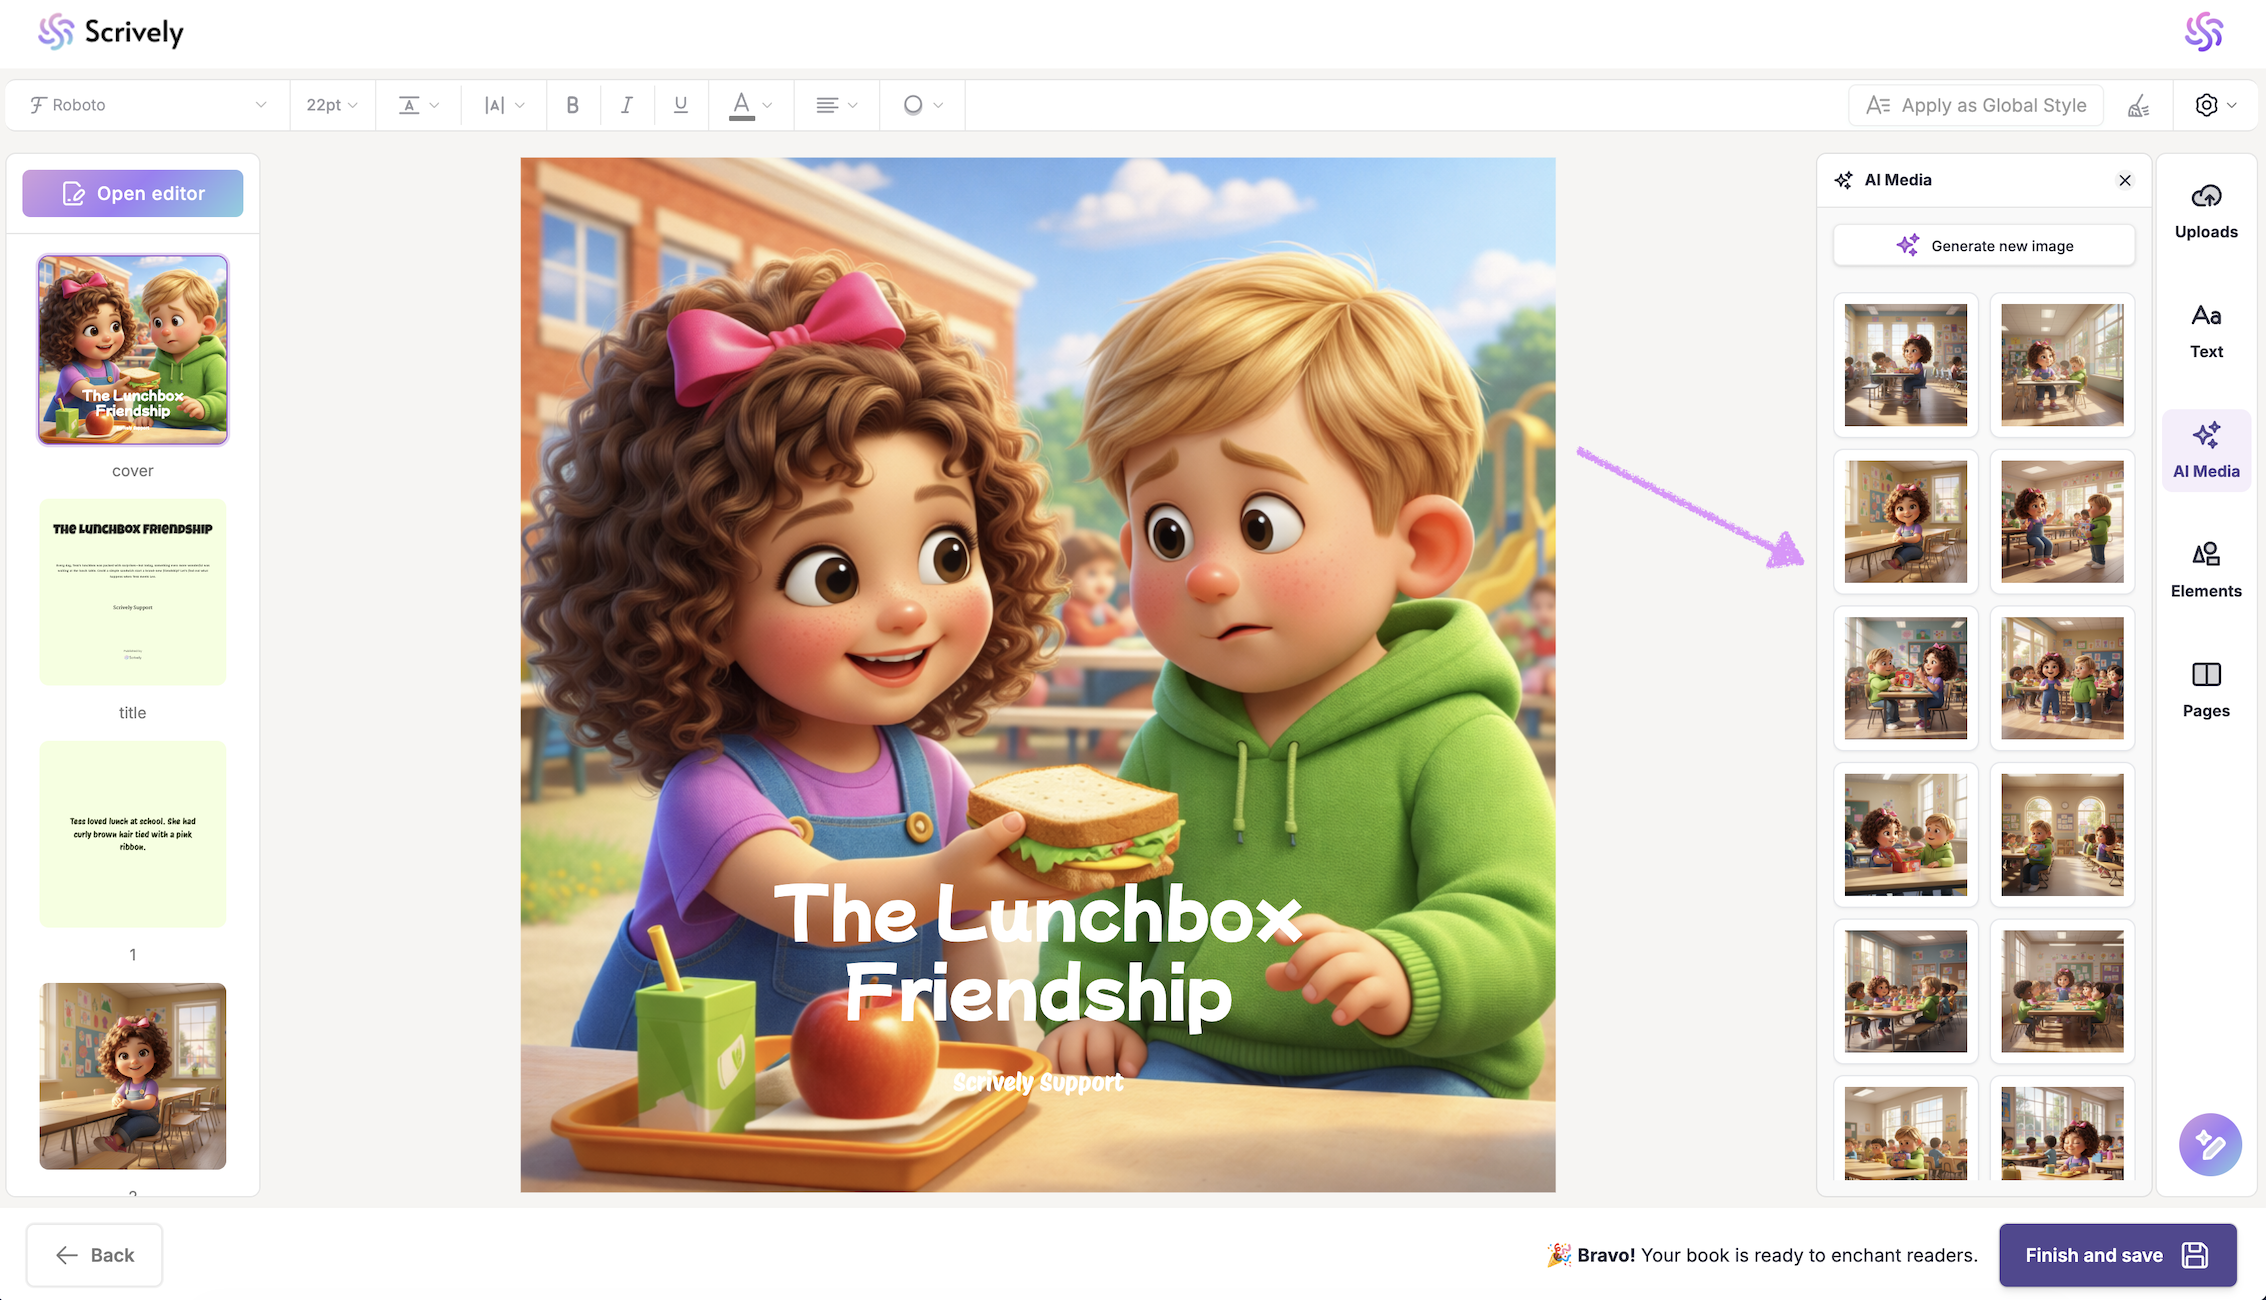
All generated images will be displayed on the right side in the book's "AI Media" library.
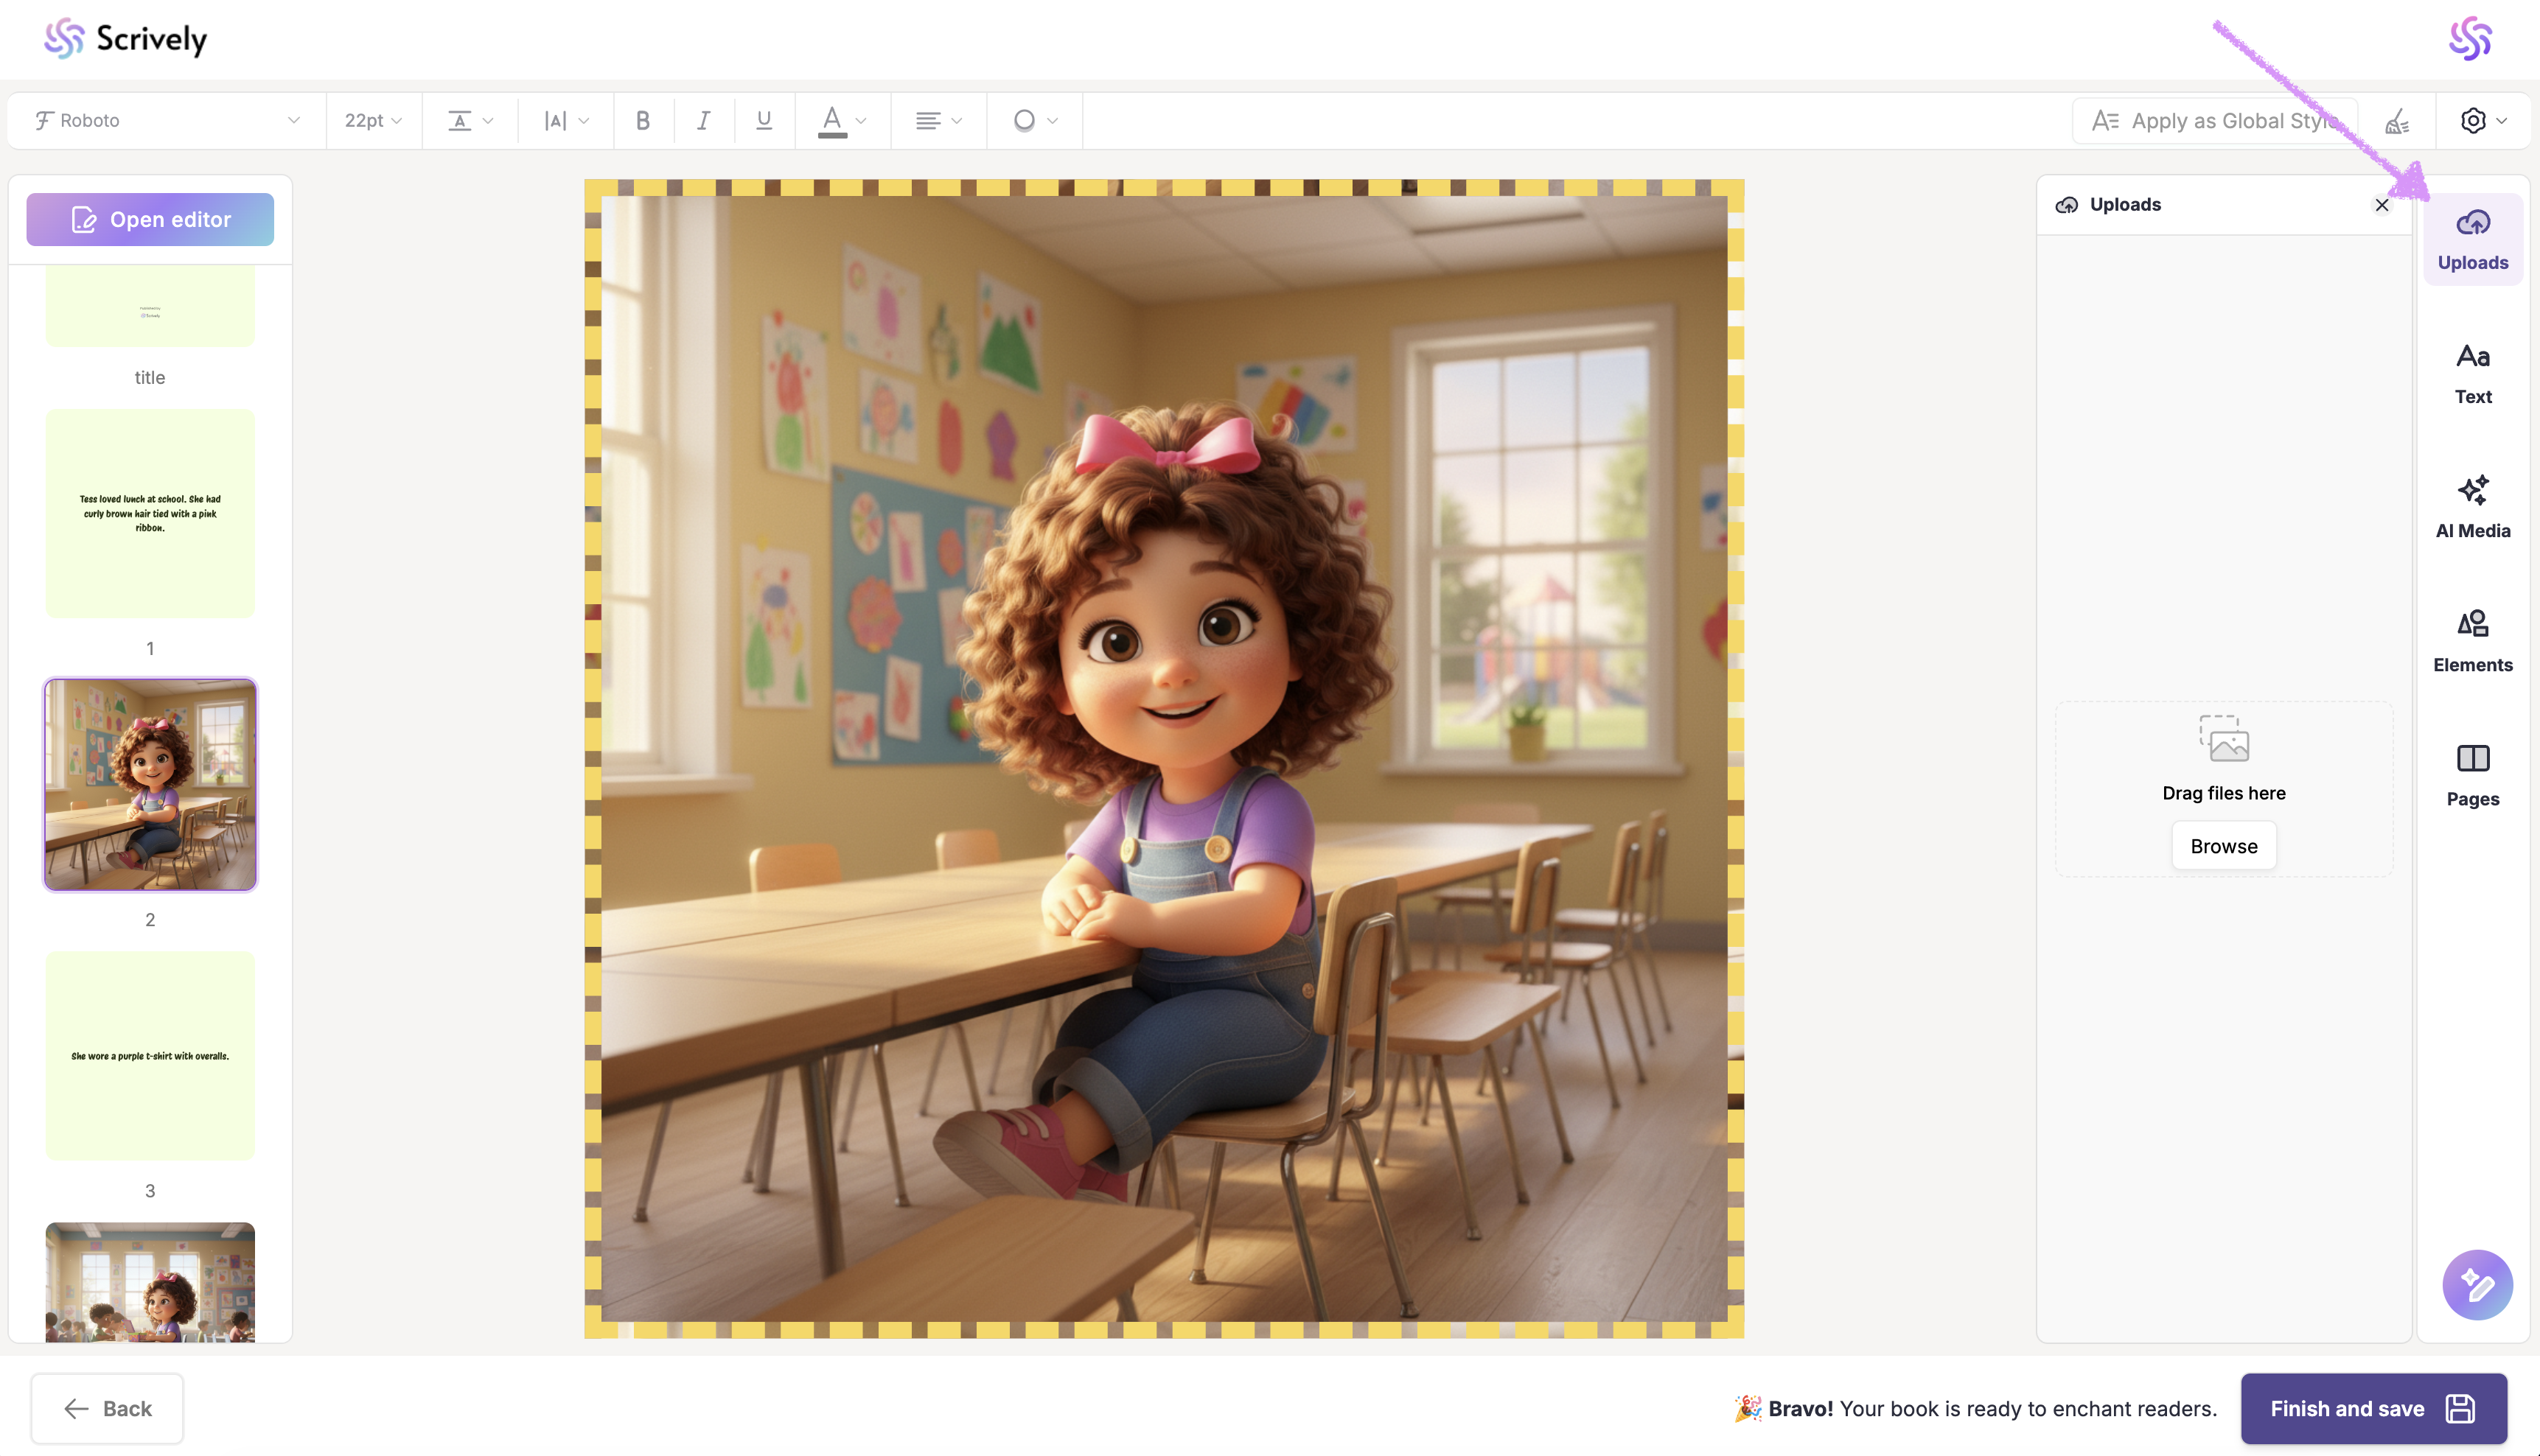
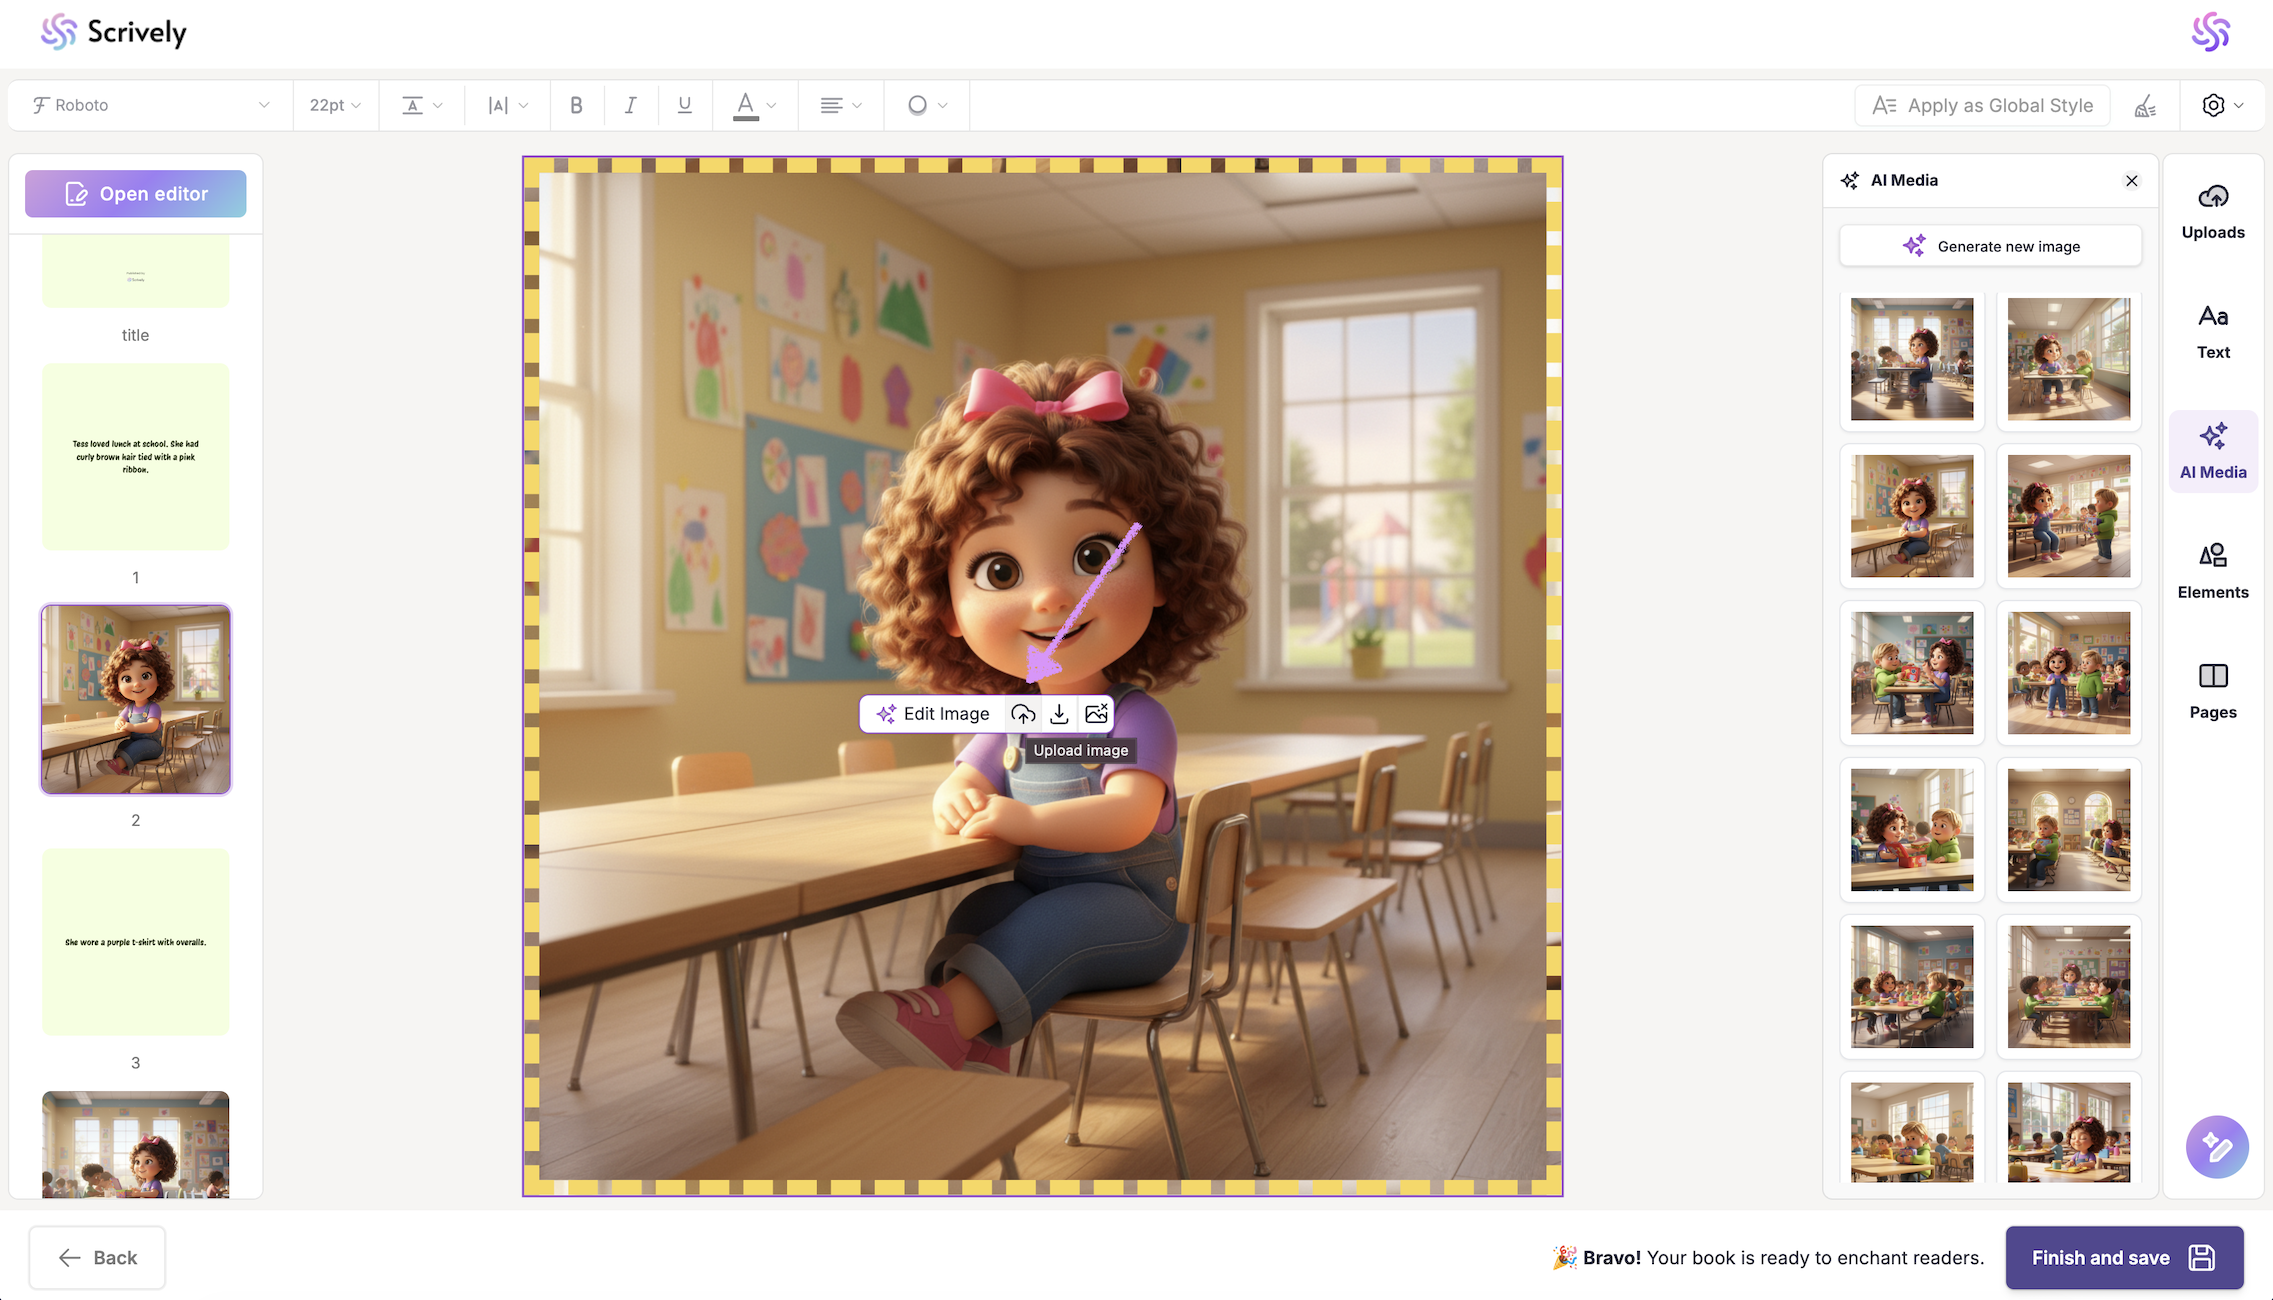
At the top right hand side navigate to the "Uploads" tab to import an image from your device.
Double-clicking an image frame that already contains an image will display additional options, including the ability to upload an image directly from your device into that frame.
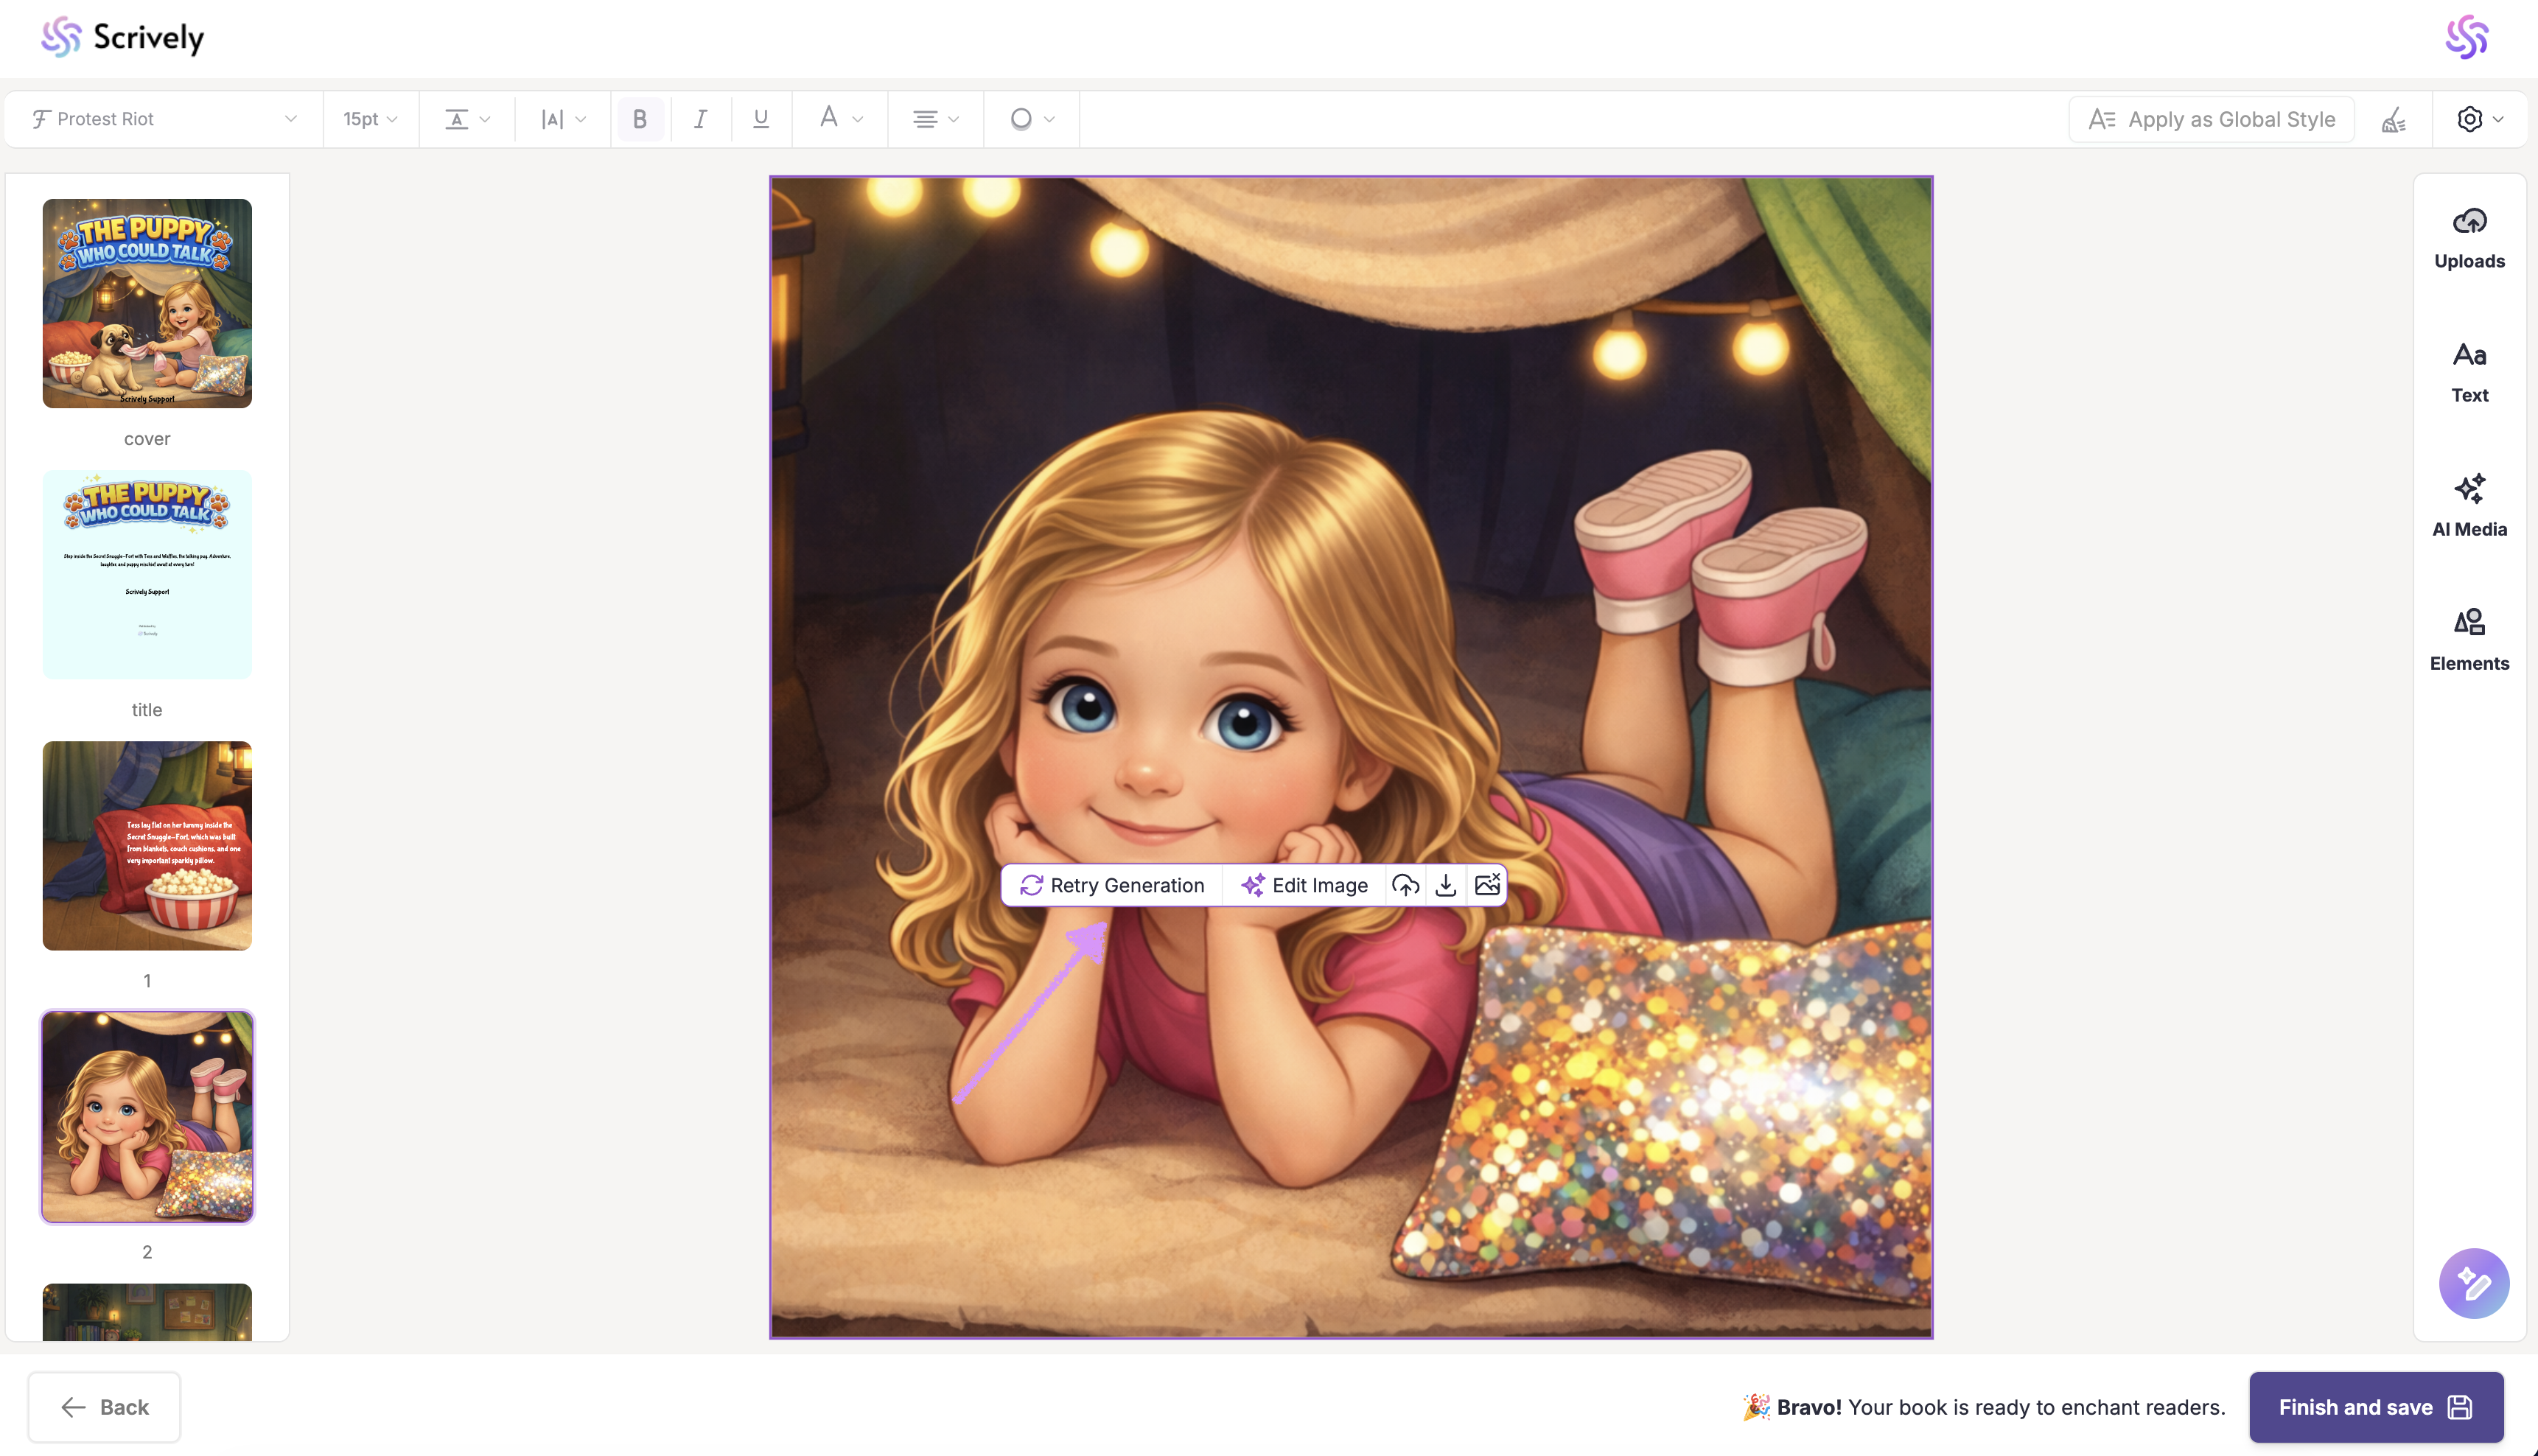
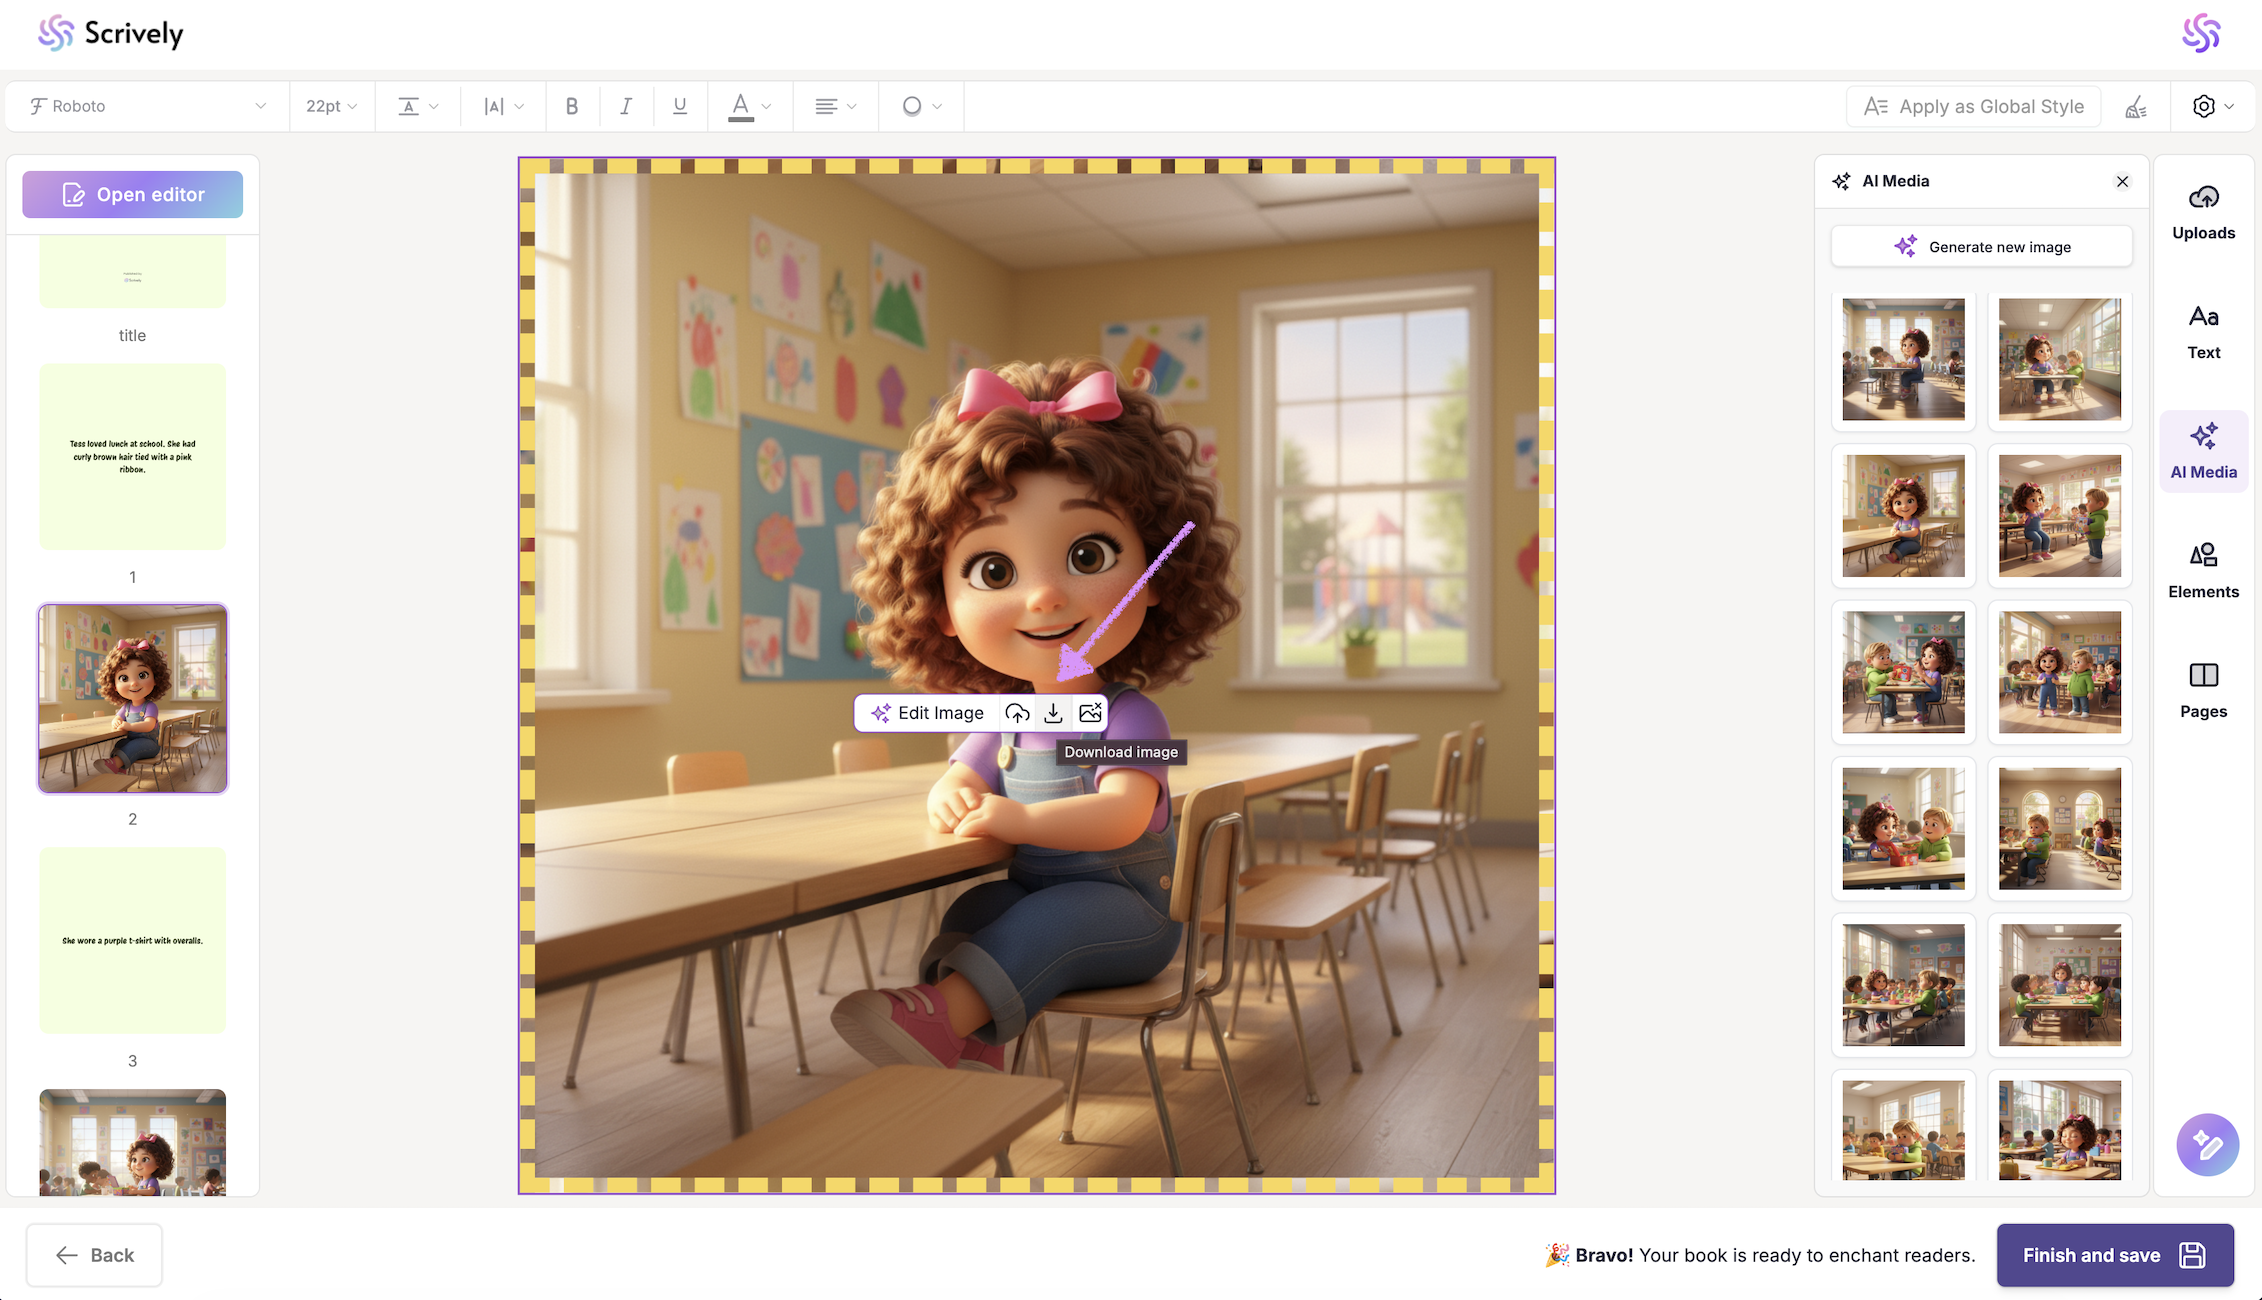
Use the download icon to save the image to your device if needed.
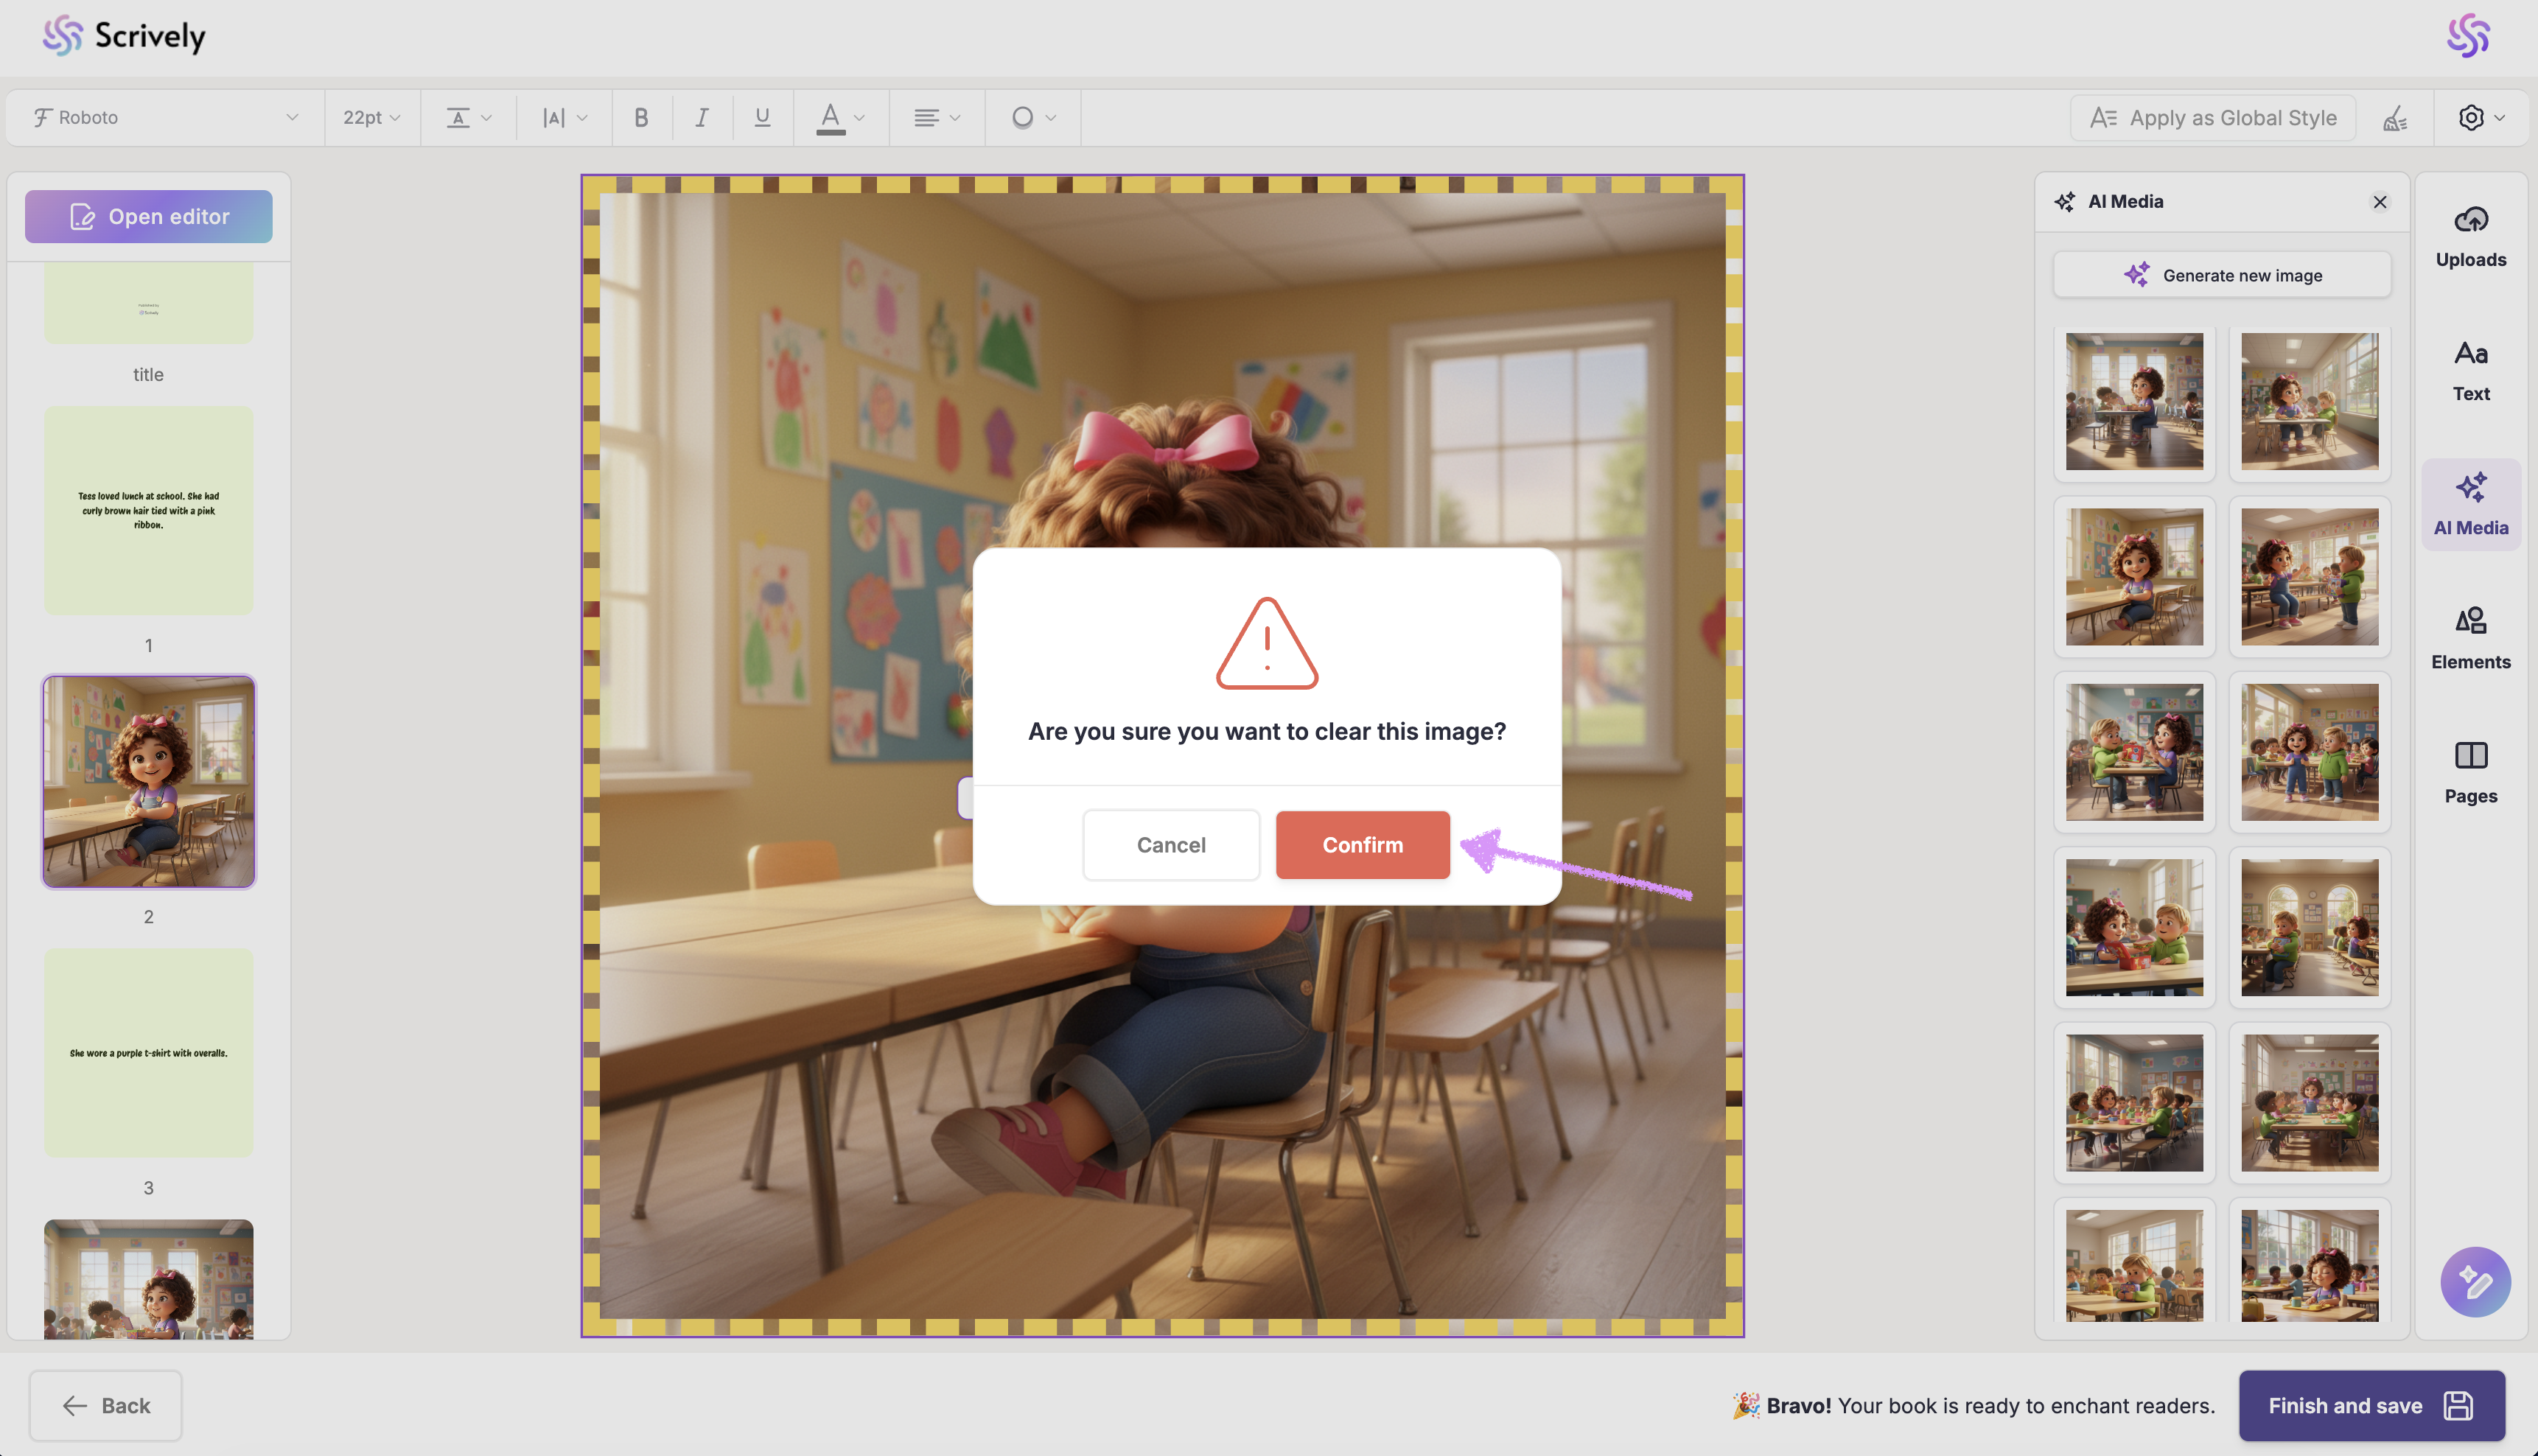
To remove the image entirely, click on the "Clear image" icon.

A confirmation modal will be displayed.
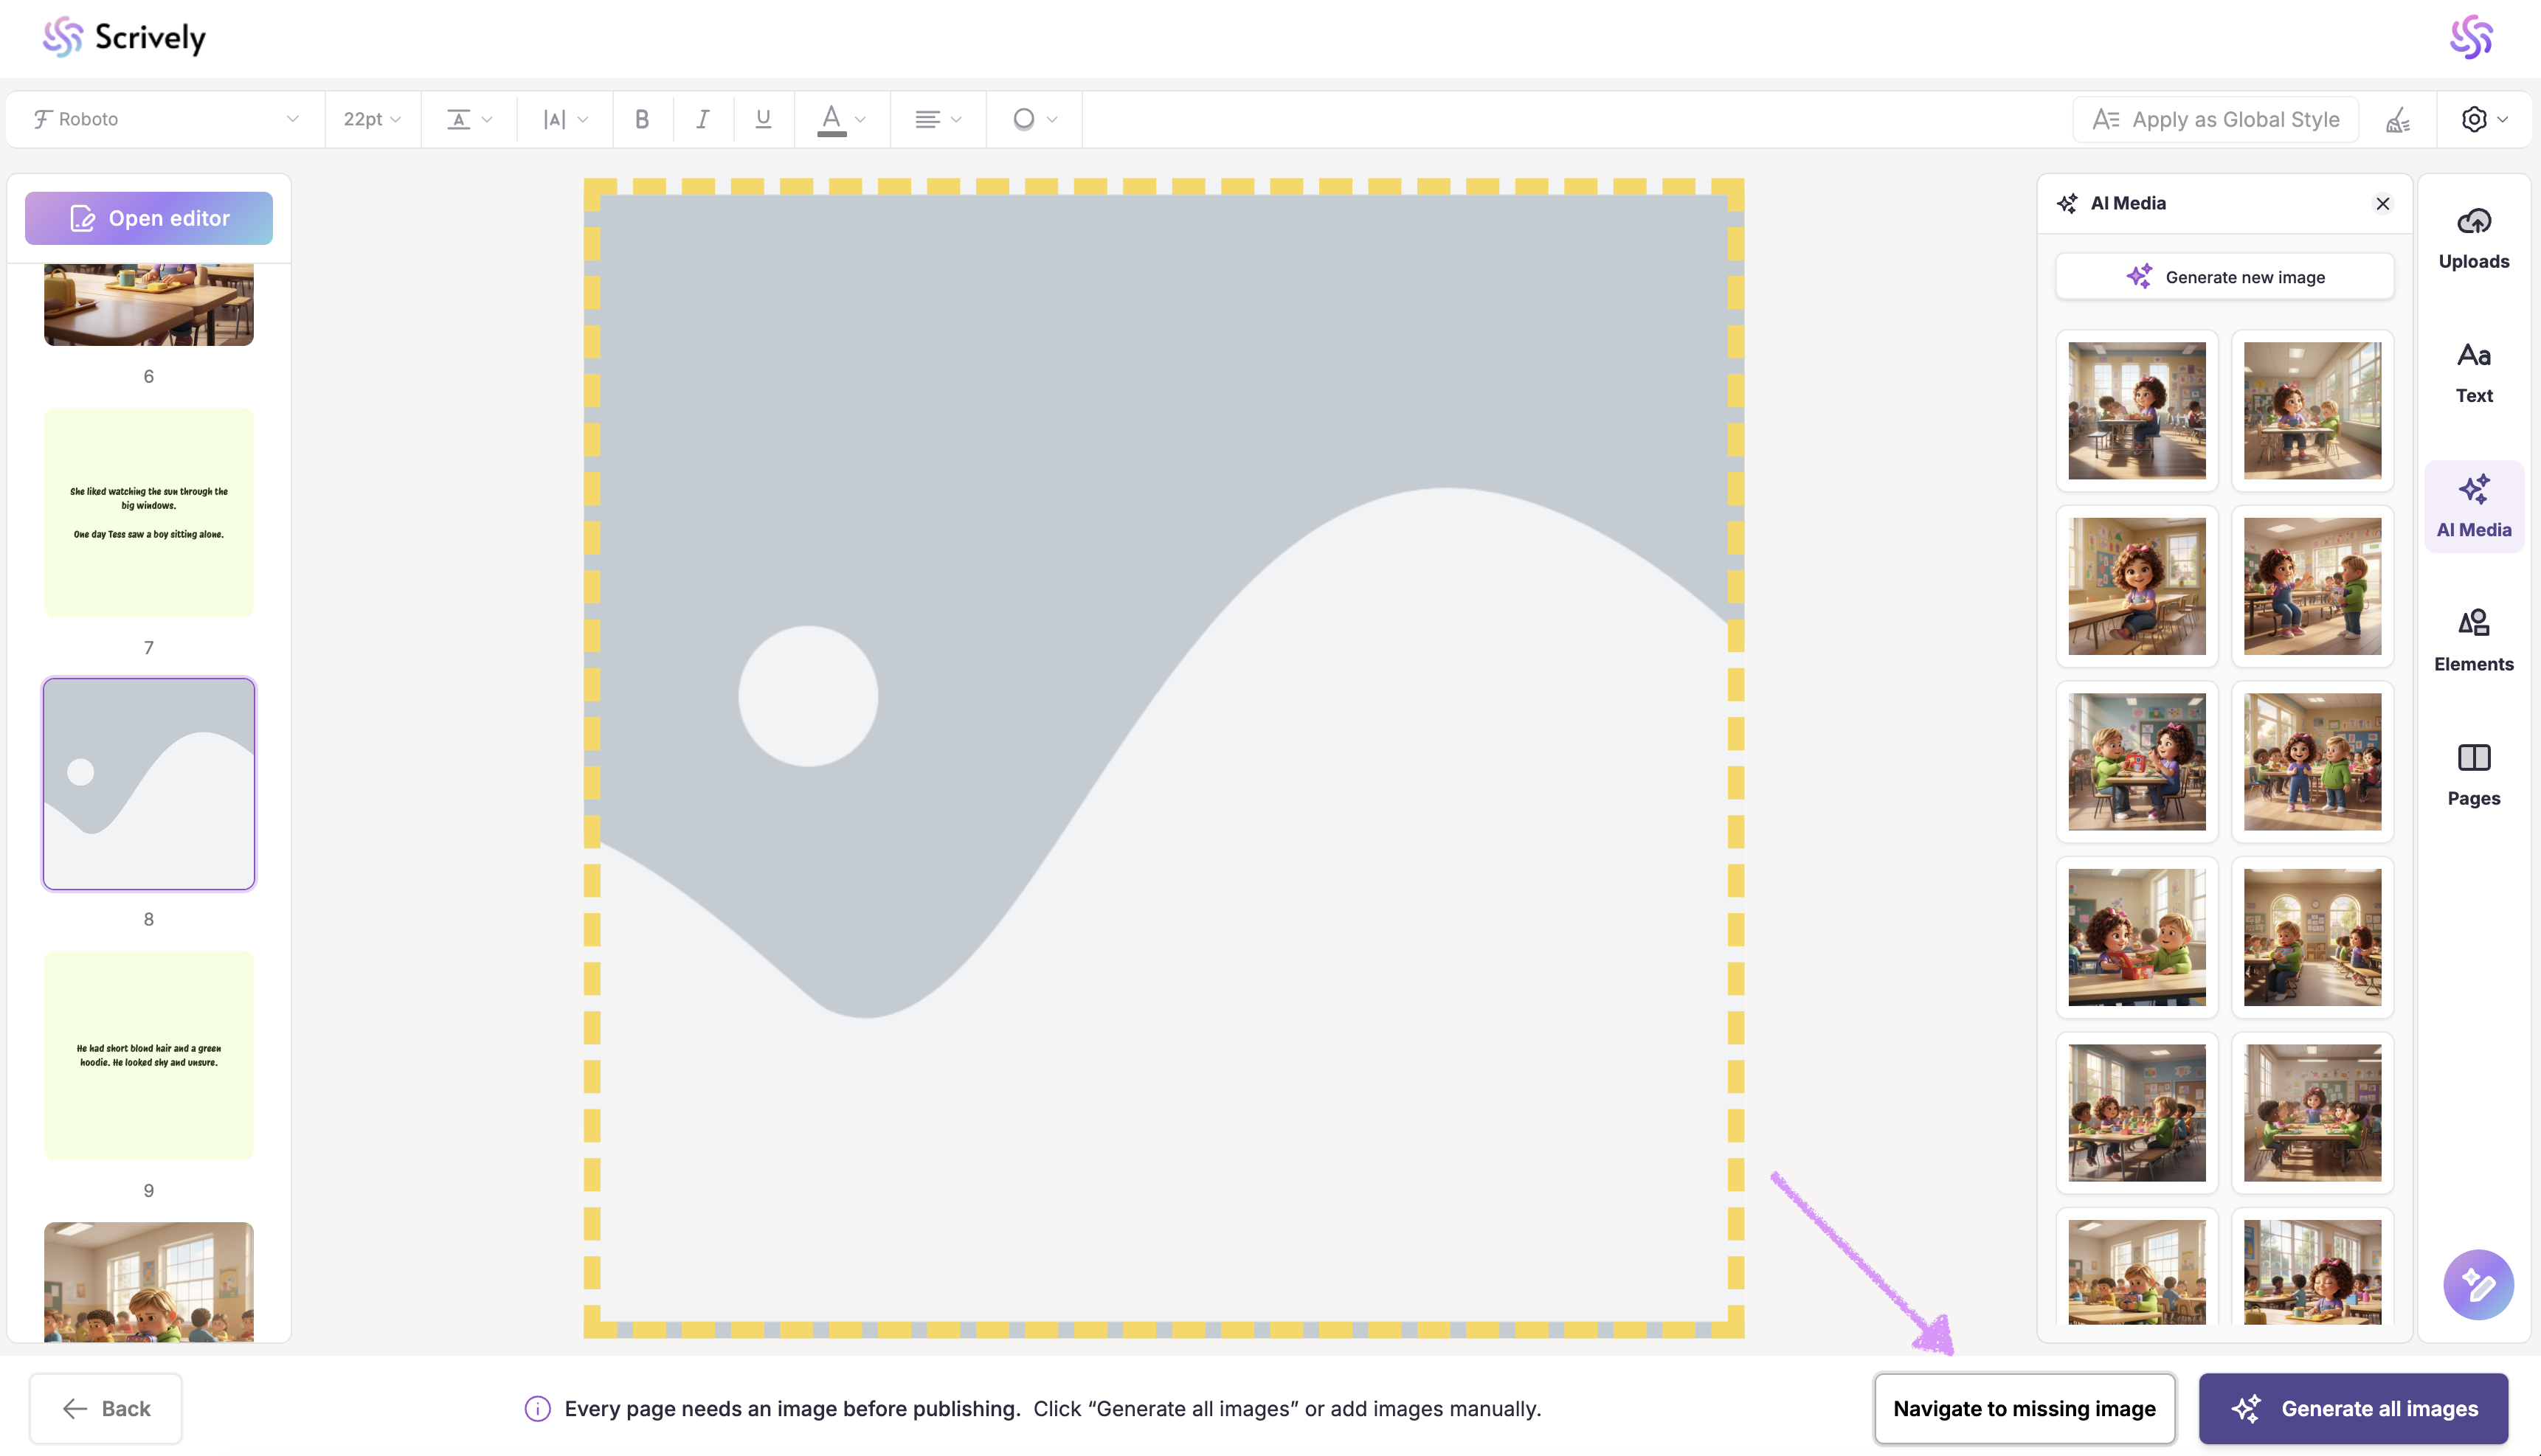
Each page that requires an image must have one added. If an image is missing, the "Navigate to missing image" button will appear at the bottom-right. Clicking it will take you directly to the frame on each page where an image is missing and you will not be able to "Finish and save" until the images are added.
Next, check out our guide on writing your book's back cover blurb.
Was this article helpful?
That’s Great!
Thank you for your feedback
Sorry! We couldn't be helpful
Thank you for your feedback
Feedback sent
We appreciate your effort and will try to fix the article